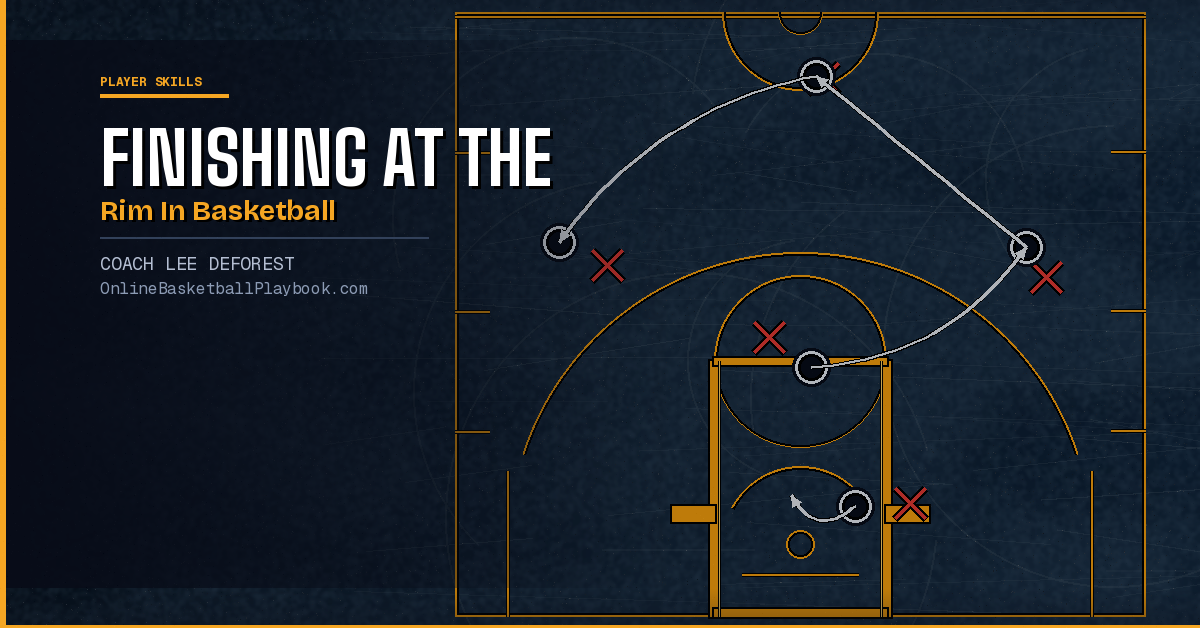

10 Keys for Finishing at the Rim in Basketball
Finishing at the rim separates good players from great ones. These 10 keys cover footwork, body control, the finish menu, and the mindset that turns drives into consistent scores — with drills you can use tomorrow.
1. Build the Stance and Body Control First
Every elite finisher traces the skill back to the same root: body control. Before a player can make a decision two feet from the basket while a shot-blocker rotates over, they need a foundation of balanced, athletic movement. Jerry Krause called this the "quick" stance — weight on the balls of the feet, head above the midpoint of the body, knees bent and ready. The four quick actions that flow from this stance are quick starts, quick steps, quick turns (pivots), and quick stops. Players who skip this foundation will drift on finishes, get stripped on drives, and float past the target instead of finishing through it.
At the beginning of every season, dedicate the first two to three weeks to body-control reps before anything else. Jump stops, stride stops, front pivots, and reverse pivots — these need to be automatic so the brain has bandwidth left over at the rim to choose the right finish. John Kimble puts it plainly: body control is the physical prerequisite for all offensive skill. You cannot teach a Euro step to a player who cannot yet stop on a dime.
2. Master the Jump Stop Before Any Finish
The jump stop — or "two-foot bunny hop" — is the single most important finishing tool in a player's bag. On any drive that ends with a killed dribble or a gather near the basket, the jump stop is the default action. The player takes a small hop, lands simultaneously on both feet, and preserves the right to choose either foot as the pivot foot. This creates immediate options: step through, pivot back, or launch directly into a power finish.
Mike DeVillibis, a widely respected skills coach, enforces a jump-stop-only layup rule for all new players and for the opening weeks of every season. The reason is sound: jump-stop finishes force players to gather their footwork before going up, and they naturally build the habit of accounting for help defense rather than floating past it. When a player gathers on one foot and drifts, the weak-side help can time the block. When a player gathers on two feet and plants, they can redirect, absorb contact, or step through the helping big — none of which are available to a player who has already committed to one direction in the air.
The cue is simple: "Kill your dribble, take a small bunny hop, land simultaneously on both feet." Drill it in isolation before attaching any finish. Once the stop is automatic, attach the finish.
3. Train a Finish Menu, Not One Layup
One of the most common teaching mistakes at all levels is drilling a single layup until it becomes a habit — and then watching players get blocked or stripped every time the defense takes that one finish away. The goal is a finish menu: a family of reads that share a common footwork base but end differently depending on what the defense gives. The core menu includes:
- Regular layup — same-side hand, inside foot, off-arm used to absorb contact
- Opposite-hand layup — cross-body, protects the ball from the trailing defender or reaching help
- Power finish (two feet) — jump stop gather, two-foot launch, body square to the backboard; ideal for absorbing contact from a big
- Reverse layup — uses the rim as a shield against the primary defender; keep the ball on the far side of the body, finish off the back of the backboard
- Floater / runner — a high-arc one-dribble release that clears the outstretched arms of a rotating big; launched off the proper foot (same side as the hand finishing)
- Euro step — two-step gather that shifts the angle of attack mid-drive; forces the help defender to choose a path and then steps away from it
These are not audibles. They are trained, drilled reads. Every player on the roster should have at least four of the six before the first game. The job of practice is to make the read automatic: the player sees the angle of the help defense while still in the air and the finish choice fires without deliberation.
Train the rim-finish family — regular, opposite-hand, power, reverse, floater/runner, Euro step — and choose by the help. Use the rim as a shield; finish through contact.
— Finishing & Footwork, Basketball Vault
4. Use the Rim as a Shield
The most underrated finishing skill is rim awareness. A player who drives baseline and attempts a regular right-hand layup is not using the geometry of the basket — the primary defender can come up the other side and get a clean block because there is nothing between the ball and the defender's hand. A reverse layup on the same baseline drive puts the entire rim and backboard between the defender and the ball. The finish becomes unblockable from the primary angle.
Teach players to ask one question when they approach the rim from an angle: "Can I get the rim between the defender and the ball?" If the answer is yes, the reverse is almost always the higher-percentage shot. This read is especially important on baseline drives from the wing and on cuts through the paint where the defender is trailing from behind. The rim is the biggest obstacle in the lane — use it as protection, not just as a target.
Vasja Kokoškov, who has trained guards at the NBA level for decades, specifically drills the reverse layup as part of a guard finishing battery, alongside the floater and the change-of-angle finish. These three moves — reverse, floater, and angle change — together solve the three most common defensive reads a shot-blocker will make: come over the top, stay planted and contest, and slide to cut off the angle. A player who has all three is genuinely difficult to defend inside.
5. Attack the Lead Foot — Drive North, Not East
One of the most persistent bad habits in youth and high school basketball is the lateral drive — a player takes one dribble sideways past the defender and then stalls because the help defense has time to rotate. John Kimble makes a critical distinction that coaches should teach explicitly: passers step east or west, drivers step north.
When a player drives off the dribble, the first step should attack the defender's lead foot directly — stepping straight at them and then scraping off their shoulder. This "scrape off the shoulder" movement cuts off the defender's angle of pursuit. The defender's body is now behind the driver and the recovery path is gone. When a player instead steps laterally, the defender can shuffle-step to keep their body between the driver and the basket, and the help has four or five extra frames to arrive.
Pair this with the blast move: when the defender's foot is matched up with the driver's free foot, the free foot attacks straight at the defender's lead foot. The ball-side hand protects the dribble while the body cuts off the pursuit angle. Run this footwork in isolation — no ball, just feet — so the first-step habit is trained before it gets complicated by decision-making.
6. Finish Through Contact
Most young players instinctively avoid contact near the rim. They pump-fake when a big raises a hand, they slow down when a help defender arrives, and they change their mind mid-air and lay the ball up softly off the wrong foot. All of this leads to the worst outcome: a missed shot with no foul call, because the defense never actually fouled them — the player fouled themselves by bailing out.
Finishing through contact means treating the defender's body as part of the shot. On a power finish, the player gathers on two feet, takes the contact from the chest up, and finishes the layup while the body absorbs the collision. The shooting motion completes regardless of what happens from the chest down. On a floater, the player releases the ball on the way up before the contact arrives — the ball is already gone by the time the big's arm comes across.
The mental key is this: contact is not a stop sign. It is a signal that a foul call is available, that the defense is compromised, and that the shot has a higher percentage of going in because the big has left their feet or over-committed. Train finish-through-contact reps in practice by having the coach or a teammate apply controlled contact on every drive, so players stop flinching and start using the contact.
Start contact finishing in low-stakes drills where players know the contact is coming — this removes the flinch reflex first. Once they stop bailing out in controlled reps, move to live drives where contact arrives unpredictably. The progression matters: flinching is a trained response, and it takes deliberate repetition to untrain it before game-speed contact can be handled properly.
7. Drill Both Hands on Both Sides, Every Session
The fastest tell on any player's finishing development is their weak-hand layup under pressure. A player who can make a right-hand layup in warmups but reverts to their right hand on every left-side drive in a game has not trained the left-hand finish at game speed. Footwork and finishing must be trained at game speed, both directions, every session — this is not a once-a-week thing.
The simplest enforcement mechanism is a non-negotiable rule: every finishing drill runs both directions. If the drill goes to the right side first, it goes to the left side second — same number of reps, same speed, same defensive pressure. Shaka Smart's Texas battery applied this explicitly: the Perfect Shot Fake Drill required two makes with the left hand AND two makes with the right hand before the player could advance. The standard was equal, not approximate.
Beyond the layup, both-sides training applies to the floater (the off-foot plant changes depending on the direction of attack), the reverse (which backboard angle you use changes), and the Euro step (the two-step sequence mirrors by direction). Each of these requires separate reps in each direction. A player who only drills right-side floaters will hesitate on a left-side drive when the floater is the right read — and that hesitation costs them the shot.
8. Read the Help Defense Before You Leave Your Feet
Elite finishers make their decision before the jump. When a player gathers at the rim, they already know — from a peripheral read made two steps earlier — where the help is coming from and which finish erases it. Players who wait until they are in the air and then try to adjust mid-flight get blocked or fumble the finish because the adjustment window is too short.
The read is learned in practice, not games. Coaches should design finishing drills with a live or semi-live help defender who varies their position — sometimes staying at the elbow, sometimes rotating early, sometimes not rotating at all. The driver must name the read before the drive: "Help is late, straight finish" or "Big is early, floater." After enough reps, the naming goes internal and the read fires automatically.
Dribble-penetration reads and pick-and-roll reads both end at this same decision point: the driver arrives at the rim with a choice. The entire dribble-penetration system is built on the assumption that the driver can make this read accurately and early. If the read fails, the drive ends in a turnover or a blocked shot. If the read is automatic, the drive ends in two points or a foul or a kick to an open shooter. Training the read is not optional — it is the finishing skill that makes every other finishing skill usable.
9. Keep Dribbles at a Minimum
Finishing at the rim is faster when the drive is direct. Every extra dribble gives the defense an additional frame to recover, rotate, and set their feet. Mehmet Akser, a respected development coach whose work appears in multiple coaching resources, states this directly: take the fewest dribbles to a pass or a score. Short-long, stop-go, fast-slow — these are the manipulation tools, but the move itself should be to beat the defender, not to dribble.
The most effective drives are one or two dribbles from the catch to the rim. A player who catches on the wing and uses four dribbles before arriving at the basket has given the weak-side help time to fully rotate, the on-ball defender time to recover, and the shot-blocker time to time the block. A player who catches and attacks in two dribbles arrives before the defense is set.
Practice this by counting dribbles aloud in finishing drills. Set a target: "This rep, one dribble to the rim." Players who use more than the target number repeat the rep. The counting makes the habit visible. Over time, players internalize the direct drive and stop padding their attack with unnecessary handles that waste the advantage created by the first step.
10. Drill the Counter, Not Just the Move
Every finishing move has a counter, and every counter has a counter. A player who drills the Euro step in isolation has only trained half the move — they have not trained what to do when the help defender reads the first step and slides to the landing spot before the player gets there. Training the move without training the counter produces players who look great in individual workouts and stall out against real defense.
Mike DeVillibis uses a three-move curriculum for developing guards: direct drive, crossover drive, and jab-and-shot. Each move is drilled with two or three reads off the defender's reaction. The jab-and-shot sequence, for example, branches into catch-and-shoot (if the defender doesn't close), shot-fake step-through (if the defender flies at the shot fake), and jab-and-go (if the defender retreats). None of those branches is an audible — they are all pre-drilled reads that fire based on what the defender gives.
The same principle applies to the finish menu at the rim. The floater counter is available when the big stays planted. The Euro step counter is available when the help slides early. The power finish counter is available when the big commits to the floater. Drill each pair: the move and the most likely defensive answer to that move. Players who own both the move and the counter become the hardest players on the floor to defend near the basket, because taking away any single finish simply activates the next one in the menu.
- Jump stop first, finish second: enforce the two-foot gather on every drive in the first three weeks of the season — it fixes 80% of footwork problems at the rim before the year starts.
- Name the finish before the drive: in practice reps, require players to call "floater," "power," or "reverse" before they go — this forces the read to happen before the feet move rather than mid-air.
- Step north, not east: remind guards before every drive rep — attack the lead foot, scrape the shoulder, cut off the recovery angle; lateral dribbles gift the help defense extra recovery frames.
- Equal reps both hands, both directions: split every finishing drill exactly — same reps left as right, same competitive standard, every session without exception.
- Three moves owned beats eight moves half-learned: resist adding new finishes until the current three are automatic under live pressure — depth beats breadth in a game situation every time.
Want more basketball coaching strategies and drills?
Keep Building
Related breakdowns
10 Keys to Setting and Defending Screens in Basketball
10 Keys to Setting and Defending Screens in Basketball