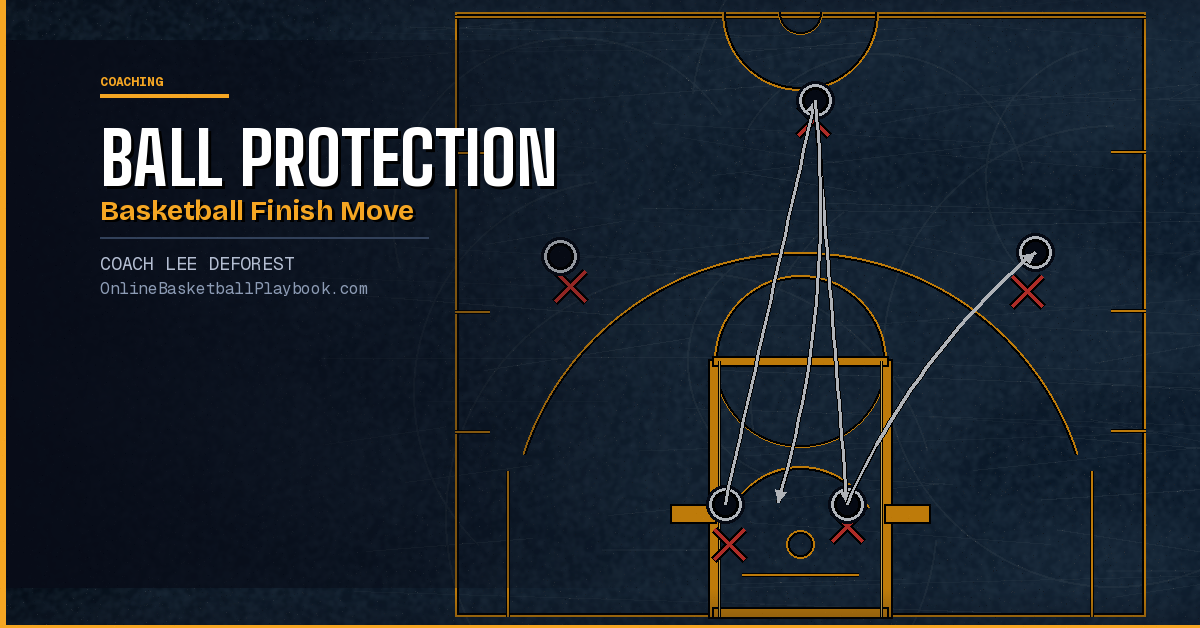

Ball Protection Basketball Finish Move
The best finishers don't just score — they protect the ball every step of the way. This guide breaks down the footwork, pivots, and finish menu that turn contact at the rim into easy buckets.
Why Ball Protection Starts Before the Finish
Most coaches teach finishing as if it only happens at the rim. The ball goes up, contact comes in, and the player either holds on or loses it. That framing is wrong. Ball protection on a finish move begins the moment you put the ball on the floor.
When a guard drives the lane, the help defense is already rotating. The big is stepping up. The weak-side defender is closing. Every defender in the paint has one job: take the ball from you or make you release it off-target. If you arrive at the rim without a plan for where the ball lives on your body — not a rough idea, a precise habit — those defenders win.
The foundation is body position. Protect the ball beside your knee when you're absorbing contact, not above your waist where it can be stripped. Keep it away from the defender's reach by choosing the correct finish side based on where help is coming from. Use the rim itself as a physical shield when driving baseline. These aren't advanced moves. They're prerequisites. Without them, no finish in your menu works reliably under pressure.
The second piece is footwork. A player who arrives at the rim off-balance has already made the defender's job easy. Ball protection and balanced footwork are the same skill — one feeds the other. You can't protect the ball if your body isn't under control, and your body can't be under control if your footwork breaks down on the drive. This is why the best finishers drill the gather, the stop, and the pivot with the same intensity they drill the finish itself.
The Jump Stop: Foundation of Every Finish Move
Every durable ball-protection finish move is built on the jump stop. Not a stride stop, not a stutter — a two-foot simultaneous landing that kills momentum and gives you maximum options.
Here's the cue: "Kill your dribble, take a small bunny hop, land simultaneously on both feet." That one-count stop preserves your right to choose either foot as the pivot foot. The moment you land on one foot first, that foot is your pivot foot and your options narrow. Land on both feet at the same time and the defense has to read you instead of the other way around.
Why does the jump stop matter for ball protection specifically? Because a player who stops in control can hold the ball at a protected position — beside the knee, below the defender's reach — and read what the defense gives. A player who stops out of control is already fighting to stay upright. The ball is wherever gravity put it, not where you chose to put it.
Teach the jump stop first, before any finish move. Jump-stop-only layups for the first two to three weeks of the season is a proven approach that forces players to gather their footwork before the finish and naturally builds the habit of dealing with help defense. Players who learn to float up off one foot can look impressive in an empty gym and get stripped every time there's a body in the lane.
Jump Stop Cues for Coaches
Run the jump stop at game speed from the start. Slow-motion reps build slow-motion habits. The drill is simple: player dribbles at game pace, kills the dribble on a whistle or cone signal, jumps and lands simultaneously on both feet, holds a balanced stance with the ball protected at waist level or below. Do it from every angle — straight downhill, baseline angle, left, right. Two minutes of this before any finish work will pay off every time they get to the paint against a live defense.
Pivot Mechanics That Keep Defenders Guessing
The pivot is where ball protection and scoring intersect. A player who can execute front and rear pivots confidently after the jump stop can create separation, protect the ball, and find the finish without picking up an offensive foul or giving up a strip.
The key decision happens before the catch or before the dribble ends: will you shoot immediately, or are you looking to drive or pass? That choice determines which pivot you use and which foot you designate as your anchor.
If you're catching on the perimeter expecting to shoot immediately, pivot off the inside heel — the heel of the foot closer to the basket. Drive that heel into the floor hard the moment the ball hits your hands. This stops lateral drift instantly. Then swing the outside foot around to square up. Players who don't do this consistently will fade away or float sideways on catch-and-shoot attempts, even without contact.
If you're catching and planning to attack — drive baseline, skip pass, or shot fake into a step-through — reverse pivot off the outside foot. This puts the baseline foot free and keeps you from telegraphing direction. The inside foot becomes the new anchor, and you've opened your options without tipping your hand to the defense.
In the paint specifically, the pivot is how you manufacture space at the rim. A hard front pivot when you're absorbing contact can create enough separation to get a clean release. A reverse pivot can swing you from a contested angle to a clear look on the other side of the rim. Neither works if your footwork isn't committed. Half-pivots are the cause of most offensive fouls and most strips — the defender just waits for you to stall and takes the ball.
Protect the ball at all times — ball in shooting pocket, toe-to-instep stagger, head above midpoint — and know whether you are in a live-ball or dead-ball situation before you make your move.
— Finishing & Footwork, Basketball Vault
The Complete Finish Menu
Ball protection on a finish move means nothing if you only have one finish. A defender who knows you always go right-hand layup off the right side has an easy job. You need a menu, and you need to choose from it based on where the help is — not out of habit.
The full finish family every guard and wing should own:
Regular Layup. The baseline. Right hand on the right side, left hand on the left side. Jump off the inside foot, extend through contact, lay the ball off the glass. The problem isn't that players can't do this — it's that they default to it when a different finish is the right call. Train the others so the regular layup becomes a deliberate choice, not a crutch.
Power Finish. Two-foot gather, two-foot jump, explode through contact. Use this when there's a body directly in the lane and you can't avoid it. The two-foot gather is the jump stop in disguise — same mechanics, same ball-protection principles. Ball stays low until you leave the floor, then comes up through contact with both hands protecting the release. This is the finish that lets smaller players score against shot blockers because it's nearly impossible to legally strip.
Opposite-Hand Finish. Driving right, finishing left. This is where most players fall apart. The opposite-hand finish requires the gather to happen earlier — you need an extra beat to switch the ball to the off hand — so the footwork has to be cleaner. The ball stays protected beside the knee on the gather, transfers on the jump, and releases with the off hand using the rim as a shield. Drill both directions explicitly. A player who can only finish strong-hand gets cut off by every help defender who steps into the lane.
Reverse Finish. Go under the basket, use the rim as a shield, finish on the far side. The reverse is a ball-protection move as much as it is a scoring move — you put the rim between the ball and the help defender. It works best when the help is coming from the paint side. Instead of trying to finish through or over the big, take the ball to the far side and let the iron do the protecting. Keep the ball tight on the gather, stay low under the basket, and extend at the last moment.
Floater / Runner. Release the ball before you get to the rim. This is the answer to rim protection — when the shot blocker is positioned perfectly at the rim, a floater releases from 8 to 12 feet and arcs over the top. The floater requires you to gather and release off the correct foot for your drive direction (typically inside foot) so the ball has arc, not line drive trajectory. Off the wrong foot, a floater is just a push shot that hits the front of the rim.
Euro Step. Two-step gather to change the angle of attack. The Euro step uses both steps of the stride stop to sidestep one defender and finish past another. The ball protection piece here is the first step — gather the ball tight, stay low, and plant the first foot in a way that commits the defender before the second step changes direction. Players who Euro step with the ball high and loose get it stripped on the first step every time.
Ball Protection Footwork: The 4-Phase Attack Series
Once you've killed the dribble in a ball-protection situation — trapped on the wing, doubled in the paint, help rotated early — the game changes. You're now a dead-ball player. No more drive options. The finish move has to come from footwork alone, and the ball has to survive whatever the defense throws at you to get there.
The four-phase sequence gives players a complete decision tree for these situations:
Phase 1 — Jump Stop. Land simultaneously on both feet. Choose your pivot foot deliberately. Hold the ball in a protected position — at or below waist level, beside the pivot knee. Don't rush Phase 1. The jump stop gives you everything that follows.
Phase 2 — Step-Out. The free foot steps laterally — due east or west, not north toward the defender. If your foot beats the defender's lead foot to that spot, you have a passing or scoring lane. The cue is exact: "step due east or west, not north or south." A north step gives the defender a clear angle to the ball. An east or west step puts you in position to create before the defense can close.
Phase 3 — Rip-Through. If the step-out is defended, rip the ball low and hard across your shoe tops — a few inches off the floor — and front-pivot the free leg across the defender's body. The ball stays protected beside the free knee through the entire rip. The move works because most defenders won't get low enough to contest the rip. They expect the ball to stay high where it's easier to strip.
Phase 4 — Swing-Around. If both Phase 2 and Phase 3 are shut down, execute a second front pivot back to the original side and look for the gap. When both defenders have committed to the rip side, the gap often opens back to the original direction. Put your chin on the ball, elbows out, and step through like a fullback looking for daylight.
This four-phase sequence is not theoretical. It runs through every situation where ball handlers are doubled or trapped — baseline, wing, top of the key. Players who know it eliminate turnovers that come from panic. Players who don't know it either pick up an offensive foul trying to force through contact or drop the ball trying to avoid it.
Teach the four-phase sequence as a named progression, not as "read the defense." Players need vocabulary for what they're doing — "jump stop, step-out, rip-through, swing-around" gives them something to self-correct in a game instead of just reacting. Run the Offensive Pivoting and Passing Breakdown Drill in three-person groups for six minutes before practice: one ball handler, one live defender, one receiver. All three players are working simultaneously and every player gets reps at all three roles.
Drills to Own These Moves in Practice
Reading about ball protection footwork does not translate to owning it in a game. These moves have to be drilled at game speed, both directions, with a live body in the way. Here are the drills that build the habits fastest.
Jump-Stop-Only Layups
Remove the stride-stop finish from practice for the first two to three weeks of the season. Every layup must come off a two-foot jump stop gather. This feels unnatural at first — it should, because players have been stride-stopping their whole lives. Push through the discomfort. By week three, the gather is automatic and the balance at the rim is dramatically better. This single rule develops help-defense awareness because a player who gathers properly naturally sees the body in the lane instead of running through it.
Circle Footwork Drill
Put three to four players at each free-throw circle — a standard gym has seven circles, so you can run the whole team simultaneously. Players jog clockwise around the circle. On the whistle, each player tosses the ball to themselves, pivots off the inside heel, and squares up to the center of the circle as an imaginary basket. No actual shot is taken. The drill isolates the pivot and the ball-protection position on the gather. The coach stands in the center and can see every player's footwork at once. Switch directions to work the opposite foot. Run two rounds.
Finish Menu Live Repetitions
Run every finish in the menu with a passive defender at the rim — not trying to block, just occupying space. The player has to read the position of the "defender" and choose the correct finish. Regular layup if the lane is clear. Power finish if the body is directly in the path. Reverse finish if the help is coming from the paint side. Opposite-hand if the strong side is cut off. Floater if the rim is protected. This decision-making under mild pressure is what transfers to games. Finishing in an empty lane is a warm-up; it's not a drill.
Offensive Pivoting and Passing Breakdown Drill
Three-person groups. One dribbler, one live defender, one receiver. The dribbler drives, kills the dribble on coach's whistle, and runs the full four-phase sequence — jump stop, step-out, rip-through, swing-around — against the live defender until a pass is made or a finish is created. The receiver catches and shoots. Run 55-second rotations in three-minute rounds. Run two full rounds so each player works every role with each foot as the pivot. Six minutes of this is one of the most efficient multi-fundamental drills in practice — every player is working simultaneously and every fundamental from ball protection to shooting footwork gets reps.
- Jump stop before any finish move: land both feet simultaneously to preserve pivot-foot choice and arrive at the rim in balance — never stride into contact.
- Ball beside the knee on every gather: the protected position is beside the pivot knee at or below waist level, not above the waist where defenders can strip it cleanly.
- Choose the finish based on help location: power when a body is in the direct path; reverse when help comes from the paint side; floater when the rim is protected; never default to the regular layup out of habit.
- Rip the ball low, not high: on a rip-through, the ball travels a few inches off the floor across your shoe tops — most defenders won't get low enough to contest it, which is exactly why it works.
- Passers step east or west; drivers step north: lateral first steps give the defense recovery space; a driver must attack the lead foot of the defender directly and scrape off the shoulder to cut off the pursuit angle.
Want more basketball coaching strategies and drills?
See it drawn up
Related diagrams


Keep Building
Related breakdowns
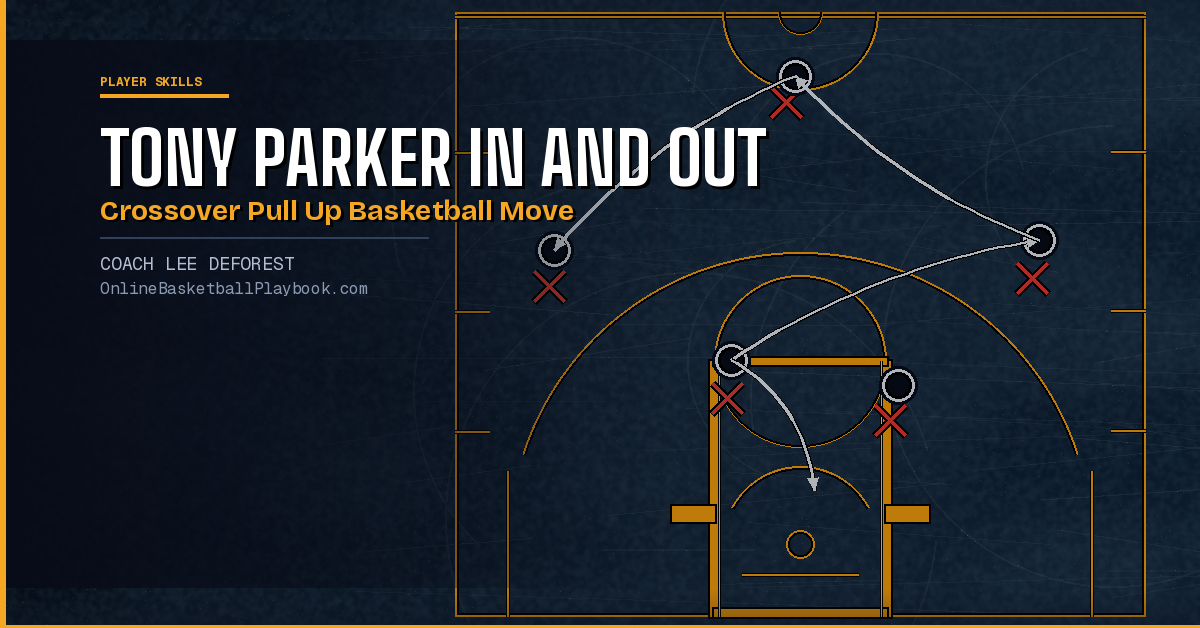
Tony Parker In and Out Crossover Pull Up Basketball Move
Tony Parker In and Out Crossover Pull Up Basketball Move
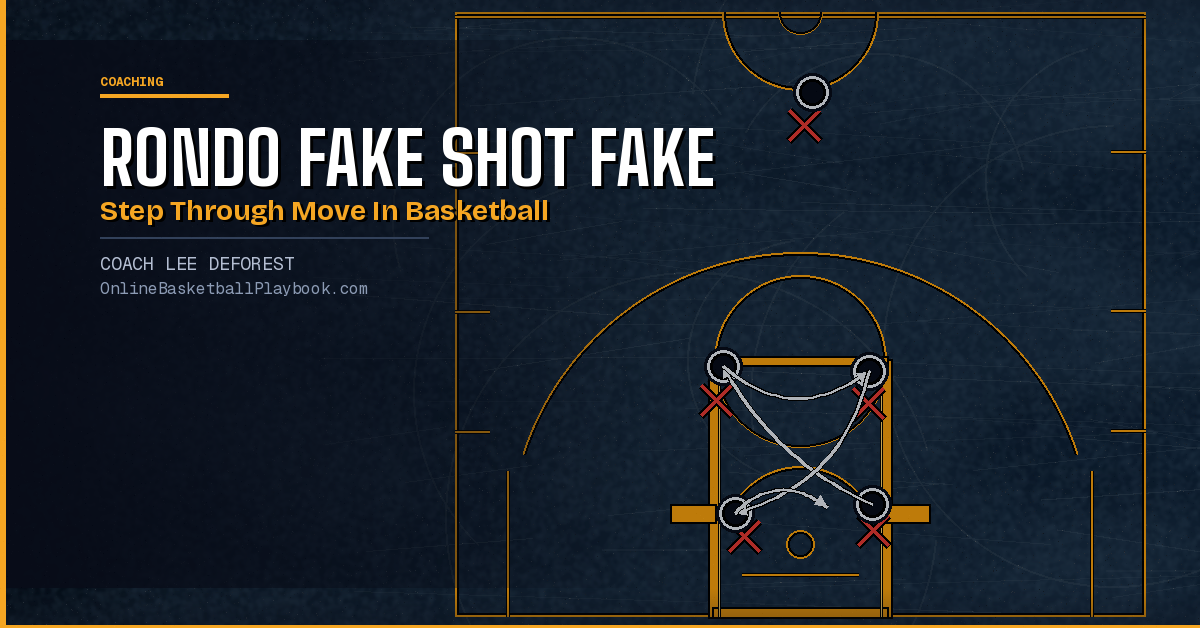
How to Do a Rondo Fake Shot Fake Step Through Move in Basketball
How to Do a Rondo Fake Shot Fake Step Through Move in Basketball
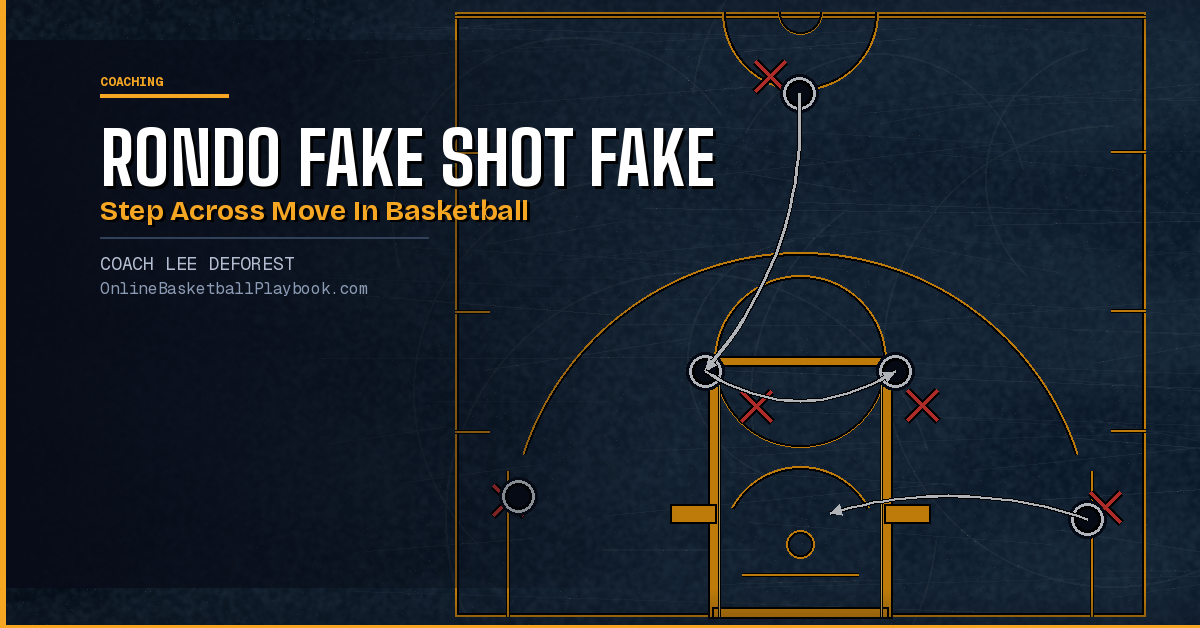
How to Do a Rondo Fake Shot Fake Step Across Move in Basketball
How to Do a Rondo Fake Shot Fake Step Across Move in Basketball