
Euro Step in Basketball
The euro step is a two-step gather move that lets a ball-handler sidestep a shot-blocker at the rim. Master the footwork, pick your moment, and it becomes one of the most reliable finishes in your offense.
What the Euro Step Is — and What It Isn't
The euro step — popularized in the NBA by Manu Ginóbili in the early 2000s but widely used in European basketball for decades — is a two-count stride stop that lets the ball-handler take one step in one direction, then plant and push off in the opposite direction before releasing the ball at the rim. Done correctly, it exploits the gather rule in basketball: after picking up the dribble, a player may take two steps before releasing the ball for a shot or layup.
The move is not a travel. That distinction matters for coaching, because players and parents often question it when they first see it. Under FIBA and NBA rules (and by application, high school and youth basketball under NFHS), the gather begins when the ball-handler picks up or secures the ball from the dribble. The two steps that follow are perfectly legal. The euro step simply uses those two steps in opposite lateral directions rather than straight ahead.
What separates the euro step from a simple hop-step is intentionality. A hop-step jumps forward with both feet and lands simultaneously — it is a jump stop used to change angle or absorb contact. The euro step plants one foot, reads the defender, and then drives laterally off that foot to the open side. The two movements are different finishing tools. Coaches who lump them together produce players who do neither cleanly.
The euro step is also not a cure-all. It works best against a single help-side defender who has taken an angle to cut off a straight-line drive. Against packed paint, a power layup or a floater is often the correct answer. Part of teaching the euro step is teaching when not to use it.
Footwork Mechanics Step by Step
Breaking the euro step into precise phases helps players learn it faster and helps coaches correct it when it breaks down.
Phase 1: The Drive and the Gather
The move begins with an attacking drive — the ball-handler is pushing downhill off a live dribble, creating momentum toward the basket. The gather happens when the player picks up the dribble in the lane area, usually one to two steps from the rim. At the moment of the gather, the ball-handler secures the ball with two hands. This is the reference point from which the two legal steps are counted.
A common error happens right here: players gather too far from the basket. If the gather happens at the three-second line, the player runs out of steps before reaching the rim. Teach your players to get their gather inside the paint — ideally at the level of the second lane marker — so both steps happen within scoring distance.
Phase 2: Step One — The "Sell" Step
The first step after the gather goes in the direction of the help defender. If a weak-side help man is sliding over from the right, step one goes right. The purpose of step one is to make the defender commit to that side — to get their hips turned. A timid step one accomplishes nothing. The foot must plant firmly, the body must lean, and the ball should move slightly in that direction so the defender reads a standard layup attempt.
Weight distribution matters here: plant step one on the ball of the foot, not the heel. Heel planting kills lateral change-of-direction speed. Ball of the foot allows a quick, explosive push in the other direction.
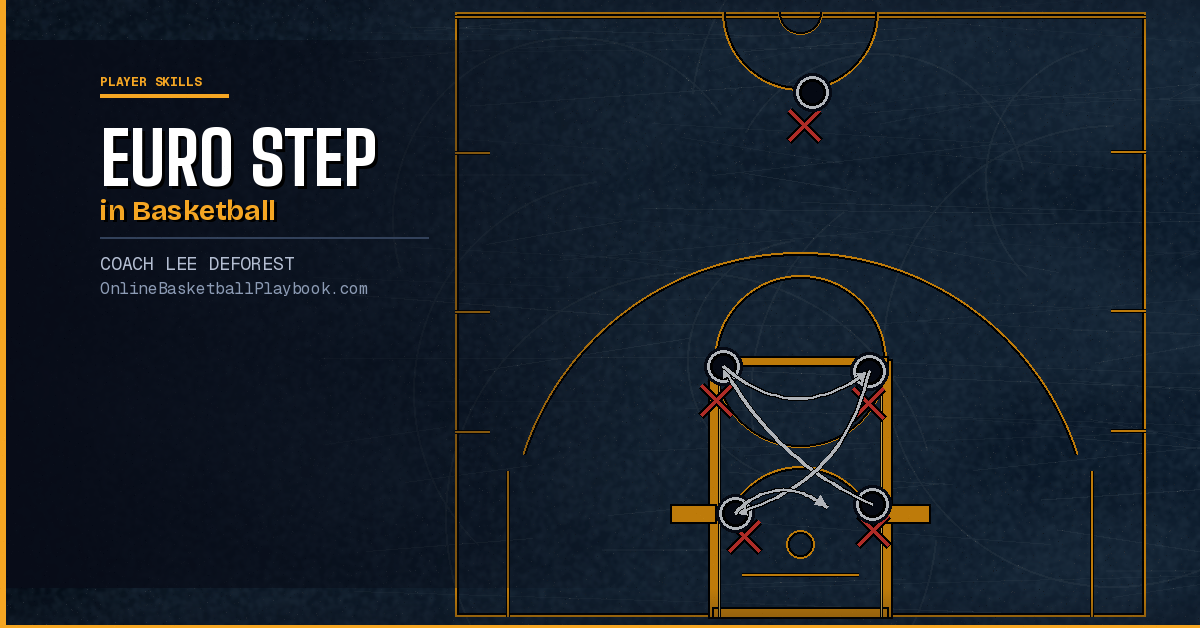
Phase 3: The Lateral Push and Step Two
Once step one plants and the defender shifts, the ball-handler pushes off that foot laterally. Step two goes in the opposite direction — in our example, to the left, away from the now-committed defender. Step two should be as long as possible without compromising balance; it is the distance-maker that creates the separation needed to finish past the shot-blocker.
On step two, the player releases the ball. The layup itself can be a standard finger-roll, a baby hook, or an underhand scoop depending on the angle and the position of any remaining defenders. The key mechanical point: do not jump off step two. The power comes from the lateral plant and the reach, not from a vertical leap. Jumping off step two typically results in floating into the defender rather than under them.
Phase 4: The Finish
Use the backboard whenever possible. A euro step to the left side of the basket should end with a left-hand reverse or a left-hand scoop off the glass. The rim acts as a shield against trailing defenders, and the glass adds a margin of error on the release. Teach your players to finish with the inside hand — the hand closer to the basket on step two — to keep the ball protected from the shot-blocker's reach.
Where the Euro Step Fits in Your Finishing Menu
No single move works in every situation. The basketball vault's finishing framework describes the rim-finish family as a menu — regular layup, opposite-hand layup, power layup, reverse, floater, and euro step — with the selection driven by what the defense gives. That framing is exactly right, and it points directly to how coaches should teach the euro step: not as a signature move to practice in isolation, but as one option in a practiced library of finishes.
The regular layup is the baseline. The power layup (two-foot gather, straight-line, absorbing contact) is the answer when a defender is directly in the path and the ball-handler has enough size and strength to go through. The floater or runner is the answer when the defender is close but not shot-blocking — the arc clears the outstretched hand. The euro step is specifically the answer when a help defender has taken a sharp angle and is positioned to block a straight-line finish, but has not yet fully committed to the ball-handler's side.
Teaching all of these together, in the same drill series, produces players who make the right choice automatically because they have rehearsed the decision. Teaching only the euro step produces players who try it in the wrong situation and wonder why it stops working.
Train the rim-finish family — regular, opposite-hand, power, reverse, floater, and euro step — and choose by the help. Use the rim as a shield; finish through contact.
— Finishing & Footwork, Basketball Vault
Coaching and Teaching the Move
The euro step is an intermediate-to-advanced finishing move. It requires a player to already have clean two-foot stop mechanics, the ability to gather without traveling under pressure, and at least a serviceable non-dominant hand at the rim. Coaches should not rush to install it with beginners. The DeVillibis three-move curriculum — direct drive, crossover, and jab-and-shot — is the correct foundation for early-season and younger players. Once those three moves are owned, adding the euro step to the finishing menu makes sense.
When you do install it, start without a ball. Walk players through the footwork sequence using verbal cues: "Drive — gather — sell right — push left — finish." Do this at walking speed on both sides of the floor. Players should be able to recite the sequence and demonstrate the foot pattern before a ball is added.
Next, add a ball but no defense. Have players drive from the wing or the top of the key, gather at a specific cone or floor mark, and execute the euro step finish on each side. Require makes — not just attempts — before progressing. Most players will over-jump on step two early; coach them back to a lateral plant and reach instead of a vertical launch.
Finally, add a passive defender holding a pad on the "sell" side. The defender's job is simply to show a body on step one's direction. This gives the ball-handler a real target to sell to and a real obstacle to avoid. Progress to a live closeout defender after mechanics are clean in the pad drill.
Common Mistakes and How to Fix Them
Even well-coached players make predictable errors with the euro step. Knowing the mistake patterns ahead of time lets coaches address them proactively.
Gathering Too Early
When a player gathers their dribble at or above the free throw line, they run out of legal steps before reaching the basket. The fix is to mark the floor with a cone or piece of tape at the second lane marker and require every gather to happen at or past that mark. Players will quickly learn to push their final dribble deeper into the paint before collecting the ball.
A Weak or Timid Step One
If step one does not sell the direction, the defender does not commit, and the euro step produces no separation. The fix is honest feedback: "Your step one is not convincing." During the pad drill, instruct the defender to ignore any step one that doesn't look like a real layup attempt. If the pad-holder doesn't move, neither will a real defender. Players need to understand that step one has to sell to the point of looking like a mistake — like they've committed to the wrong side.
Jumping Off Step Two
Players who leap vertically off step two instead of driving laterally end up floating toward the defender rather than under them. The coaching cue: "Step, don't jump." The finish should be a long lateral stride that places the ball at the basket with an extended arm, not a jump that rises into the shot-blocker's plane. If a player habitually leaps off step two, slow them down in practice and require them to touch their step two foot to the floor and hold it before releasing the ball.
Using the Wrong Hand
A euro step to the left side of the basket finished with the right hand is exposed to every right-handed shot-blocker in the lane. Players must learn to use the inside hand — left hand on the left side, right hand on the right side — and to develop enough non-dominant hand finishing skill to make it reliable. Building the non-dominant hand is a separate training objective, but it is a prerequisite for the euro step to work in games on both sides.
Telegraphing the Move
Some players develop a telegraphing habit — they slow down right before the gather, signaling to defenders that a change-of-direction is coming. The euro step depends on pace. Maintain full drive speed through the gather. The deceleration, if any, happens during the lateral push of step two, not before the gather.
Run the euro step during your finish menu drill series at least twice per week throughout the season. Players who only practice it in isolation rarely execute it reliably in games — the decision to use it must be automatic, which means the footwork has to be so familiar that attention can shift to reading the defense.
Drills to Build Euro Step Footwork
The following drills build the specific footwork qualities the euro step requires: lateral push power off the gather foot, non-dominant hand finishing, and the decision-making needed to pick the right finish.
The Finish Menu Drill
Set cones at the left elbow, right elbow, and top of the key. Players drive in sequence from each cone and must finish with a designated move on each trip: regular layup, power layup, euro step, and floater. The coach calls the finish at the moment the player reaches the paint. This forces reading and decision-making under time pressure rather than pre-planning the move. Run it 2 sets of 10 makes from each wing.
The Pad Euro Step
A partner stands at the second lane marker on the ball-handler's drive path, holding a blocking pad. As the ball-handler gathers, the pad-holder extends the pad in the drive direction. The ball-handler must euro step around the pad and finish with the inside hand. The pad-holder should add pressure gradually: passive first, then active — moving the pad laterally if the step one sell is convincing. 3 makes each side per set, non-dominant hand emphasized.
Chair Euro Step Series
Place a folding chair at the second lane marker. Players drive from the wing, gather at the chair (the chair represents the shot-blocker), and must euro step around the chair — one direction each repetition, alternating sides. The chair forces a realistic spacing challenge without live defensive pressure. It is a useful early-season introduction because it gives the ball-handler clear spatial feedback on whether their step two created enough separation.
Mikan Euro Step Hybrid
Combine the classic Mikan drill with euro step footwork. Standard Mikan uses alternating-hand layups off the backboard from directly under the basket. In the hybrid, players drive from the short corner, gather at the block, execute a euro step lateral finish, retrieve, then repeat from the opposite side. It builds the inside-hand finish and the gather mechanics simultaneously at a high volume of repetitions. 5 minutes per session is sufficient.
1-on-1 Drive Series with Finish Menu
Live defense is the final stage. Set up 1-on-1 from the wing: the defender contests at the rim. The ball-handler must read the defender's position and choose from the full finish menu in real time. No pre-called move. This is where the training either pays off or reveals gaps. Run it regularly to maintain transfer from practice to games.
Reading the Defense and Picking the Right Finish
The euro step is a read, not a plan. A player who decides pre-drive that they are going to euro step will use it in the wrong situation. The read that calls for a euro step is specific: the help defender is positioned to take away a straight-line finish, has not yet committed laterally, and there is a lane on one side of them that opens after a convincing step one sell.
If the help defender is already committed — already sliding hard to one side — a simple straight-line finish on the opposite side is the correct play. The euro step requires that the defender still be in the decision phase, ready to be sold by step one.
If the lane is packed with two or more help defenders, neither the euro step nor the floater is likely to work. The correct read is a kick-out pass to the open shooter or a pass back to the ball-side corner. Finishing at the rim against packed paint is a low-percentage play for any guard, and teaching players to recognize that situation early — before the gather — is more valuable than any individual finishing move.
If the help defender is tall and has a shot-blocking advantage, the floater or runner is often safer than the euro step: the arc on a floater is harder to contest than the lateral finish of a euro step, and the release happens earlier in the drive, before the shot-blocker can get fully set. The euro step places the ball closer to the rim, which is ideal against a defender trying to slide and recover, but the floater places the ball over a defender who is already positioned and ready to block.
Teaching these reads is best done with film. Pull two or three clips of a successful euro step and two or three clips where the drive went to a floater instead — show the defensive positioning that drove each decision. Players internalize defensive reads faster through visual examples than through verbal description alone. Pair the film with live reps where the coach calls out the defensive scenario before the drive begins, so players can practice applying the correct finish to the correct read.
The deeper principle is one that applies to every finishing move: the move exists to solve a specific defensive problem. Know what problem it solves, know what it does not solve, and train the full library so players have an answer for every coverage they will see at the rim. That is what separates a finisher from a one-trick scorer.
- Gather inside the paint: require every euro step gather to happen at or past the second lane marker — gathering at the free throw line means you run out of steps before the rim.
- Step one must sell: an unconvincing step one gets ignored by defenders; coach players to plant hard and lean as if committing to that side before pushing the other direction.
- Lateral push, not a vertical jump: step two is a long lateral stride and an extended inside-hand finish — not a leap that floats the player toward the shot-blocker's outstretched hand.
- Inside hand always: left hand on the left side of the basket, right hand on the right side — non-dominant hand finishing is a prerequisite for the move to work on both sides of the floor.
- Use the glass: a euro step finish off the backboard adds margin for error on the release and uses the rim as a natural shield against trailing defenders trying to chase the play down.
- Read first, then commit: the euro step is the correct choice when the help defender is positioned but uncommitted; against packed paint or a pre-committed defender, a floater or kick-out pass is the better play.
Want more basketball coaching strategies and drills?
See it drawn up
Related diagrams


Keep Building
Related breakdowns
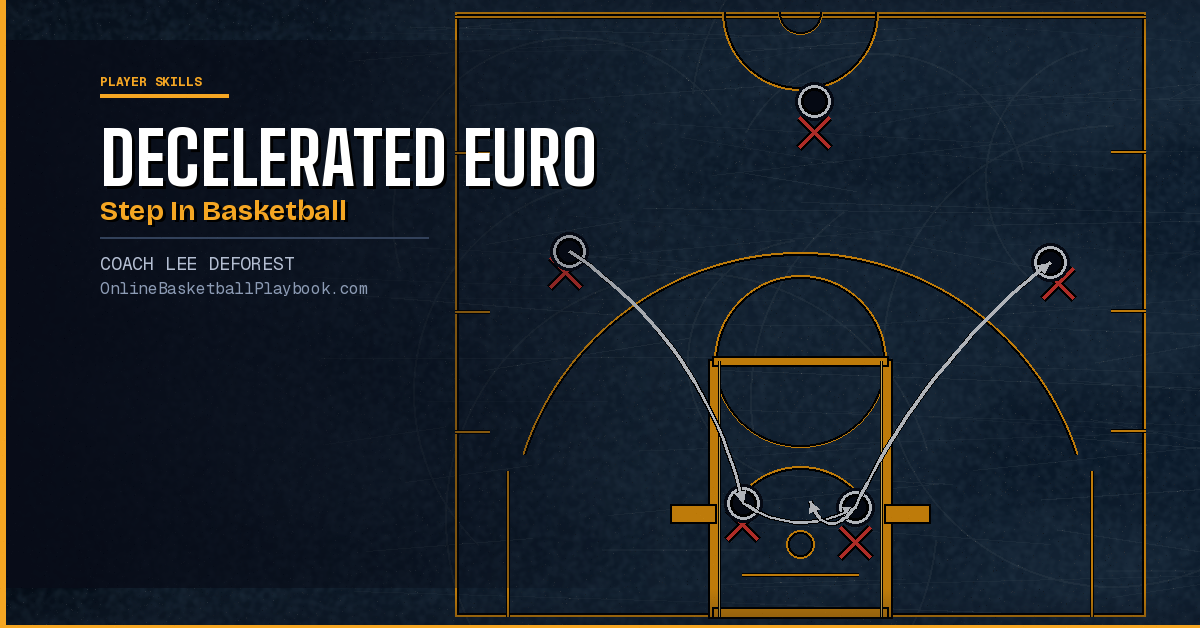
How to Do a Decelerated Euro Step in Basketball
How to Do a Decelerated Euro Step in Basketball