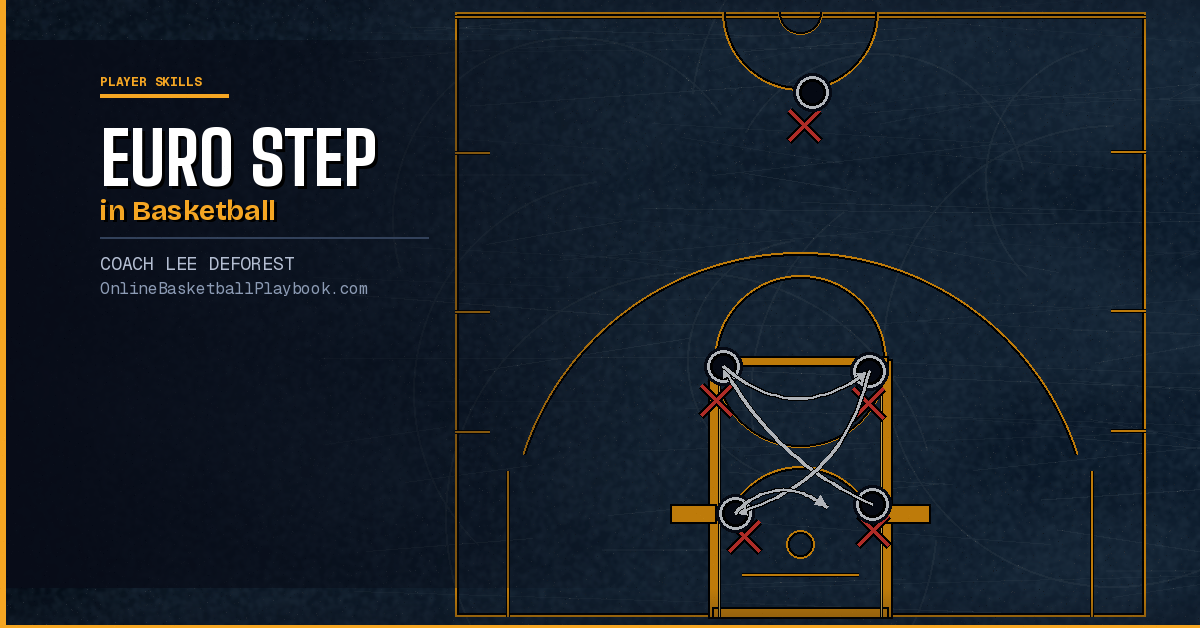

Euro Step in Basketball: How to Teach It
The euro step is a two-foot finishing move that sidesteps a defender without drawing a charge. When taught with the right footwork progressions, players at every level can add it to their scoring arsenal quickly.
What Is the Euro Step
The euro step is a legal two-step gather move where the ball handler plants the first foot in one direction, then lifts off that foot and steps laterally in the opposite direction to avoid a defender before finishing at the rim. It exploits the NBA and FIBA rule that permits two steps after a gather — the same rule that governs any standard layup — but uses those steps in diverging directions instead of straight ahead.
The move was popularized in European leagues long before it became standard in the NBA. Players like Manu Ginóbili brought it to wide attention in the mid-2000s, and since then it has become one of the most-taught finishes at every level from youth basketball through college. Understanding the legal basis of the move is the first step in teaching it confidently, because players and parents sometimes mistakenly believe it is a travel.
The euro step belongs to what coaches call the finish menu — the family of layup variations that includes the regular layup, the power layup, the reverse, the floater, and the runner. Each finish is a tool chosen by the reads the defense gives. A defender who plays straight-line helps, who beats the ball handler to the spot, is most vulnerable to the lateral step of the euro. Teaching players to identify that scenario is just as important as drilling the footwork itself.
For coaches building a complete basketball player development system, the euro step is not a trick move. It is an extension of sound footwork — the same body-control skills that anchor triple threat, the jump stop, and the stride stop. Players who understand the finish menu score more in traffic because they have options rather than one default move the defense can take away.
Footwork Breakdown Step by Step
Breaking the euro step into its mechanical parts makes it coachable for any age group. There are four phases: the approach, the gather, the plant step, and the lateral step with finish.
Phase 1 — The Approach
The player attacks the lane at a controlled but decisive pace. The approach should not be a sprint at full speed before a player has the footwork down. Speed comes after the feet know where to go. The ball handler pushes off one or two dribbles from the mid-range area toward the basket, creating enough momentum to make the defender commit.
Phase 2 — The Gather
The gather is the moment the ball handler picks up the dribble and secures the ball with both hands. This triggers the two-step rule. The gather must happen before the plant foot hits the floor, or the step count begins earlier than intended. Coaches should watch for players who gather too late — they lose a step and the move becomes cramped.
Phase 3 — The Plant Step
After the gather, the first step lands on the side the player initially attacks. If driving right, the right foot plants. This step signals the defender to slide or help in that direction. The plant foot needs to hit flat and low — not on the heel — so the player can push off laterally without slipping or losing balance. Body control at this phase separates a clean euro step from a fumbled attempt.
Phase 4 — The Lateral Step and Finish
The second step goes the opposite direction — left if the plant was right — swinging past the defender's hip. The finish at the rim is typically with the hand opposite the defender: if stepping left, finish with the right hand underhand or with a scoop. The layup should be soft and high off the glass rather than a power slam, because the player is moving laterally, not straight to the basket. Encourage players to use the rim as a shield between the ball and a shot blocker.
"Train the rim-finish family — regular, opposite-hand, power, reverse, floater/runner, Euro step — and choose by the help."
— Basketball Vault
Teaching Progressions for Every Level
The fastest way to ruin this move in practice is to start with live defense too soon. Players need to build muscle memory for the footwork pattern before adding any pressure. Use a three-stage progression.
Stage 1 — Stationary Walk-Through
No ball, no dribble. Players walk through the four phases in slow motion: approach footwork, gather position (hands together), plant step, lateral step. Do this ten times on each side before ever adding a ball. The goal is to eliminate confusion about which foot plants first and which direction the lateral step goes. Youth players especially benefit from calling out each phase aloud as they walk through it.
Stage 2 — Ball in Hand, No Defense
Start from the three-point line with the ball already in hand — no dribble yet. Players take two hard dribbles toward the lane, gather, plant, and euro step to the rim. Coaches should stand at the finish point and hold up a hand on the side the player should avoid. This trains the mental read: "obstacle here, go the other way." Reps are the currency at this stage — aim for twenty finishes per player per practice session while drilling this move.
Stage 3 — Live Dummy Defender
A coach or another player stands at the rim side with a pad or just a stationary body. The ball handler approaches, plants, and steps around them. The defender does not contest — they simply occupy space, forcing the ball handler to time the lateral step correctly. Only after players can consistently clear the stationary obstacle do you introduce a live, active closeout or rotating help defender.
For coaches who want to integrate this into broader skill sessions, the euro step fits naturally inside any basketball footwork drills block. It pairs well with the jump stop, the stride stop, and the power layup because all four share the same body-control foundation.
Common Mistakes to Fix
Even when players understand the concept, several mechanical errors surface repeatedly during the teaching process. Recognizing and correcting these early prevents bad habits from becoming permanent.
Mistake 1 — Gathering Too Late
The most common error at the youth level: the player picks up the dribble after the plant foot has already landed. This counts the plant step as the first step, which means the lateral step is the second — and the finish is often illegal because the player takes a third step to actually lay the ball up. The fix is to emphasize gathering the ball while both feet are still in the air during the last dribble. Film study at practice helps players see this clearly.
Mistake 2 — Planting on the Heel
Players who plant on their heel cannot push off efficiently. They slow themselves down and give the defender time to recover. Teach players to land the plant step on the ball of the foot or flat, not heel-first. A good cue: "stay low and stay soft" on the plant.
Mistake 3 — Finishing with the Wrong Hand
When stepping left to avoid a help defender, finishing with the left hand gives the defender a direct path to block the shot. The right hand reaches across and away, using the body as a shield. Coaches should ingrain the "opposite hand" rule from the first ball-in-hand rep, not as an afterthought once the footwork is established.
Mistake 4 — Telegraphing the Direction
If a player always euro steps left off a right-side drive, defenders learn the pattern and cheat. Teach the move on both sides and add a jab step or shoulder fake before the gather to keep defenders honest. The euro step should be a read off the help defender's position, not a predetermined decision made at the three-point line.
Mistake 5 — Ignoring the Floater Option
Sometimes the help defender is too close even after the lateral step. In those situations, the floater or runner off the euro step gather is the right call — the player has already separated from one defender and can release the ball high before the second one arrives. Train the floater as a companion finish alongside the euro step so players have a two-option menu from the same gather.
When you see a player traveling on the euro step, nine times out of ten it is a late gather, not a bad step count. Fix the gather first and the travel call usually disappears without any other adjustment needed.
Drills to Build the Euro Step
Three targeted drills accelerate euro step development faster than general scrimmaging. Incorporate them in sequence during your skill development blocks.
1. Two-Dribble Euro Step Drill
Player starts on the wing, takes exactly two hard dribbles toward the elbow, gathers, and euro steps to the rim. No more than two dribbles — this forces a clean gather before the lane rather than allowing the player to approach too close and cramp the footwork. Run it right side and left side every session. Add a coach standing at the help position to give a visual read on which direction to step.
2. Cone Obstacle Drill
Place a cone or chair at the rim on one side. The player must euro step around the cone on every rep. This drill is valuable because it makes the lateral step non-optional — the obstacle is always there. Vary the cone placement so players practice stepping both directions off both sides of the lane. Progress to a player holding a pad instead of a cone once footwork is consistent.
3. 1-on-1 Live Euro Step Drill
A defender starts in a help position at the lane line. The ball handler drives the baseline, gathers, and must euro step past the help defender to score. The defender's job is to contest, not to foul — the drill trains the finish through real bodies rather than open-gym reps. Track makes and misses to create accountability without making the drill feel like punishment.
For coaches who run structured sessions, these drills fit cleanly into the individual skill block of a basketball practice plan. Fifteen minutes on euro step footwork two or three times a week produces visible results within two to three weeks of consistent reps.
- Gather timing: ball must be secured before the plant foot lands — check this on every rep.
- Plant foot flat: no heel planting; cue "stay low and soft" to keep players on the ball of the foot.
- Opposite hand finish: stepping left means finishing right — drill this from day one.
- Both sides, both hands: run every drill left and right; defenders will find a one-sided euro step quickly.
- Add the floater companion: once footwork is clean, train the floater off the same gather so players have a two-option menu.
- Read the help first: the euro step is triggered by help defender position — teach the read, not just the footwork pattern.
When to Use the Euro Step in a Game
Footwork knowledge without situational awareness produces players who euro step into double teams or use the move when a simple layup was open. Teaching when to use the euro step is as important as teaching how.
The euro step is most effective when a help defender beats the ball handler to the rim on the same side as the drive. If the driver attacks right and a weak-side defender slides over to protect the rim on the right side, one euro step left clears the path to score. The trigger is the help defender's hip — when that hip arrives at the spot before the ball handler, the lateral step is the answer.
It is less effective against a shot blocker who plays straight up and does not commit. Against that defender, the power layup or a floater off two feet is often the better choice because the euro step's lateral movement does not create separation from a straight-line chaser — it just moves the finish point sideways without gaining any vertical advantage.
Players who understand help defense rotations use the euro step more intelligently. The more a ball handler studies help defense principles, the better they understand when defenders have to commit early — and that is exactly the moment the euro step exploits. Build this situational knowledge into film sessions and walk-throughs, not just open-gym drilling.
In transition, the euro step is especially potent because help defenders are often arriving at a sprint and unable to stop and recover laterally. A ball handler who gathers early in the lane and reads an oncoming chaser can euro step past them before they brake. Teaching players to attack early in transition — before help defense is set — makes the euro step a high-percentage finish in the open floor rather than a half-court isolation move only.
For teams that run a lot of ball movement and penetration, connecting the euro step to your offensive system means players understand it as one of several layup options available off a drive, not a standalone skill they practice in isolation. When it lives inside your broader motion offense system, players execute it in context and make better decisions about when to deploy it versus when a kick-out pass or pull-up is the right read.
Get free play diagrams, drills, and coaching guides delivered weekly.
See it drawn up
Related diagrams


Keep Building
Related breakdowns