
Floater in Basketball
The floater is a high-arcing, one-handed shot released near the free-throw line before a shot-blocker can contest it. Guards who own this shot become nearly unguardable in the lane.
What Is a Floater?
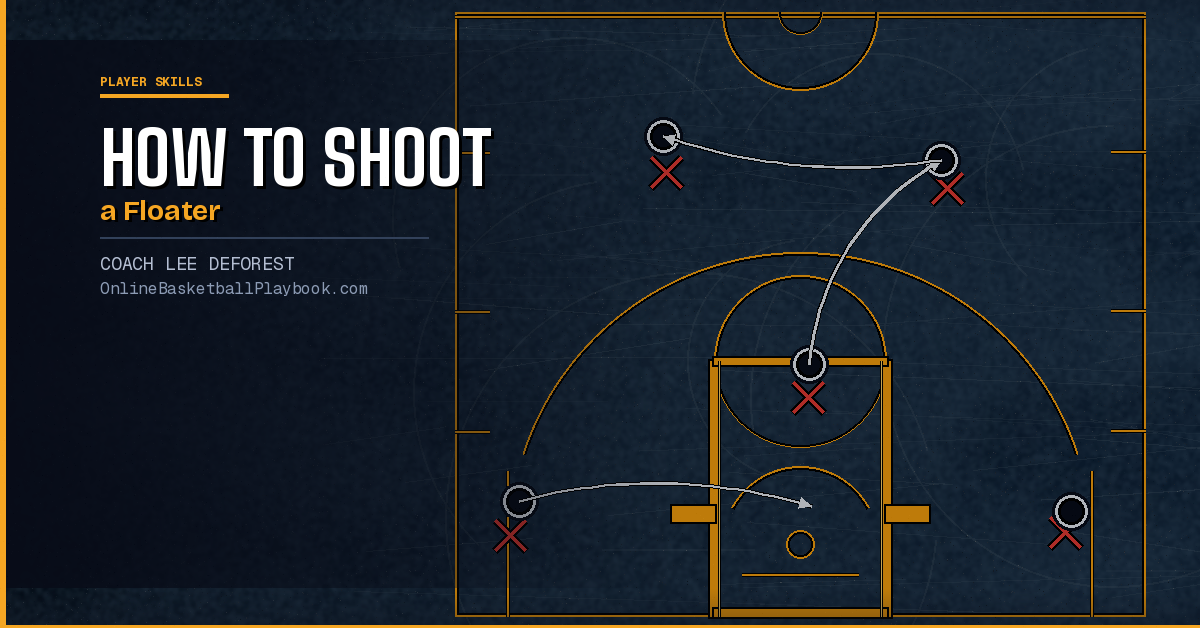
The floater — sometimes called a runner, teardrop, or baby hook — is a one-handed shot released on the way up, typically between eight and fifteen feet from the basket. The ball is pushed with a high arc and soft touch rather than driven straight to the rim. Unlike a layup, the player does not reach the backboard. Unlike a pull-up jumper, the release happens off one foot (or with a quick gather) at a rhythm that beats a shot-blocker's timing.
You will most often see the floater triggered when a ball-handler has turned the corner off a pick-and-roll, gotten into the paint, and faces a rim protector waiting in the lane. The ball-handler is too far from the basket for a clean layup attempt but too close — and moving too fast — to set up comfortably for a standard mid-range jumper. The floater splits that gap. It converts a situation that used to be a turnover or a blocked layup into a legitimate scoring play.
The shot belongs primarily to guards and small forwards. Point guards under six feet — Tony Parker, Chris Paul, Stephen Curry, Trae Young — have each made the floater a cornerstone of their scoring because their size puts them in constant danger inside. But the shot is not size-exclusive. Any perimeter player who attacks the paint regularly and faces length at the rim has a use for it.
Why the Floater Works
Shot-blockers win contests by timing. They watch the ball-handler gather, read the jump, and then leap to block at the peak. The floater disrupts that rhythm in two ways: arc and release point.
A standard layup peaks close to the rim, giving a center time to track it. A floater peaks three to five feet earlier and much higher — often eight to ten feet at its apex. A defender who jumps to contest a floater at normal layup timing will reach peak height before the ball does. By the time the ball descends into the cylinder, the defender is already coming back down. The shot literally floats over the block attempt.
The release point compounds this. A floater releases off the hip or shoulder level rather than above the head, which means the player can let it go earlier in the stride — before the defender has fully committed. Against a rotating help defender, that half-second matters enormously. The ball is out of the hand and on its arc before the help arrives at the spot.
There is also a psychological element. Centers who play deep to protect the rim give up open floater range every time. Guards who have demonstrated a reliable floater force rim protectors into a genuine no-win: step up and risk giving up the lane drive continuation, or hold position and concede the floater look. Either choice benefits the offense.
Footwork and Mechanics
The footwork underpinning the floater is the same finish-menu footwork that underlies every rim attack. The Basketball Vault's finishing-and-footwork concept says it plainly: coaches should train "the rim-finish family — regular, opposite-hand, power, reverse, floater/runner, Euro step — and choose by the help." The floater is not a trick shot. It is one option in a menu that every guard should own.
The Gather Step
Most guards execute the floater off a two-count gather: last dribble into the gather foot, then the push foot, then the release. The gather step absorbs forward momentum and loads energy for the upward push. If the gather is too long or the player leans forward through it, they will release the ball flat — and a flat floater is easy to block or miss long.
The correct gather keeps the body balanced and upright. Think of it as a mini jump-stop that immediately flows into a single-leg push rather than a two-foot landing. The hips stay under the shoulders. That posture is what allows the player to push the ball up rather than away.
The Push and Release
The shooting hand is placed under and slightly behind the ball. The wrist pushes forward and up through release — not a flick, not a hook, but a controlled push with pronounced backspin. Backspin on a floater is what creates the soft touch: the ball arrives at the rim spinning backward, which deadens any contact with the backboard or rim and increases the chance of a favorable bounce.
Kremlin Kokoškov's guard drill work emphasizes the proper foot for floater release: the shot comes off the foot that corresponds to the shooting hand's side of the lane. A right-handed guard attacking from the right side pushes off the right foot; attacking from the left side, the gather is longer and the push comes off the left foot to stay balanced and keep the body between the ball and the defender. The vault notes specifically: "floater off the proper foot, reverse under the basket."
Opposite-Hand Floater
The most undercoached variation is the opposite-hand floater. When attacking from the left side of the lane with the right hand as the primary, a player who can float the ball left-handed with the same mechanics doubles the defensive problem. The left-hand floater coming from the left baseline angle is especially useful because it keeps the ball on the far side from the help defender rotating from the strong side.
Coaches often skip this in development. Do not. Drill it at game speed with both hands and both sides from the first session you introduce the shot.
When to Pull the Trigger
The floater is a paint-read, not a predetermined play. Players who decide in advance they are going to shoot a floater will misfire more often — they take the shot before the defense has committed, or in situations where a straight layup or a kick-out pass is clearly better. The read comes from the rim protector's position.
Three situations call for the floater over the alternatives:
The rim protector is parked in the paint. When a shot-blocker is holding position and is not fully committed to the ball-handler, the floater pulls the trigger before they can close. If the defender moves toward the ball-handler before the gather, the correct read is to redirect to the drive — either finish under the basket with a reverse or dump off to a trailer.
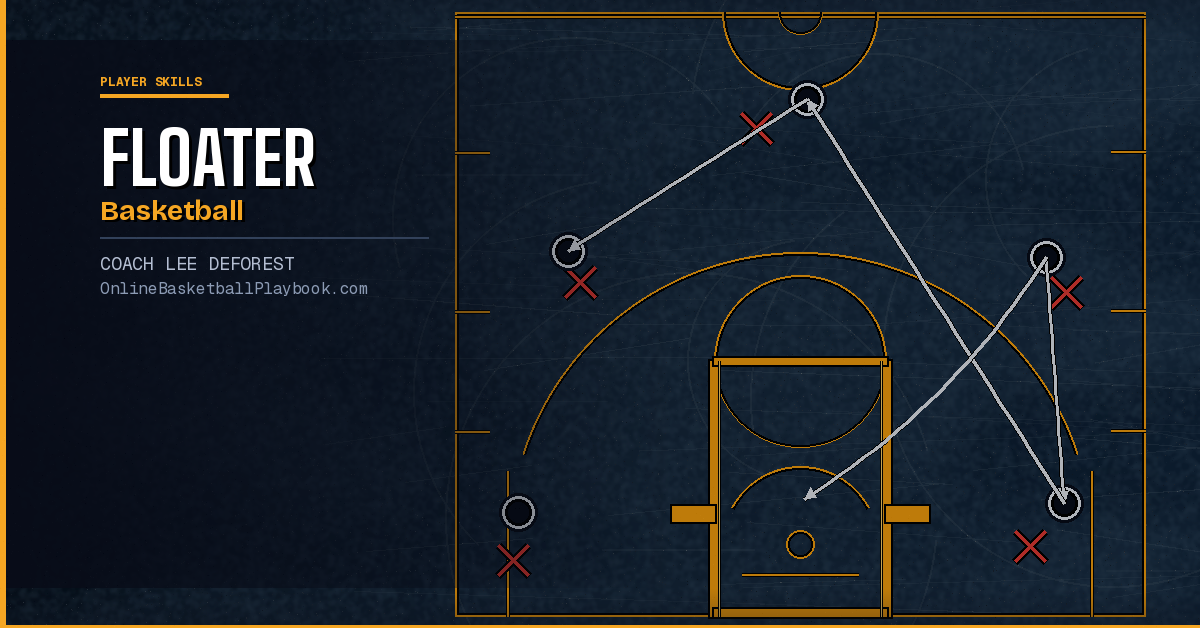
A rotation defender is arriving late. Help defense rotating from the weak side or the corner arrives at the paint around the same time the ball-handler does. A floater released in rhythm beats the rotation. The ball is in the air before the helper's feet reach the spot. This is the most common floater situation in pick-and-roll coverage: the big drops to protect, the guard splits the gap, the helper comes, and the floater wins the race.
The lane is crowded but the window above is clear. Two or three defenders in the paint means driving to the rim is a turnover risk, but the airspace above them is open. A high-arc floater navigates the congestion without requiring a clean path to the basket.
The situations that argue against the floater: when the ball-handler has a clear path to the basket for a power layup, when a wide-open shooter is available on the perimeter, or when the floater angle has the ball-handler's body leaning away from the basket — a leaning floater has no backspin, no arc control, and an ugly miss rate.
Drills to Build a Reliable Floater
The floater is earned in practice, not discovered in games. Three categories of drills build the shot systematically.
Footwork-First Mikan Variations
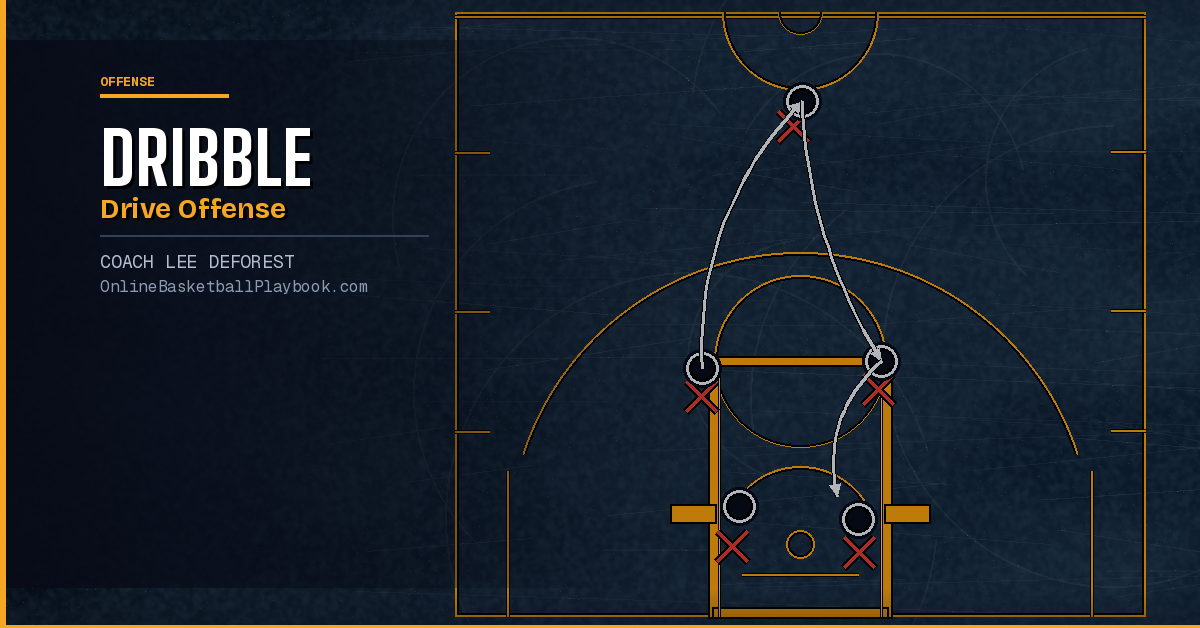
Before adding a dribble, have players practice the gather-and-release footwork under the basket using both hands in a modified Mikan sequence. The sequence: catch from a coach, gather step right, push off right foot, float the ball softly off the backboard from six feet. Repeat from the left. This isolates the mechanics without the chaos of a live drive and lets the coach immediately see and correct poor gather posture or flat release.
Two-Dribble Drive and Float
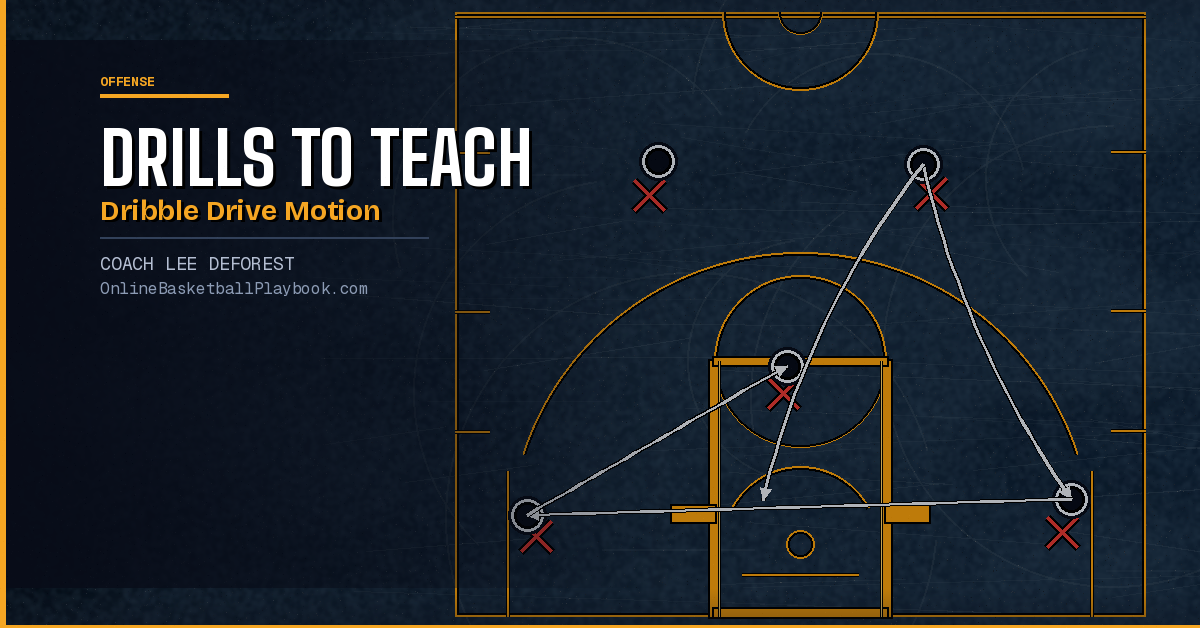
Position a player at the elbow. Two hard dribbles into the lane. Gather. Float. This drill is the most transferable to game situations because the player is generating the momentum of a real drive attack. Coach stands under the basket and acts as a passive shot-blocker — arms up but not jumping. The player learns to release the ball before the "blocker" is in position. Progress to the coach jumping to contest once the release timing is clean.
Pick-and-Roll Shell Drill
Set a live (non-switching) pick-and-roll with a big defender dropping to protect the rim and a guard playing the ball-handler. The ball-handler splits the coverage and executes the floater. This is the closest drill approximation to the primary game situation for the shot. Run it at game speed from both the right and left angles of the pick. The big defender's positioning should vary — sometimes deep, sometimes stepping up — so the ball-handler practices reading which situation calls for the floater and which calls for the drive continuation.
Train the rim-finish family — regular, opposite-hand, power, reverse, floater/runner, Euro step — and choose by the help. Use the rim as a shield; finish through contact.
— Finishing & Footwork concept, Basketball Vault
Common Mistakes and Fixes
Most floater problems trace back to three root causes: a flat release, a leaning gather, or choosing the shot in the wrong situation.
Flat release. The ball travels on a low, line-drive arc and either sails over the backboard or hits the back of the rim hard with no soft bounce. Fix: the player is likely pushing the ball forward rather than up. Have them repeat the Mikan drill from very close range — two feet from the basket — focusing on a straight-up push through the fingers. When they can consistently hit the top of the backboard square from two feet, move them back.
Leaning gather. The player's torso leans forward or sideways through the gather step, which means the push has to fight against the lean and the ball goes flat. Fix: require the player to pause in the gather position (one foot planted, other in the air) and hold it for one count before releasing. If they cannot hold balance in the gather, the footwork is wrong. Use the jump-stop drill from the vault's finishing fundamentals: "Catch the ball with feet in the air — it allows you to be balanced." The same principle applies to the floater gather.
Wrong-situation shot selection. The player fires a floater when a clear path to the basket exists, or when a helpside shooter is open. Fix: this is primarily a video and drill-feedback problem. In the pick-and-roll shell drill, call out "pass!" or "drive!" after the ball-handler picks the wrong option. Over time, the player's read becomes automatic.
DeVillibis' jump-stop-only layup rule at the start of the year applies directly here — players who build the gather-and-balance habit through jump-stop layup training will have a much cleaner foundation for the floater's footwork, because both shots demand the same body control through the gather phase before the release.
Teaching the Floater at Every Level
The age at which you introduce the floater matters. The vault's finishing-and-footwork section raises the right question directly: "How much to emphasize the Euro/floater for younger players vs. straight-line power finishes first."
The answer is sequenced. At the youth level — middle school and younger — the priority is the power layup and the jump-stop gather. A player who cannot gather and finish in balance with two feet has no business trying to float the ball off one foot under game-speed pressure. Build the power finish first. It trains the same gather mechanics, it handles contact better than the floater, and it is far more reliable against young defenders who have not yet developed shot-blocking timing anyway.
At the high school level, once players have a reliable gather and can finish in traffic with both hands using the power layup, the floater becomes the logical next addition. Introduce it in early-season individual workouts, not in team practice. Players need repetitions in a low-pressure setting to develop the feel for the arc and release point. After three or four weeks of individual work, bring it into drill work in team practice — specifically the pick-and-roll shell drill described above.
At the college and professional level, the floater is already expected. Coaching at this level shifts from introducing the shot to refining the trigger situation and the opposite-hand variation. Film sessions showing the specific moments a player chose correctly (or incorrectly) are the primary teaching tool. Players who got by at lower levels without the left-hand floater will face shot-blockers and rotating help defenders who can now key on their dominant side — the counter needs to be there.
One underused teaching tool at every level is the target. Place a strip of tape on the backboard at the ideal contact point for a bank floater from each angle. Players immediately start shaping their arc to hit the target rather than relying on vague feel. The bank floater — particularly from the right-center lane angle for right-handed shooters — has a higher success rate than the pure floater because the backboard deadens velocity and widens the effective margin for error. Many coaches never teach the bank floater because they do not think of the backboard as a tool for this shot. It is.
Regardless of level, the ceiling for the floater is determined by repetitions at game speed with both hands. There is no shortcut. The mechanics are simple. The difficulty is the volume of practice needed to make the shot automatic under pressure — to make the gather and the push and the arc selection happen without conscious thought while a defender closes and the play clock runs. That requires drilling it until the hand just knows what to do.
- Teach the gather before the shot: Balance through the gather step is the non-negotiable foundation — a leaning gather produces a flat floater every time, regardless of hand skill or touch.
- Drill both hands from day one: A one-handed floater is a scouted floater. The opposite-hand variation doubles the defensive problem and must be built in the same session as the primary hand, not added as an afterthought later in the season.
- Use the bank target drill: Tape the ideal contact point on the backboard for each lane angle and have players aim for it — the bank floater has a wider margin for error than the pure arc floater, and most players never practice it intentionally.
- Read the rim protector, not the clock: The floater is triggered by where the shot-blocker is standing, not by a predetermined decision. A player who decides in the backcourt to shoot a floater will misread situations and fire the shot when a drive or pass is clearly better.
- Progress from power finish to floater: Young players need the jump-stop power layup installed and reliable before adding the floater — both shots share the same gather mechanics, and owning the power finish first makes the floater fundamentally cleaner to learn.
Want more basketball coaching strategies and drills?
Keep Building
Related breakdowns