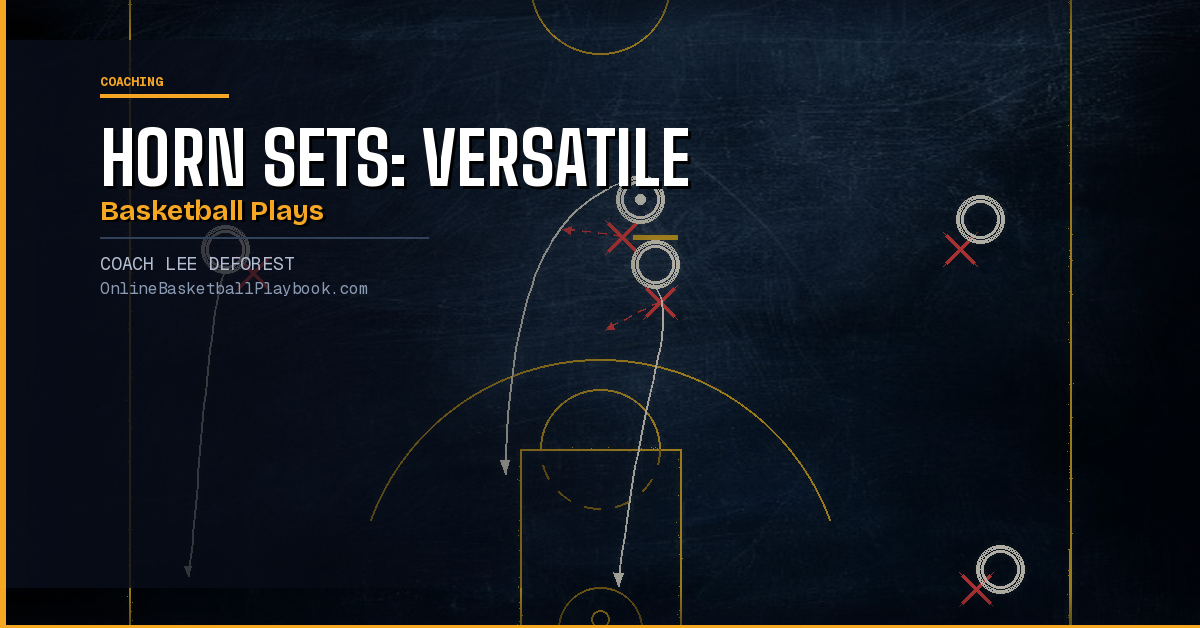

Horn Sets: Versatile Basketball Plays for Various Situations
Horn sets put two bigs at the elbows and two wings in the corners, giving your point guard a clear lane and the offense four immediate reads — making them one of the most adaptable alignments in basketball.
What Is a Horn Set?
A horn set starts with your point guard at the top of the key, two players at the high-post elbows (the "horns"), and two players in the corners or on the wings. The name comes from the visual shape: the two elbow players jut out like the horns of a bull when drawn on a whiteboard.
This 1-2-2 alignment (or 1-4 high, depending on how you label it) is popular at every level of basketball — from middle school to the NBA — because it simultaneously clears the lane, spaces the floor, and puts decision-makers exactly where they need to be for a range of actions. Unlike a set that commits immediately to one play, the horn alignment is a launchpad. The defense cannot overload one side without opening another.
The two elbow players are typically your best screeners and short-roll finishers — bigs who can step out and face up, or wings who can play in tight spaces. The two corner/wing players are usually your best shooters. Your point guard reads the defense, picks the side, and the play unfolds from there.
Why Coaches Use the Horns Alignment
The horn set solves a problem most offenses struggle with: how do you stay unpredictable without installing twenty different plays? Horns gives you one alignment that births multiple actions. Call the same formation, run a different action, and the defense never knows what is coming next.
Here is why the alignment works so effectively:
Floor Spacing Built In
With players at both elbows and both corners, the lane is clear. No one is standing in the paint waiting. That means when a ball screen or drive happens at the top, the cutter has a clear path and the defense cannot shrink without giving up open corner threes. Spacing is not something you have to engineer around the alignment — it is baked into the formation itself.
Multiple Entry Points
The point guard can start the action left or right depending on where the defense is weakest. If the left-side horn defender goes under the screen, attack the left side. If the right-side elbow defender is sagging, use him as the screener and hunt the right-corner shooter. Every rep teaches your point guard to read the defense, not just run a route.
Natural Transition Into Half-Court Offense
Horn sets flow seamlessly out of transition. When the push is stopped or the shot clock requires you to set up, calling "horns" gets everyone into position quickly. Players know their spots, the point guard knows what to look for, and you are already in a set rather than scrambling into motion offense.
Counter-Friendly Structure
Once opponents scout your main horn action, the counter is built right into the alignment. If the defense cheats on the ball screen, the screener slips. If the defense shows hard, the shooter flares. The same set has three or four lives without calling a single new play.
Core Horn Actions Every Coach Should Know
Not every team needs every horn action. But every coach should understand the basic menu so they can pick what fits their personnel and build from there.
Horns Ball Screen (Pick-and-Roll)
The simplest horn action: one elbow player steps up and screens for the point guard. The point guard uses the screen and attacks downhill. The screener rolls to the rim or pops to the elbow. The two corner players hold their spots as pressure valves. This is a two-man action with three built-in reads: pull-up off the screen, pass to the roller/popper, or skip to the opposite corner shooter. Defenses that try to stop all three reads at once will leave someone open.
Horns DHO (Dribble Hand-Off)
Instead of a traditional ball screen, the point guard dribbles toward one horn and hands the ball off. The horn player receives the DHO and immediately attacks. The original ball handler cuts toward the basket or spaces to the weak side. The second horn sets a flare screen for the opposite-wing player. This creates simultaneous pressure on three spots: the DHO receiver driving, the back-cutter, and the flare shooter. Defenses that over-commit to stopping the drive leave the flare open; defenses that deny the flare invite the drive.
Horns Slip
This is the DHO or ball-screen action with one key twist: the horn player sets up like they are going to screen or hand off, then slips to the rim before making contact. The slip works because defenders cheat. Once a scout report says "watch for the horn ball screen," the defender tries to hedge the action before it happens — and the slip punishes that hedge. The Northwestern Wide Horns Slip from the 2024 NCAA Tournament is a textbook example: the horn player sets a flare screen, reads the defender cheating over the top, and slips early for a catch near the basket. The setup was the scoring action all along.
Horns Stagger
Use both horn players in sequence to free a shooter. One horn sets a pin-down for the corner shooter; the second horn immediately follows with a second screen. The shooter runs off the stagger and catches the ball in rhythm for a three-pointer. This takes longer to develop than a ball screen, but against defenses that switch everything, a stagger forces two switches and often creates a size mismatch on the shooter.
Horns Back-Screen Lob
One horn crashes to set a back screen on the weak-side defender. Your best finisher cuts off the screen to the rim. The point guard or opposite horn throws the lob. This is the horn set's high-percentage explosive play — a clean lob is nearly automatic when the back screen is set correctly. Against man-to-man defenses that play behind bigs, this is a weapon you can dip into once per game and almost always convert.
A SLOB that tries to score on the first pass has no recovery plan when the inbound is denied — most programs fail here because they design one decoy and one cutter, and if the cutter is covered it becomes a jump ball. Olympic-level design uses two sequential phases without exception: phase one gets the ball in safely, phase two is the scoring action.
— SLOB Plays Concept Entry, Basketball Vault
That same two-phase thinking applies directly to horn sets. The initial screening action in a horn play is phase one — it stresses the defense and creates an overload. The scoring read that follows is phase two. Coaches who run horn sets with only one phase get one good look per game. Coaches who build phase two into every horn action get multiple looks from the same call.
Horns as an After-Timeout Play
The horn alignment is one of the most effective after-timeout (ATO) formations because it sets up quickly, the alignment signals very little about which action is coming, and it gives the inbounder or the point guard clear lanes to move the ball.
When you take a timeout to draw up a play, you want a formation your players know cold — not one that requires reminders about where to stand. Horn sets, because they are used so frequently as a half-court base, become second nature. Players hit their spots automatically. The entire timeout can be spent on the action, not the alignment.
Three ATO actions work especially well out of horns:
Horns ATO Quick Hitter
Point guard brings the ball up, one horn sets an immediate ball screen, and the shooter in the corner cuts off a pin-down from the opposite horn simultaneously. The defense has to account for the ball screen at the top AND a cutter at the wing in real time. One action, two reads, clean catch-and-shoot if the defense picks wrong.
Horns ATO Isolate
Both horns move to the same side, clearing weak-side space for your best player to get the ball one-on-one. This is used when you have a clear mismatch from a switch or when the game situation demands a specific player have the ball in their hands. Horns gives you the clearout structure without making it obvious that an isolation is coming — the movement of the horn players can sell a screen action before it becomes a clearout.
Horns ATO Lob
One horn sets a cross screen, your lob target cuts to the rim, and the pass goes over the top of the defense. Defenses that switch to take away the initial horn action are vulnerable to the back-cut lob. This is particularly effective when an opposing big has to switch onto a quicker player — the mismatch exploited by a lob punishes the switch immediately.
Running Horns Against Zone Defense
The horn alignment is well-suited to attacking zone defenses because the two elbow players are stationed exactly where zone defenses are weakest: the high-post and mid-post seams. A zone cannot protect the paint and the perimeter simultaneously, and the horn alignment exploits that by putting decision-makers at the spots where zone rotations break down.
Flash to the Elbow
Against a 2-3 zone, the point guard passes to one horn at the elbow. That flash immediately draws both the middle defender and the top guard toward the ball. The opposite horn flashes to the weakside elbow. The corner players spread wide on each side. From the elbow catch, the horn player looks first for the roll to the block, then for the skip to the opposite corner. The zone collapses on the elbow flash — and the skip pass to the opposite corner is almost always open.
Two-Horn Overload
Shift both horns to the same side and put two players in the strong-side corner and wing. The zone now has three offensive players in a space designed to be covered by two defenders. Pass the ball quickly around the overload: elbow to corner, corner to wing, wing skip to the opposite corner as the zone shifts. This rapid ball movement forces the zone to rotate more than it wants to, and a skip pass into the seam will find a shooter before the zone completes the rotation.
Middle Penetration
Against zones that compress low, the point guard can use the clear lane created by the horns alignment to attack the middle directly. If the two top defenders of the zone sag to the elbows, the point guard drives the gap and draws the third defender before kicking out. The horn players are positioned to receive the kick and immediately shoot or attack the next gap. This makes the horn alignment one of the cleanest zone-attack formations at the high school level, where zone penetration skills are the primary differentiator.
When installing horns against zone, start with the elbow flash and the skip pass as one two-step drill. Have your horn player catch at the elbow, pivot to face, and find the opposite corner shooter for a skip. Run this drill until the horn player's catch, pivot, and skip become one automatic motion — it is the backbone of every zone horn action and must be second nature before you add the full overload concepts in live situations.
Late-Game Horn Sets: Scoring Under Pressure
The horn alignment is one of the most trusted late-game formations because it puts shooters in their spots, gives the ball handler a clear lane, and forces the defense to commit to one side before the action even begins. When the game is on the line, horn sets let you put the ball in your best player's hands while keeping four scoring options live.
Down Two — Horns Two-Point Attack
When you need two points, one horn sets the ball screen and the point guard attacks the rim. The opposite horn holds the elbow as a short-roll option if the defense collapses. Both corner players space for kick-outs if the defense sends help. This is not complicated — it is disciplined spacing and a downhill attack with multiple bail-out reads. The defense has to choose: guard the drive or guard the shooters. Your best point guard should be able to convert this at a high rate against a tired defense late in the game.
Down Three — Horns Shooter Action
The stagger action out of horns is the primary down-three late-game call. One horn sets the first screen, the second horn immediately follows. The shooter gets the catch in rhythm at the three-point line. The point guard and the non-screening horn space to remove help. One clean catch off a well-run stagger will produce a high-quality three-point look — not a contested heave, but a real shot in rhythm. This is worth repping in practice specifically as a "down three, last possession" scenario so players understand the pace and the spacing required.
Final Seconds — Horns Quick Slip
When there are only a few seconds on the clock and one pass is the entire offense, use the horn slip. Set up the alignment, send the point guard into a ball screen, and have the horn player slip immediately. This takes approximately one second from when the ball hits the horn player's hands to when the slip arrives at the rim. Against a defense that is hedging the ball screen in anticipation of your set play, the slip punishes that anticipation and creates a layup or short jumper at the rim. Run it when the scout has the defense prepared for your primary action — the slip is the counter to their preparation.
How to Install Horn Sets at Any Level
The horn alignment is teachable at any level because the initial positioning is simple. Four spots, one formation, and your players know where to stand. The complexity lives in the reads, and those reads can be added one at a time as your team develops.
Start With One Action
Pick one horn action — the ball screen is the easiest — and rep it until it is automatic. Walk through the three reads: drive, roll, skip. Do not add the DHO or the stagger until the ball screen reads are correct under game pressure. A team that knows one horn action cold will outperform a team that knows four actions at 60%.
Add the Counter
Once the primary action is automatic, add one counter. If the ball screen is primary, add the slip as the counter. If the DHO is primary, add the backdoor as the counter. Run both actions from the same call. Now the defense cannot cheat on either action without opening the other. This is the moment horn sets become truly dangerous — when the counter punishes the over-adjustment.
Build the Late-Game Package
Designate specific horn actions for specific game situations. Down two, under thirty seconds: horn ball screen with drive emphasis. Down three, under fifteen seconds: horn stagger for the shooter. Final possession, defense scouting your set: horn slip. When the game is tight and time is short, players should not be thinking — they should be executing a practiced plan. The horn set's versatility makes it the right formation to anchor your entire late-game package.
Keep the Menu Short
The principle that applies to sideline inbound plays applies equally here: three actions repped to automatic execution beat six actions that require a huddle reminder. Your horn menu should have one primary action, one counter, and one late-game special. Master those three, and you have a complete offensive system built on a single alignment.
- Position your best screener at one horn and your best shooter in the opposite corner so every ball-screen action creates an immediate three-point threat if the defense collapses.
- Teach the slip before the scout report arrives — once opponents know your primary horn action, the slip is the counter that keeps it live for the rest of the season.
- Use the elbow flash as your primary zone entry: horn player catches at the elbow, pivots to face, and skips to the opposite corner before the zone rotation completes.
- Designate a specific horn action for each late-game situation — down two, down three, final possession — and rep each one as a standalone late-game drill so players execute without thinking.
- Keep the total horn menu to three actions per team: one primary scoring set, one counter off the primary, and one shooter stagger for three-point situations. More than three actions without full mastery produces hesitation at critical moments.
Want more basketball coaching strategies, drills, and tools?
See it drawn up
Related diagrams


Keep Building
Related breakdowns
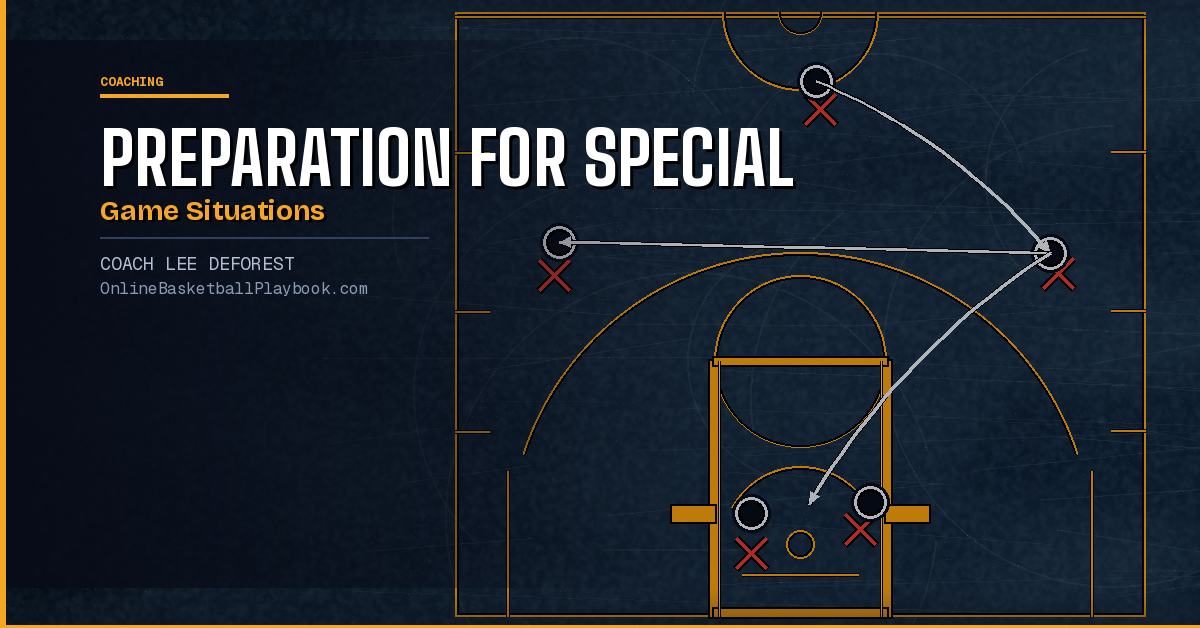
Preparation for Special Game Situations in Basketball
Preparation for Special Game Situations in Basketball
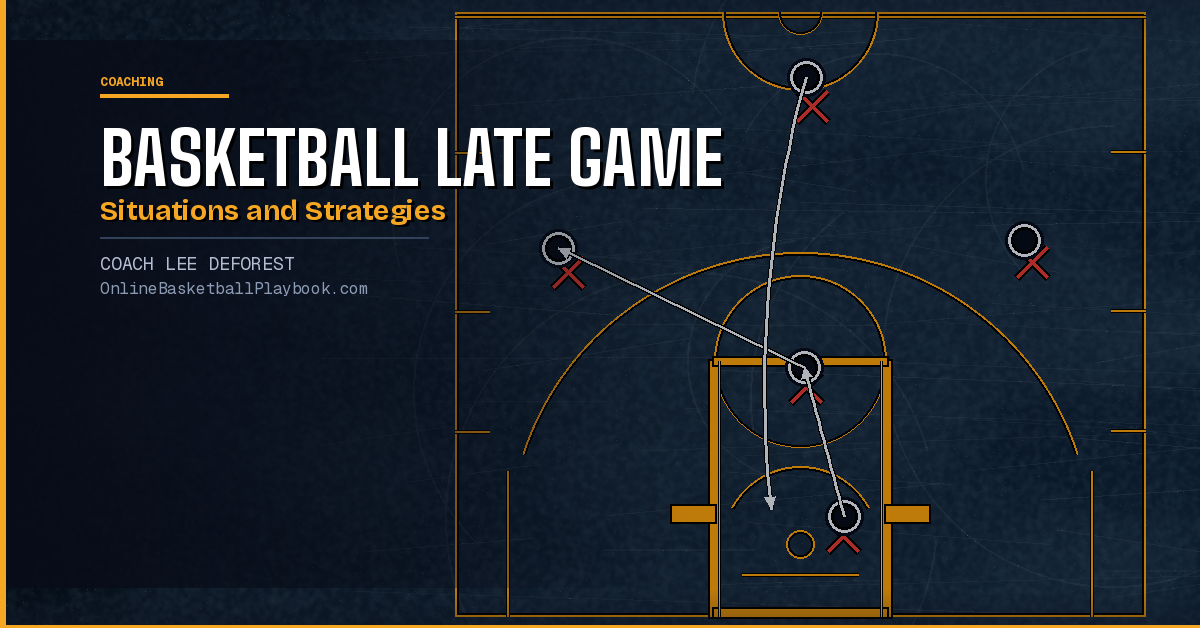
Basketball Late Game Situations and Strategies
Basketball Late Game Situations and Strategies