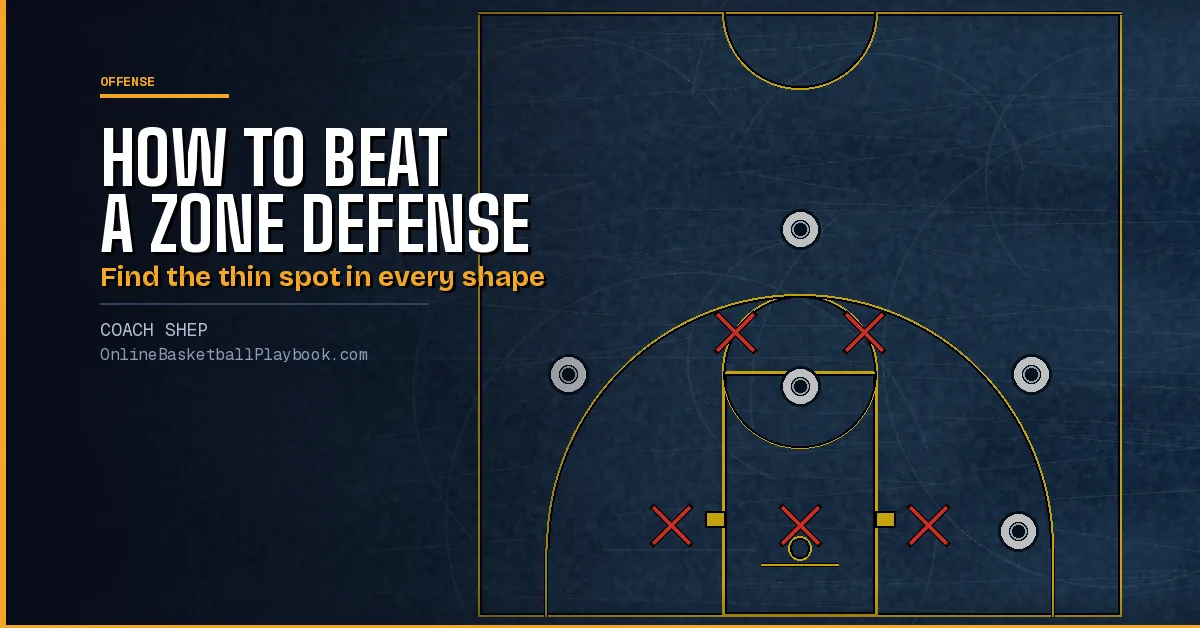
How to beat a zone defense depends on which zone you are looking at. A 2-3 leaves the high post and the short corners thin. A 1-3-1 leaves its corners to one defender. A matchup zone guards people inside areas, so the overload math that beats a 2-3 works less well against it. This page is the zone offense hub for the offense section. It takes each zone in turn, says what it takes away, what it gives up and where to attack it, then sends you to the full guide for that zone. The rules that hold against every zone come first, because each zone section builds on them.
How to Beat a Zone Defense: Rules That Work Against Every Zone
These come up across the zone material regardless of the shape the defense shows.
- Push before it sets. A zone is weakest in the seconds before it is organized. Ettore Messina makes fast-break urgency his first zone-offense rule, and several college coaches open their zone rules the same way.
- Match your front to theirs. A two-guard zone (2-3, 2-1-2) gets a one-guard offense. A one-guard zone (1-2-2, 3-2, 1-3-1) gets a two-guard offense. The point is to line up where the defenders are not.
- Sit in the gaps and dribble at a defender. Bob Knight's rules start with filling the natural gaps and compressing the zone with the dribble. Messina's read off the dribble: if the defender follows you, pass opposite, and if he passes you off, keep going.
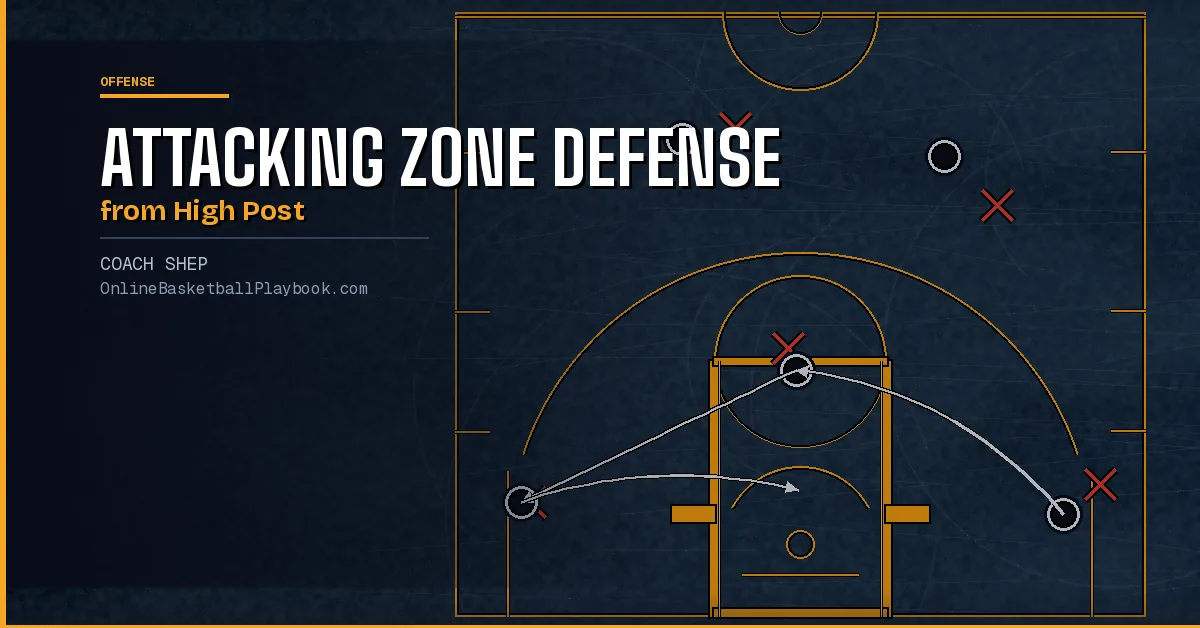
- Get the ball to the middle. A catch at the high post or just inside the free-throw line bends the whole zone. Put the best passer and scorer there, not automatically the center. More on that spot is on attacking a zone from the high post.
- Reverse and skip faster than the zone shifts. Reverse once or twice, then skip to the side the zone just left. Messina aims the diagonal skip at the help-side corner, where the defenders have their backs turned.
- Screen the zone. Zone defenders are screen targets. A ball screen on the front line forces a decision, and a screen on the second line frees a shooter on the reversal. Zone defenders who fight through a screen leave a gap behind them, so the screener slips into it.
- Crash by name. A zone has no block-out assignments, which is why it gives up second shots. Assign the crashers before the shot.
Most sets against a zone are built from those pieces. The short, named ones are on zone offense quick hitters, and the breakdown drills that teach the gaps, the high post and the short corner are on drills to teach zone offense.
2-3 Zone
Takes away: the rim, the paint and the low post. Its strength is the baseline. It walls off a big post scorer and slows dribble penetration.
Gives up: the high post, both short corners, the corners and the slot between the two top defenders, which a point guard can split with the dribble. It is weakest in the half-second after a reversal, before the slides finish.
Where to attack: a one-guard front puts the ball between the two top defenders and the wings in the seams. Get a catch at the high post, fill the short corner, and dive the high post when the short corner catches. Knight attacks a 2-3 at the baseline and flashes the middle. Do not post on the low block, because the low defenders collapse on the feed. Run the low post from short corner to short corner instead.

The full plan is on how to beat a 2-3 zone. For named continuities and set plays, see 2-3 zone offense. The defense's side is on 2-3 zone defense.
3-2 Zone
Takes away: the area across the free-throw line and the high post. The straight 3-2 drops its middle defender into the high post.
Gives up: the top of the circle and the corners, because two baseline defenders have to cover corner to corner. The middle is one answer and penetration is the other. The 3-2 likes to load toward the ball, which leaves it open to skips.
Where to attack: a two-guard front. The back line is thin, so overload it, swing the ball two or three times before attacking and enter at the short corner. Every zone turns into a 2-3 once the ball reaches the corner, and a guard in the corner has an athletic edge over the post player covering him. Knight attacks a 3-2 through the middle with three flat players. The full plan is on how to beat a 3-2 zone defense, and the defense's side is on 3-2 zone defense.
1-2-2 Zone
Takes away: the outside. It contests every three and is built to start the fast break.
Gives up: the same thin back line as the 3-2. The two can be treated as one problem.
Where to attack: the middle seam first, off the dribble, then the same overload, swing and short-corner entry as against the 3-2. Against the odd front, set two guards up top, a post on each block and a shooter in a corner. Nobody stands in the lane, because of the three-second rule.

The full plan is on how to break a 1-2-2 zone, and the defense's side is on 1-2-2 zone defense.
1-3-1 Zone
Takes away: passing lanes. Defenders overplay the lanes, herd the ball to one side and either trap it or force a lob or a long pass.
Gives up: the corners. One baseline defender covers corner to corner, so the opposite corner is open on a skip if the pass arrives before the trap forms. There is only one true inside defender, so the high post and the elbows are live, and a high-post catch can become a three on two. The zone is also exposed to screens on that baseline defender.
Where to attack: skip to the far corner. Start in an even front to split the top defender, and reverse as he commits. Screen the baseline defender as he sprints to the corner. Overload four to one side and leave the best shooter alone on the far wing. Note the zone has only one true inside defender and crash the glass. Coaches who run dribble-drive split here. Run the odd-front continuity against the 1-3-1, or do not use the system against it at all.

The full plan is on how to beat a 1-3-1 zone defense, and the defense's side is on 1-3-1 zone defense.
Get the next coaching guide in your inbox
One email when a new guide or diagram set goes up. Free.
2-1-2 Zone
Takes away: the high post. The 2-1-2 is a compact version of the 2-3 with the middle defender pulled up to plug the free-throw line.
Gives up: the corners, which open to skips, and the high-low pass, which gets easier because the middle defender is up. A 2-3 that lifts its low-middle defender into a 2-1-2 look partway through a possession gives up the same things.
Where to attack: skip to the corners and look high-low. Use a one-guard front, as against any two-guard zone.

The defense's side is on 2-1-2 zone defense.
Matchup Zone
Takes away: the easy read. It starts in a zone shape, then gives tight, man-style pressure to whoever is in each area, so it looks like a zone and plays like man. Coaches use it to beat a scouting report.
Gives up: cutters, which two matchup versions name as its basic weakness. Penetration, a team that makes threes and high-low post play also test it.
Where to attack: pure overload math is weaker here, because the defense guards men. The versions differ. One attacks off the dribble with four players around one and hunts mismatches. One makes a quick corner pass, then screens in or slips. One posts the middle and stays there until a misdirection dribble. Another simply runs the man offense against it. The full plan is on how to beat the matchup zone.
Box and 1 and Triangle and 2
Takes away: one or two scorers. Chasers deny them everywhere while the rest play a small zone.
Gives up: the middle of the box and the skip pass, because two box defenders have to cover the whole arc outside the corners.
Where to attack: one short rule from the zone material is to run your zone offense against a box and 1 and your man offense against a triangle and 2. Use the chased player as a decoy, or park him far from the ball so the other four play four against four, and never isolate him. Screens for the star confuse the box, because the zone defender is unsure whether to leave his area.

The full plans are on how to beat a box and 1 defense, triangle and 2 defense and how to score against junk defenses. The defense's side of all of them is on junk defenses.
Every Zone in One Table
| Zone | Takes away | Gives up | Where to attack |
|---|---|---|---|
| 2-3 | Rim, paint, low post | High post, short corners, corners, top slot | One-guard front, high post, short corner |
| 3-2 | Free-throw line area, high post | Top of the circle, corners, the middle, penetration | Two-guard front, overload the back line, short corner |
| 1-2-2 | Outside shots, every three | Thin back line | Middle seam, posts on both blocks |
| 1-3-1 | Passing lanes | Corners, high post and elbows | Even front, corner skip, screen the baseline defender |
| 2-1-2 | High post | Corners, high-low pass | Skips to the corners, high-low |
| Matchup | Easy reads, scouting | Cutters, penetration, high-low | Cut, drive, or run the man offense |
| Box and 1 | One scorer | Middle of the box, skips | Zone offense, park the star, four on four |
| Triangle and 2 | Two scorers | Skips, the shooters left open | Man offense, screens for the scorers |
Where Coaches Split
The zone material disagrees on several big questions. Each side has owners, and none of them is wrong for every team.
Run your man offense
A good zone is a good man defense in disguise, so keep your offense. Make the zone attack look like the man attack with a designated cutter. Or keep the same alignment with wider spacing. and the dribble-drive lineage keeps its shape and adds zone rules.
Carry a separate zone offense
Man sets fail against zones, so carry a dedicated zone offense. Carry both a set zone offense and a freelance one. Zone offense is often the most neglected item in preseason.
Dribble as the weapon
Knight's practice rule is to dribble against a zone on every perimeter catch. Dribble-drive also makes the dribble the main tool and answers a zone with tempo, threes and drive and kick.
Pass first, few dribbles
Extra dribbles give the zone time to recover, so pass more and dribble less. Get one inside touch before any outside shot, with a kick-out three in transition as the only exception.
Overload a side
Put three or four players on one side so the zone has to leave its shape, then skip or reverse. Several continuities run on it.
Stay in the gaps
Knight and a gap version keep players in the gaps instead, and the gap version saves its overload set for one-guard fronts.
Two smaller splits matter in practice. On the high post, some coaches want the catch at the elbow and others in the gap just inside the free-throw line. On the glass, the number of crashers runs from three to four depending on the coach. One way to settle the movement question is by zone type: player movement and the one-dribble freeze beat a passive zone, ball movement and fakes beat an attacking one.
How to Choose Your Attack
Questions to answer before the game:
- Read the front. One defender on top or two. Line up opposite it, and change the alignment from the bench when the zone changes.
- Name the thin spot. Use the table above. High post and short corner against a 2-3, corners against a 1-3-1, the back line against a 3-2 or 1-2-2.
- Pick the player for the middle. The catch at the free-throw line bends every zone, so put the player who can pass and score there.
- Scout how hard the zone plays. A passive zone needs player movement. An attacking, trapping zone needs ball movement and pass fakes.
- Keep the menu small. Index your zone sets by the alignment you live in. Carry a base set plus two answers.
- Decide the crash count before the game. Coaches send from three to four.
Against a zone press in the backcourt, the problem is different. That has its own page, strategies for coaching against zone press defenses.
Questions Coaches Ask
What is the best way to beat a zone defense?
Line up opposite the zone's front, get the ball to the high post or the short corner, and reverse or skip the ball faster than the zone can shift. Then attack the thin spot of the zone you face, using the table on this page.
What is the weakest spot in a 2-3 zone?
The high post and the short corners, plus the corners and the slot between the two top defenders. It is weakest in the moment after a reversal, before the slides finish.
How do you beat a 1-3-1 zone?
Skip to the far corner before the trap forms, start in an even front to split the top defender, and screen the baseline defender on his way to the corner.
Should you run your man offense against a zone?
Coaches split. One keeps the man offense and adds zone rules. The other carries a separate zone offense because man sets fail against zones.
How do you beat a box and 1?
Run your zone offense, park the star far from the ball or use him as a decoy, and play four against the four box defenders. Screens for the star also confuse the box.
Want the printable playbook packs?
OBP Pro members get the premium playbook packs: the zone attack, out of bounds and practice plan PDFs, plus each new pack as it is finished. The membership page lists what is in each one. Or draw your own version free in PlayDraw.
See what OBP Pro includesMore Coaching Hubs
- Basketball Screens: Every Type of Screen and How to Read It
- Transition Offense Basketball: Lanes, Reads and Early Offense
- Junk Defense Basketball: Box and 1, Triangle and 2, When to Use
- Basketball Workout Plan: How to Build One by Position
Back to every Offense page.
Keep Building
Related breakdowns
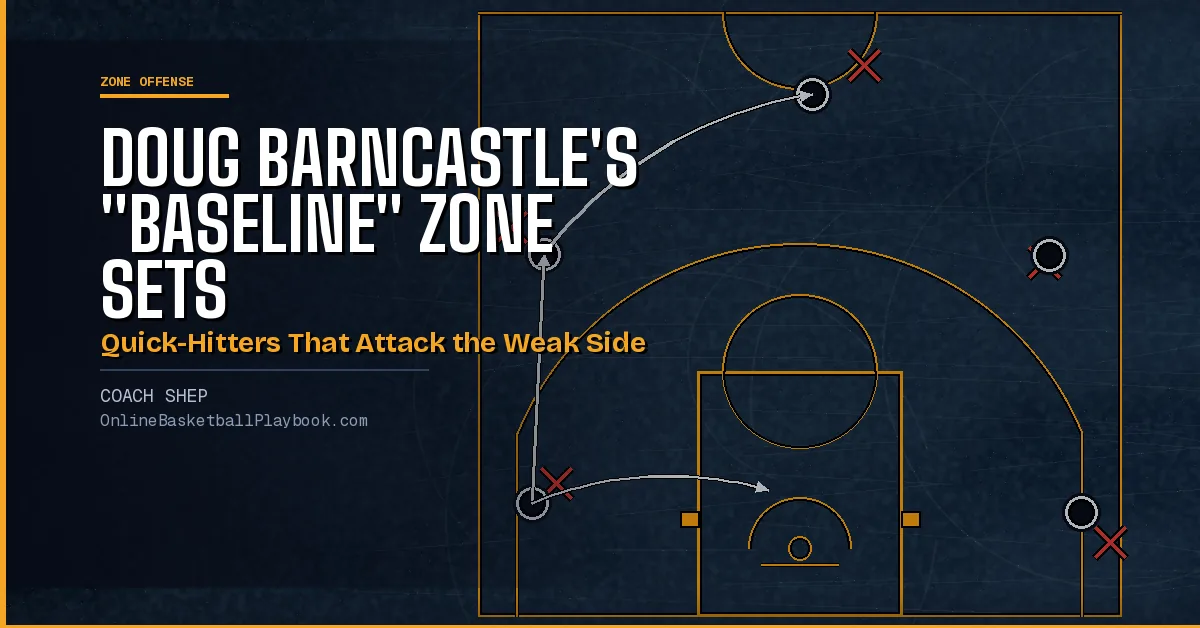
Zone Offense Quick Hitters: 3 Sets That Attack the Weak Side
A handoff-action quick-hitter and two counters, Baseline Push and Baseline Dive, built to attack a zone to the weak side and get clean, makeable shots.
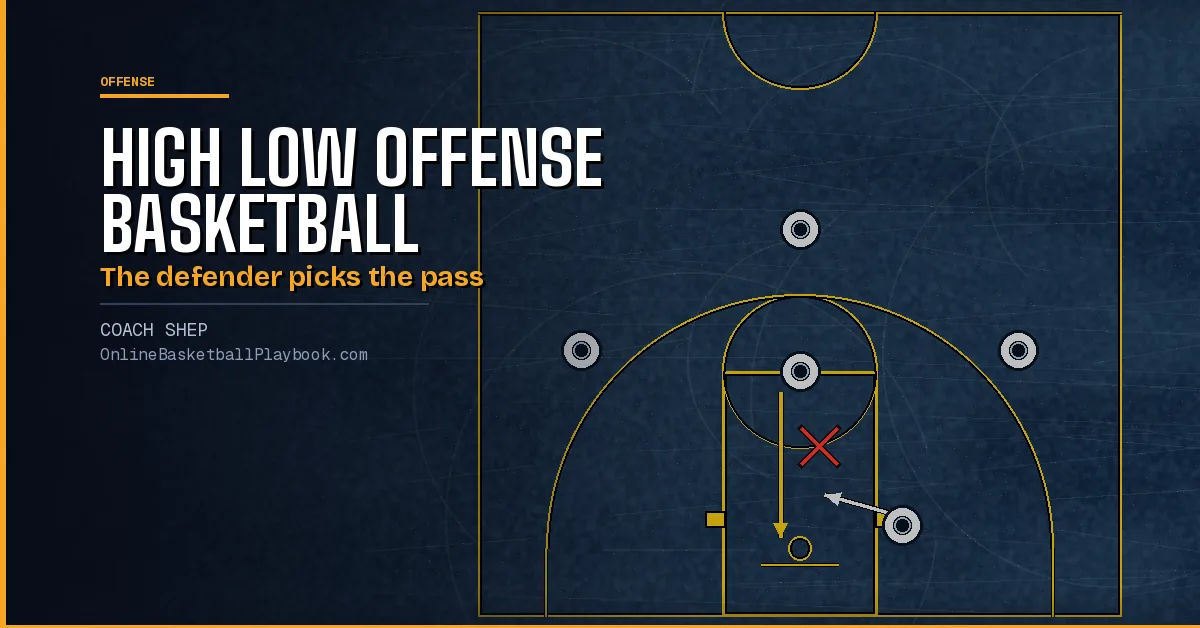
High Low Offense Basketball: Reads, Counters and Zone Rules
High low offense basketball explained: the two-post shell, the lob and bounce reads, answers to a front, down-screen reads, 1-4 low sets and the hi-lo against zones.