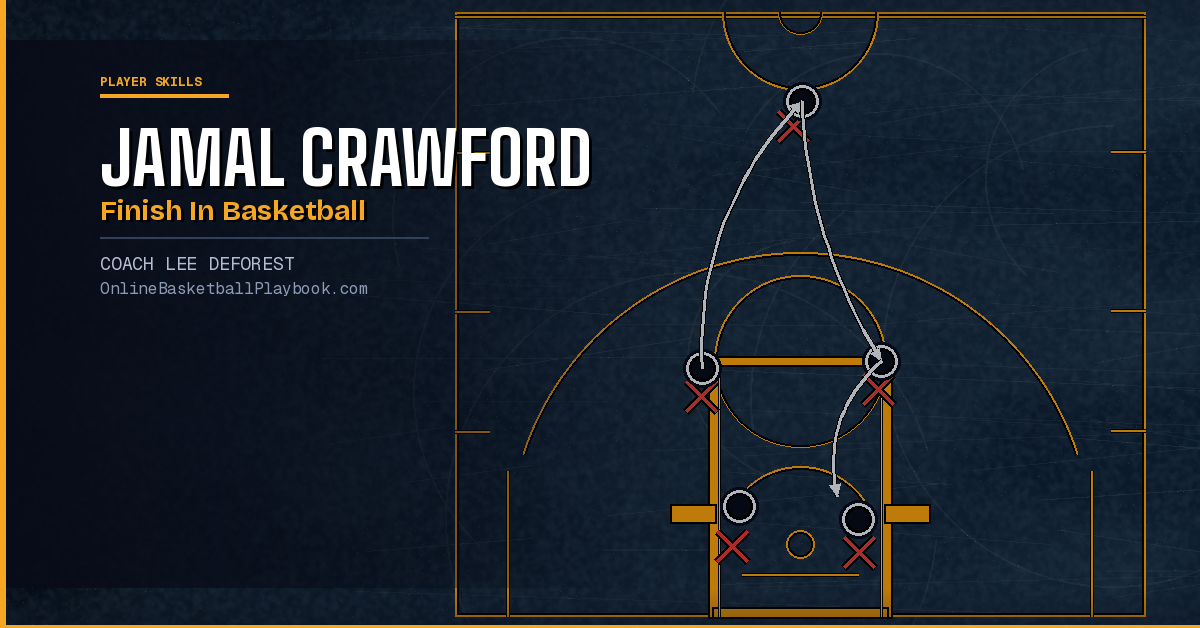

How to Do a Jamal Crawford Finish in Basketball
Jamal Crawford scored for 20 seasons in the NBA because defenders never knew which direction he'd finish. Here is exactly how he did it — and how you can teach it.
What Makes the Crawford Finish Different
Most guards are trained to finish in a straight line. They attack the rim on a predetermined path and hope the defense doesn't recover in time. Jamal Crawford built his entire scoring career on something else: reading the defender mid-drive and bending the finish around whatever the defense took away.
The Crawford finish is not one specific move. It is a family of decisions made at the rim — reverse layup, spin layup, floater, crossover step — all executed from a single attacking dribble. What links them is the body control that happens in the final two steps before release. Crawford could redirect at nearly any angle without losing his balance, which meant help defenders and shot-blockers could not time his release.
At its core, the Crawford finish requires three things working together: a confident downhill first step that commits the defender, footwork that allows a change of direction inside the paint, and the ability to release the ball off either hand in either direction. None of those three elements is advanced on its own. The difficulty is combining them under pressure at game speed.
This is teachable. Players at the high school level can develop this skillset in a single off-season of deliberate work. The coaches who teach it best break it into the same stages that Crawford himself built through — footwork first, then the change of angle, then the release, then counters.
The Footwork Foundation
Every Crawford finish starts with a clean first step. The drive creates advantage, and the footwork in the final two steps determines whether the advantage converts into points.
The foundational concept here is what coaches call the jump stop: a small two-footed hop that lands both feet simultaneously. Most players never learn this because they default to a one-two stride stop, which commits the pivot foot too early and eliminates options. The jump stop preserves the right to choose either foot as the pivot. Inside the paint, where angles change faster than a player can consciously react, that preserved choice is the difference between a clean finish and a charge.
Crawford's footwork at the rim almost always included some version of a gathered two-step that created space to spin or redirect. Watch his tape slowly. He does not just run under the basket — he plants and reads. The plant is quiet and controlled, not rushed. The body is low at the moment of the plant, which prevents him from rising too early and telegraphing the release angle to the shot-blocker.
Coaches in the vault use the phrase "body control before ball skill" to describe exactly this priority. You cannot teach a player to spin out of a Crawford finish if they cannot first gather themselves in two controlled steps. Build the jump stop first. Drill it from the wing, from the elbow, from straight-line drives. It takes two weeks of daily repetition for most guards to make it automatic.
The second footwork element is the ability to drive north — directly at the defender's lead foot — rather than angling laterally. Lateral drives give help defenders recovery time and push the finish further from the basket. A straight downhill drive pins the on-ball defender, forces the help to commit, and gives Crawford his spin angle. Teaching cue: step at the defender's front foot, scrape off their shoulder, go vertical.
The Spin and Body Control Mechanics
The spin layup is the signature Crawford finish, but it is not a trick. It is a structured move with a specific trigger: the help defender arrives from the strong side. When the help comes from the right, Crawford spins left, plants the left foot, and releases from the left side of the rim with the left hand — using the backboard as a shield.
Here is the mechanical sequence step by step.
Step 1: Commit the Drive
Attack the rim with purpose. Do not float. A timid drive lets help defenders stand still and recover. Crawford's drives were fast enough to force a reaction from the defense before they could organize. The commit step makes the defense choose — if they stay, you finish straight. If they rotate, the spin opens up.
Step 2: Read the Help at the Second-to-Last Step
This is the decision point. At the second step inside the paint, the player must see the help defender's hips. If the hips are turned to cut off the straight path, the spin is on. If the hips are still neutral, stay straight and power through. Reading hips rather than eyes matters because hips do not lie about direction — a defender can fake with their eyes but cannot fake a committed hip turn.
Step 3: Plant and Pivot
The plant foot fires down hard. The key coaching cue here comes directly from footwork fundamentals: drive the heel down at the moment of plant to stop lateral momentum. A soft plant creates drift. A hard heel plant stops the body, creates a pivot axis, and allows a controlled spin without losing the finish angle.
Step 4: Protect the Ball Through the Spin
During the spin, the ball stays close to the body and below the shoulders. Extended arms during a spin invite strips. Crawford kept the ball tight, almost tucked, until the release hand was clear of the defender. Only then did the arm extend toward the backboard.
Step 5: Release Off the Glass
The vast majority of Crawford spin finishes used the backboard, not the front of the rim. The glass finish is more forgiving on the angle and harder for shot-blockers to time. Aim for the upper corner of the box on the backboard. A soft touch with fingers — not palm — keeps the ball on target even when off balance.
The Finish Menu: Which Look to Use When
Crawford's effectiveness came from having a complete finish menu, not just the spin. The defense eventually stopped giving him the spin angle because he had scored on them with it so many times. When they overplayed the spin, he went the other way. When they brought two bodies, he floated. A player who only knows one finish is easy to stop once the defense has a scouting report. A player with four finishes becomes a serious problem.
The core menu for a Crawford-style guard:
Reverse Layup — used when the help is late and the baseline side is clear. Drive toward the baseline side of the basket, plant the outside foot, swing under the rim, and release from the far side of the backboard with the off hand. This finish uses the rim and backboard as two separate shields. It is the hardest finish for a shot-blocker to contest because the blocker cannot be on both sides of the basket simultaneously.
Spin Layup — triggered by strong-side help as described above. The spin angle depends on which side the help comes from. Train both directions every session. Right-hand spin to the left side of the rim, left-hand spin to the right side. Crawford was equally comfortable in both directions, which is why he was impossible to scout into a weak side.
Floater / Runner — the answer to shot-blockers positioned in the paint who have height and timing advantages. Do not try to go over a legitimate rim protector. Go under them with a soft-touch floater released before reaching the shot-blocker's wingspan. The floater is released off the proper foot — the foot on the same side as the shooting hand — and floated upward with fingertip control. The arch is high, the touch is light, and the release point is earlier than a standard layup.
Change-of-Angle Finish — used when the drive path is cut off but a smaller window opens at a different angle. This is the hardest finish to teach because it requires the player to make a late read and redirect without losing control of the dribble. The Kokoškov guard drills in the vault build this through reps of change-of-angle finishing as a specific battery — not improvisation, but a trained response to a specific defensive shape.
The rule for choosing: read the help defender's position at the second-to-last step, then execute the finish that puts the ball on the side of the rim where no defender is positioned. The rim and backboard are the player's friends. Use them as shields, not just targets.
How to Drill It
The Crawford finish family needs to be drilled at game speed, both directions, both hands, from the start. Half-speed reps build bad habits because the footwork timing at half speed does not match what the body needs in a game. Get to game speed within the first week.
Mikan Drill Variations — start with the Mikan drill, then add the spin and reverse at each side. Player finishes right-hand layup, gathers under the basket, spins and finishes left, gathers, reverses to the right side, gathers, returns. Five reps of each in a continuous flow. This drill builds the gather footwork and the release on both sides without a defender, so the player can focus entirely on mechanics.
Drive and Read Drill — coach stands in the paint as a help defender. Player drives from the wing. Coach points left or right at the second step — player executes the corresponding finish. This builds the read habit. Players who have not done this drill before will try to decide too late, which reveals exactly where the read needs to happen.
1-on-1 From the Wing — live finish reps against a defender who is told to send help from one specific side. The attacker knows help is coming, so the read is easy to practice in isolation. Gradually reduce the attacker's information until they are reading a live defense with no advance knowledge.
Floater Finish from the Elbow — drive middle from both elbows, release a floater before the charge circle. Add a big defender standing at the lane line with a hand up. The drill builds the release point adjustment that distinguishes a good floater from one that gets blocked every time.
Drill both hands and both directions every session, without exception. A right-hand-dominant player who only drills right-to-left will be scouted and loaded to the right within one season. The purpose of the Crawford finish is to be unpredictable. That requires symmetry.
Common Mistakes and How to Fix Them
Most guards who attempt Crawford finishes fail for one of four reasons. All four are correctable with targeted drill work.
Mistake 1: Floating Through the Paint — the player drives and then drifts laterally through the paint instead of attacking north. This gives help defenders easy recovery time and turns a finishing opportunity into a contested off-balance attempt. Fix: use the jump-stop-only layup rule for the first several weeks of development. Every drive must end with a gathered two-foot stop before the finish. This forces players to locate the rim before releasing.
Mistake 2: Rising Too Early — the player rises on the second-to-last step instead of staying low and reading. This telegraphs the release and gives shot-blockers their timing. Fix: add a hand directly above the player's head at the second step in practice. If the player rises too early, they will hit the hand. Game-speed reps with this constraint compress the read point downward immediately.
Mistake 3: Extended Arms During the Spin — the player throws the ball away from the body during the spin, which both telegraphs the direction and invites a strip. Fix: drill ball protection specifically during the spin phase using a ball tight to the chest until the release hand clears the defender's position.
Mistake 4: Palm-Releasing Instead of Fingertip Touch — especially on floaters and soft-touch finishes, players use their palm instead of their fingertips, which kills the soft touch needed for these releases to bank cleanly off the glass. Fix: hold a soft foam ball in the shooting hand during warm-up drills. The foam ball cannot be controlled with a palm-forward release — it forces the player to feel the fingertip contact point.
Train a finish menu — regular, opposite-hand, power, reverse, floater, and Euro step — and choose by where the help arrives; use the rim as a shield and finish through contact.
— Finishing & Footwork, Basketball Vault
Before drilling any Crawford finish variation with your guards, spend two full weeks on the jump stop alone. Players who skip this step cannot redirect cleanly in the paint and will revert to straight-line finishes the moment a defender contests. The jump stop is the unlock — everything else builds on top of it.
- Jump stop first: land both feet simultaneously on any killed dribble inside the paint — preserves pivot foot choice and prevents early commitment to one direction.
- Read hips, not eyes: check the help defender's hip angle at the second-to-last step; hips confirm their committed direction while eyes can fake.
- Drive north, not sideways: attack the defender's lead foot directly and scrape off their shoulder — lateral drives give help time to recover and push the finish further from the basket.
- Hard heel plant to stop drift: fire the heel down at the pivot point to kill lateral momentum; a soft plant creates a floating, uncontrolled release.
- Ball tight through the spin: keep the ball close to the body below shoulder height until the release hand clears the defender — extended arms get stripped every time.
- Use the glass as a shield: finish off the backboard rather than straight to the front of the rim; the upper corner of the board box is more forgiving on angle and harder for shot-blockers to time.
- Drill both hands, both directions, every session: a guard who only trains one-direction finishes will be scouted and loaded to their weak side within one season — symmetry is the source of unpredictability.
Want more basketball coaching strategies and drills?
Keep Building
Related breakdowns
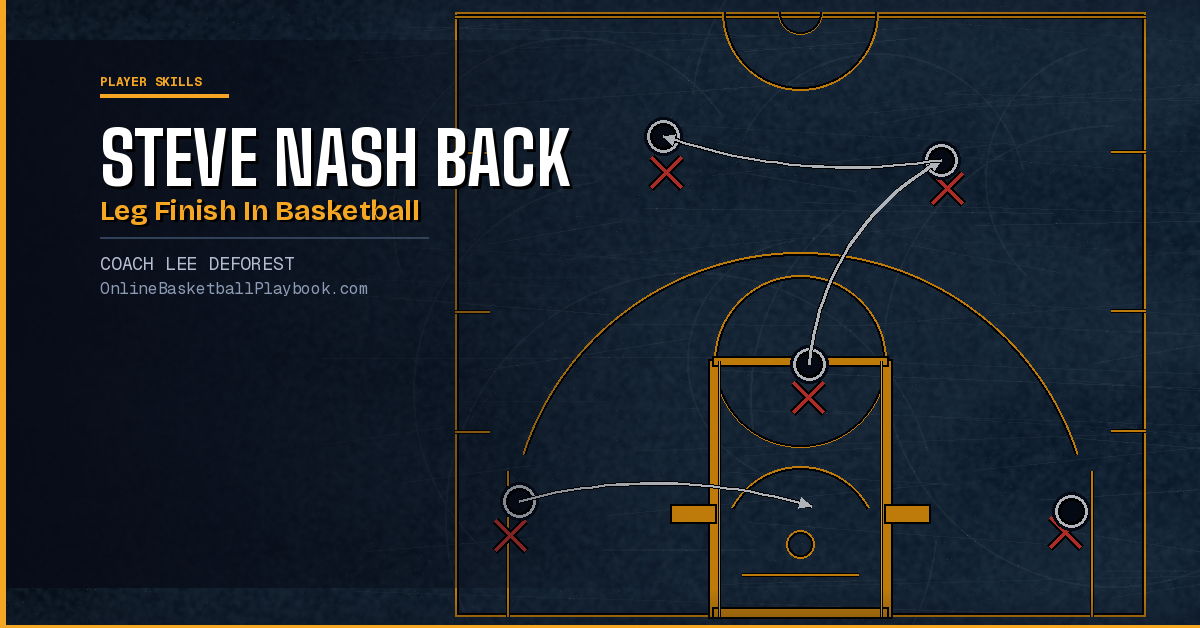
How to Do a Steve Nash Back Leg Finish in Basketball
How to Do a Steve Nash Back Leg Finish in Basketball