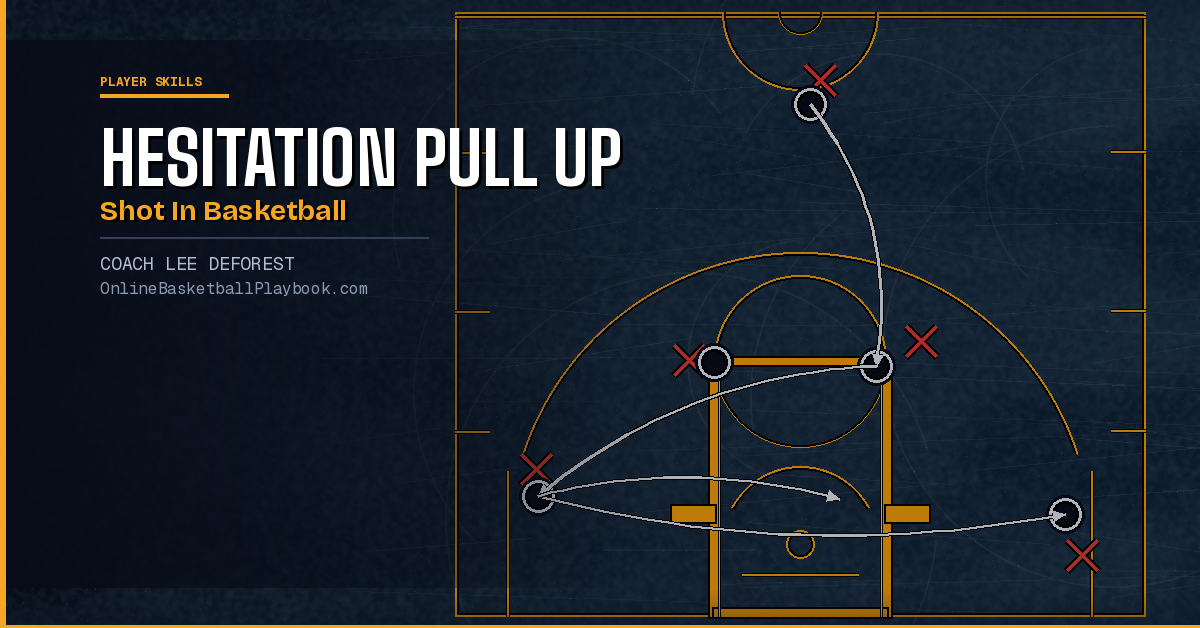

How to Do the Hesitation Pull Up Shot in Basketball
The hesitation pull-up is one of the most undercoached shots in basketball. One freeze, one gather, one pull — and a good defender is left flat-footed while the ball is already in the air.
What the Hesitation Pull-Up Actually Is
Ask most players what the hesitation pull-up is and they'll tell you it's a dribble move where you slow down to freeze the defender. That's half right. The hesitation is the bait. The pull-up is the punch. You cannot have one without the other — the hesitation only works because the defender fears you'll drive, and the drive only works because the defender respects your pull-up. That two-way threat is the entire point.
The shot itself is taken off one or two dribbles after the hesitation, typically around the free throw line extended or at the elbow. It is not a catch-and-shoot. It is not a stepback. The player is attacking downhill, reads the defender's weight shift, and pulls up into a controlled jump shot before the defense can recover. Done right, it looks effortless. Defenders hate it because there's no clean answer — close out hard and you get blown by; sit back and you give up an open mid-range look.
Coaches frequently overlook this shot because it lives in the in-between zone — not a three, not a layup. But that same in-between quality is exactly what makes it valuable. The pull-up and the hesitation are what the Basketball Vault calls "lost arts," and a player who can reliably knock one down around the free throw line is as dangerous as a pure spot-up three-point shooter. The defense has to account for it everywhere on the floor.
The Footwork Foundation
Before you work on the hesitation itself, the footwork has to be locked in. The pull-up is built on a two-foot gather — not a one-foot jump stop, not a hop. You are converting your dribble momentum into a controlled, balanced launch platform in two steps. Sloppy footwork here produces a rushed release, a laterally drifting shot, or a travel violation.
The Two-Step Gather
Coming off a dribble drive to the right, your left foot hits first as the gathering step, then the right foot plants as the jump-off foot. Off a drive to the left it flips: right foot gathers, left foot plants. The gather step is long and low to absorb momentum. The jump step is shorter and explosive upward, not forward. This is the "1-2 gather" sequence that Jay Wright and John Beilein both cite as a first principle of footwork — you stop your horizontal momentum before you transfer it vertically into the jump shot.
The timing relationship between the hesitation and the gather is tight. Your hesitation — the stutter, the body fake, the pause — happens at the top of a dribble. Your gather step happens on the very next dribble. There should be no wasted motion between the freeze and the shot. Players who hesitate and then take two or three more dribbles before pulling up have lost the advantage they created. The defender has time to recover. You must be ready to shoot immediately after the hesitation reads the defender's weight back.
Balance at the Point of Takeoff
At the moment both feet are on the floor, your shoulders need to be directly over your hips. If you are still leaning forward from the drive, you will either drive through the shot or release it early with a flat, low-arc trajectory. The correction is to use that gather step to sit your hips back just slightly — not a full squat, but enough to center your weight. From there the jump is straight up, and the shot comes off the jump rather than off the run.
How to Execute the Hesitation Cue
The hesitation is a communication to the defender: "I am stopping, you can close out now." The defender's job is to stop the drive, so any signal that you're slowing reads as a green light to step up. That is the invitation you are creating on purpose.
Body Language of the Freeze
The hesitation lives in the shoulders and head, not the feet. Your dribble slows or stutters, your upper body shifts upright, and your eyes may flick briefly toward the rim. You are mimicking the body language of a player who has used their dribble or who is reading the floor. The defender's instinct — trained into them through years of closeout drills — is to surge forward when they read "ball-handler is stopping." That surge is what you are punishing.
The stutter dribble is the most common hesitation mechanism: one low, quick, same-hand dribble that barely leaves the ground. The ball stays close to your hip, your speed drops for one half-second, and then you re-accelerate off the same foot. A second version is the pound hesitation — one hard dribble straight down that you let bounce back slowly, giving the impression of a tired ball-handler. A third is the eyes-up hesitation: you simply look away from the rim, survey the floor as though reading a pass, and then attack the rim when the defender steps up to take away the drive lane.
Reading the Defender
The hesitation pull-up only makes sense if you are reading what the defender gives you. If they freeze on the hesitation and do not step up, you keep driving. If they surge forward, you gather and pull up. This is a decision, not a predetermined plan. Players who run the hesitation pull-up on autopilot — always shooting after the hesitation regardless of what the defense does — stop being a threat because the defender learns to simply stay put. The shot has to be conditional on the defender making the mistake of closing out hard.
The pull-up and the hesitation are "lost arts" — a player who takes one or two dribbles and pulls up around the free throw line is as valuable as a pure three-point shooter.
— Shooting Development Concepts, Basketball Vault
Shooting Mechanics Off the Pull-Up
Everything about your shot mechanics that applies to catch-and-shoot jumpers applies here — the difference is that you are creating your own set-point rather than receiving the ball in a ready position. That means the margin for mechanical error is higher, and the drills you use to build the shot need to reflect that.
The Set-Point
The set-point is the moment the ball reaches its highest position before the release — elbow under the ball, shooting hand behind and below the ball, guide hand on the side with the thumb angled away. In a catch-and-shoot scenario you have a half-second to find this position because the ball arrives as your feet are set. In a pull-up, the ball has to arrive at the set-point exactly as your feet leave the floor. If the ball is still traveling upward from the dribble when you jump, you lose sync and the shot either comes off your wrist early (flat arc) or off your palm (inconsistent backspin).
The fix is to gather the ball one dribble earlier than you think you need to. As your gather foot hits, the ball should already be rising from that last dribble into your shooting pocket. By the time the jump foot pushes off, your hands are already on the ball in the set position and the only remaining action is the upward arm extension and wrist snap.
Arc and Release Point
Pull-ups off a drive tend to produce flat, low-arc shots because the player's momentum is still running forward. The Wissel diagnostic framework from the Basketball Vault makes the root cause clear: when a player leans forward during the shot, the elbow leads rather than the legs driving power upward, and the ball releases off a forward-pitched platform instead of a vertical one. The result is a line-drive shot that hits the front of the rim.
Use the gather step to sit your weight back and redirect momentum upward. From there, aim for a high arc — visualize a point on the ceiling directly above the front of the rim and shoot over that line. A proper pull-up jumper in the 15-to-18-foot range should have the same arc as a three-pointer: not a rainbow, but a clear peak above the backboard height. If you are consistently hitting the front rim on pull-ups but not on catch-and-shoot attempts, the arc correction is almost always the fix.
Drills to Build It Into Your Game
The most effective way to build the hesitation pull-up is to train it the way it appears in games: off movement, at game speed, with a decision attached. Stationary form shooting will build your mechanics, but it will not build the timing you need to gather cleanly out of a live dribble. Every rep of this shot in practice should come off a driving action, never from standing still and catching.
Drill 1: One-Dribble Pull-Up Series
Start at the wing, catch the ball in a triple-threat stance. Take one hard attack dribble toward the elbow. Use your hesitation cue — one low stutter dribble — then gather and pull up. Make 8 out of 10 before moving to the next spot. Run it from the right wing, the left wing, and both elbows. The single-dribble version eliminates extra variables and forces you to nail the gather-to-set-point timing because there is no recovery dribble.
Drill 2: Two-Dribble Hesitation from the Top
Start at the top of the key. Attack the right side with two hard dribbles — on the second dribble, hesitate (stutter dribble), read an imaginary defender, gather, and pull up at the free throw line. Switch to the left. Add a passer who can actually play token defense so you have a real body to read. This drill builds the rhythm of the full move: dribbles + hesitation + gather + shot, in sequence, at speed.
Drill 3: Competitive Make-Target Shooting
The Basketball Vault is explicit about this: every shooting workout should have a winner and a recorded number. Set a goal of 6 hesitation pull-ups made in 90 seconds, shooting from two spots alternately. Track your best each session and post it. When there is a number to beat, your reps become competitive instead of mechanical — the exact quality difference between a practice habit and a real shot.
Drill 4: Live 1-on-1 Restriction Game
Play one-on-one, but the offense is restricted to driving actions only — no catch-and-shoot threes, no post catches. Every scoring attempt must come off at least one dribble. The hesitation pull-up will emerge naturally when the drive lane closes, which is the exact game-read you are training. Make it scored and consequential: losers run, or the winner earns a water break. Tired-player free throw shooting at the end of the game mirrors game conditions.
When teaching the hesitation pull-up to players new to the move, isolate the hesitation cue from the shot first. Run two or three consecutive hesitation dribbles down the lane without shooting at all — just freeze, re-accelerate, freeze again. Once the stutter feels natural and automatic, layer the gather and pull-up on top. Building the pieces in order prevents players from turning the move into a predictable two-step pattern the defense can time.
Common Mistakes and How to Fix Them
The hesitation pull-up fails in predictable ways. Once you know the patterns, fixing them is straightforward.
Telegraphing the Shot Before the Hesitation
The most common tell is the eyes. Players look at the rim before they hesitate, which signals "I am about to shoot" and gives the defender time to close out early. Keep your eyes at rim level but focused on the defender's chest during the drive and hesitation. Only shift your eyes to your target as the ball reaches the set-point in the jump. A defender reading your eye movement has already started recovering before your foot leaves the ground — eliminating the entire advantage the hesitation created.
Pulling Up Too Late
If the hesitation freezes the defender but you take one or two additional dribbles before shooting, the window closes. The shot should be taken on the first or second dribble after the hesitation reads. Anything beyond that gives the defense time to reset. In practice, mark a spot on the floor where you must release by — if your foot crosses that mark without a shot in the air, you went too deep and the timing was wrong.
Rushing the Release
Driven by the pace of the move, many players release the ball before the jump fully peaks. The result is a shot that comes off the fingertips on the way up rather than at the top of the jump, producing low arc and poor spin consistency. Use the "Sight–Set–Shoot" rhythm from the Wissel diagnostic: establish the target, pause momentarily at the set-point at the top of your jump, then release. Three distinct beats. The pause is tiny — less than a tenth of a second — but it forces you to release at the peak rather than off the ascent.
No Countermove
A pull-up that never converts into a drive is a dead move. Once a defender learns you always shoot off the hesitation, they stop respecting it and simply stand their ground. Keep them honest by attacking two out of every five hesitations instead of pulling up. The threat of the drive must be real or the pull-up loses all of its value. This is not a comfort zone issue — it is a tactical discipline. Mix your reads in practice so the pull-up stays conditional on the defender, not on habit.
- Gather a dribble early. The ball should be rising into your shooting pocket as your gather foot lands, not after your jump foot pushes off. Late gathers produce rushed, off-balance releases.
- Sit your weight back on the gather step. One slightly lower, longer gather step resets your forward momentum and lets the jump go straight up rather than drifting toward the basket.
- Eyes on the defender's chest, not the rim, during the freeze. Looking at the rim before the hesitation telegraphs the shot and costs you the half-second advantage the move is designed to create.
- Shoot on the first or second dribble after the hesitation — not the third. Every extra dribble is time the defense uses to recover. The pull-up should feel urgent once you see the defender's weight shift forward.
- Train the countermove alongside the pull-up. Drive two out of every five hesitations in practice. A defender who knows you always shoot will stop biting — the drive threat is what keeps the pull-up alive.
Want more basketball coaching strategies and drills?
See it drawn up
Related diagrams


Keep Building
Related breakdowns
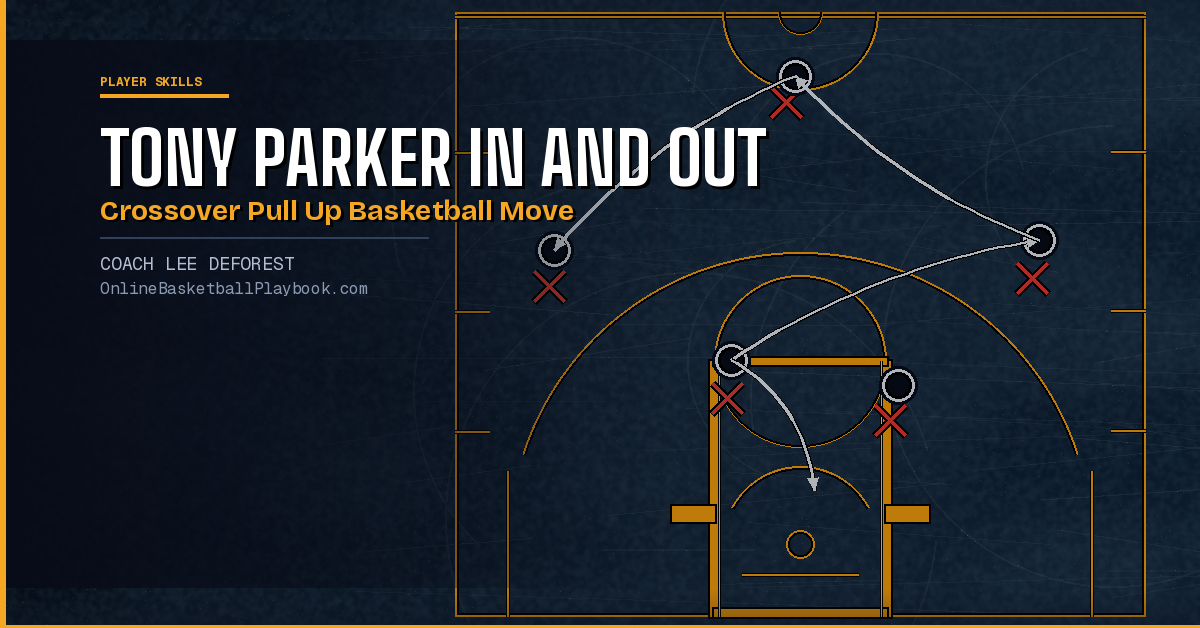
Tony Parker In and Out Crossover Pull Up Basketball Move
Tony Parker In and Out Crossover Pull Up Basketball Move
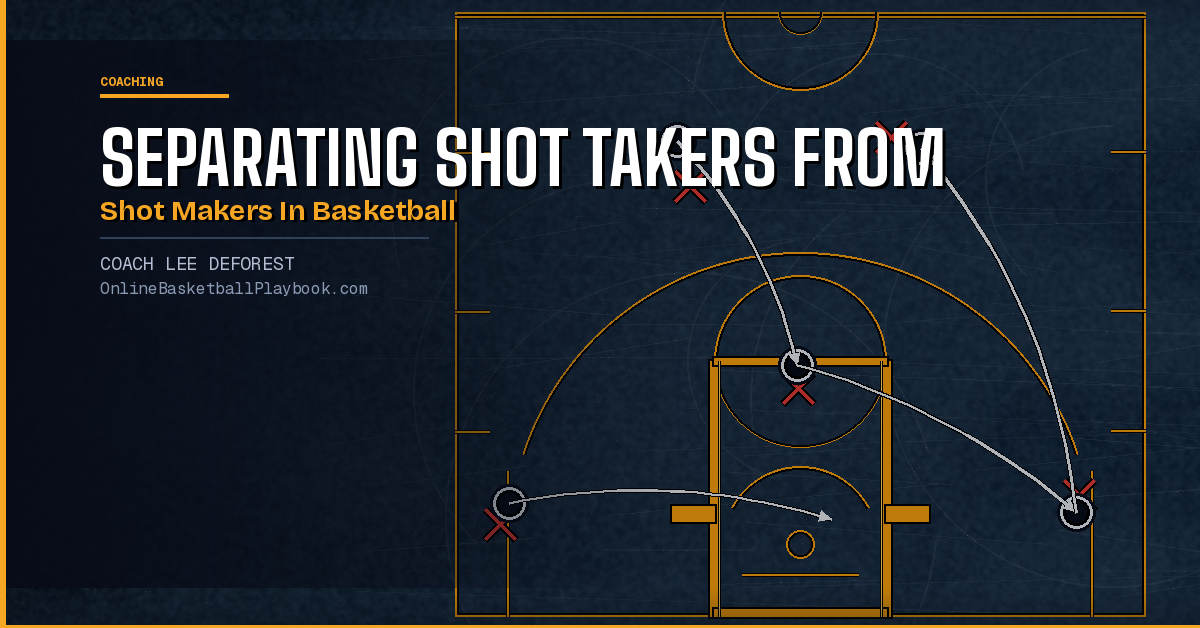
Separating Shot Takers from Shot Makers in Basketball
Separating Shot Takers from Shot Makers in Basketball