Your team gets back in transition. You match up. The trail big sets a drag screen at the top of the key. Your guard fights over, your big drops, and the ball handler walks into a pull-up three or a clean middle drive. Possession over.
If that sequence sounds familiar, the problem isn't your coverage call — it's the spot on the floor where the action starts. Messina's clinic notes on pick-and-roll defense attack that exact problem, and his solution is built into two simple 2-on-2 drills.
In Messina's words: he doesn't want to give "an advantage to the offense in any transition PNR." The way you take that advantage away is by picking the ball up early — far enough from the basket that going under a drag screen becomes a safe call against any shooter.
"Good defense must know when to be aggressive and when to be containing."
This article breaks down Messina's Drill 5 (Drag Screen Defense 2-on-2) and Drill 6 (Transition Side PNR 2-on-2). By the end you'll know exactly why he uses different coverages for drags vs. side screens — and how to install both on Monday.
Coach's Cheatsheet
- Use this when: your defense gives up pull-up threes off drag screens or surrenders middle drives on side PNRs.
- Core teaching point: pick up the ball handler early — far from the 3PT line — so going under a drag is safe against any shooter.
- First drill: Drill 5 (Drag 2-on-2) — small show from the screener's defender plus a loud "Under!" call.
- Second drill: Drill 6 (Side PNR 2-on-2) — default to a switch, then play 10 seconds live.
- Correction cue: "Higher!" when X1 lets the ball handler reach the arc before the screen.
- Practice install: add a silent period — no coach talk — so you can hear whether players are calling "Under" and "Switch" in live action.
Messina's PNR Philosophy: Pick Up Early
Before the drills, the principle. Messina's pick-and-roll defense rests on one decision most coaches make too late:
Pick up the ball handler early — far from the three-point line.
His clinic notes spell out the logic. "If you let the ball handler get all the way to the 3PT line you cannot go under the drag on a good shooter." The geometry breaks down. The screen happens too close to the basket and the pull-up three off the bounce is right there.
But if your on-ball defender pressures up — pushing the point of the screen back to 28, 30, even 35 feet — going under becomes a viable call against anyone. From that distance the pull-up is a shot Messina is happy to live with.
The Key Principle: the farther from the basket the ball screen occurs, the safer it is to go under. Early ball pressure creates that distance. The screener's defender hedges "with a little show" — enough to make the ball handler dribble away from the basket — while communicating "Under!" to the on-ball defender.
This is a containment coverage, not a blitz. Messina is not asking the big to trap 30 feet from the rim. He wants a brief body show plus a verbal call. Two defenders, one action.
Drill 5 — Drag Screen Defense 2-on-2
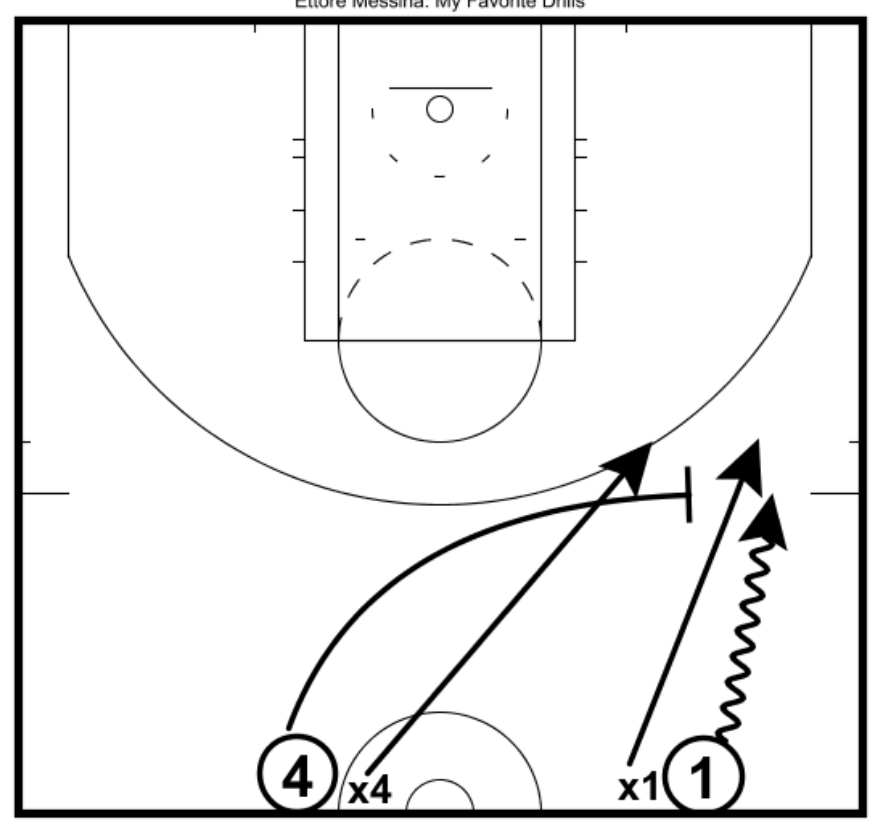
Drill 5 — Drag Screen Defense 2-on-2 (Diag. 7)
Players needed: 4 (2 offense, 2 defense)
Area: Full court into half court
Focus: Transition drag screen defense — early pressure, going under, hedge and communicate
Setup
Offensive player 1 pushes the ball in transition. The trailing big (4) will set the drag screen. X1 and X4 are matched up and must defend the action.
How It Works
- X1 picks up the ball handler early — well before the 3PT line. This is the non-negotiable detail of the entire drill.
- 4 sets the drag screen. Because X1 pressured early, the screen happens farther from the basket than the offense wants.
- X4 hedges with a "little show" — just enough body to make the ball handler hesitate or dribble away from the basket — and simultaneously communicates "Under!" to X1.
- X1 goes under the screen. From 28-30+ feet, the pull-up three is a shot you take all night.
- X4 recovers to the screener after the brief show.
- Play live 2-on-2 from there.
The hedge is small, not a hard trap. Messina specifically says "enough to make the ball handler dribble away from the basket." If X4 over-commits, the roll is open. The hedge + "Under" call is a team action — both defenders have to be in sync.
Common Mistakes
- X1 waits at the 3PT line. The #1 mistake. If the ball handler reaches the arc before the screen, going under is no longer viable.
- X4 hedges too aggressively. A hard show leaves the roll man wide open. Small show, quick recover.
- No verbal communication. If X4 doesn't say "Under," X1 may fight over the screen — exactly what the offense wants.
Drill 6 — Transition Side PNR 2-on-2
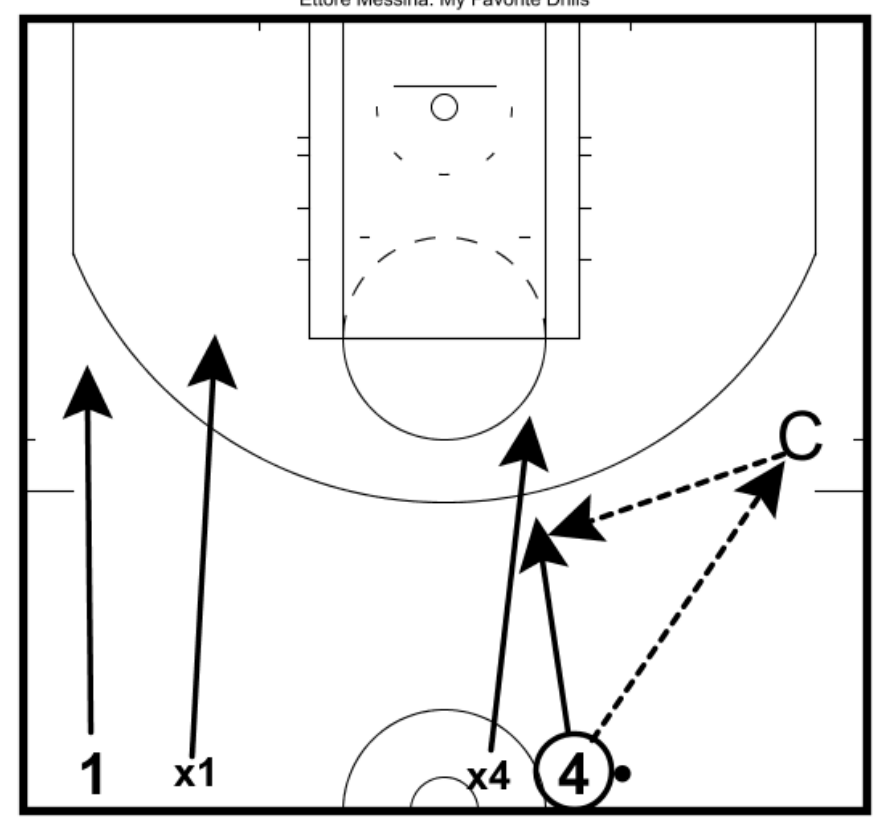
Drill 6 — Transition Side PNR 2-on-2 (Diag. 8)
Players needed: 4 (2 offense, 2 defense) + Coach
Area: Half court (wing area), plus transition to other end
Focus: Side PNR with a switch, then 10 seconds live, then transition
Setup
The coach (C) initiates with a pass to the wing. Players 1 and 4 are on offense; X1 and X4 defend. After defending the initial side PNR, the players go live 2-on-2 for 10 seconds, then transition the other way on a stop.
How It Works
- Coach passes to the wing to initiate the side PNR.
- 4 sets a side ball screen for 1.
- X1 and X4 switch the screen. Per the clinic notes: "Messina usually switches this Side PNR."
- Play live 2-on-2 for 10 seconds. The offense attacks the new matchups; the defense holds up.
- On a stop, transition the other way. No standing around.
"Gives players 10 seconds to play 2on2 after defending the initial action."
The 10-second window is intentional. It's long enough for the offense to actually try a counter, but short enough that good initial defense wins the rep. It also forces pace — both teams have to play with urgency.
Why Hedge & Under on Drag But Switch on Side
This is the part of Messina's system that rewards careful coaches. He uses different coverages for two PNRs that look similar on a whiteboard. The reason is court geometry.
- The drag screen happens in the middle of the floor with space on both sides. Switching can leave a mismatch with too much room to attack. Pick up early + small hedge + go under contains without surrendering position.
- The side PNR happens on the wing where the sideline functions as a help defender. A switch eliminates the screen advantage immediately, and any smaller-on-bigger mismatch has the sideline working in your favor.
This is what Messina means by "good defense must know when to be aggressive and when to be containing." Different actions, different answers — but always tied back to one principle: don't let the offense do what it wants to do.
Practice Install: Your Monday Plan
Here's how I'd install these drills with a team that has never run them before. One practice block, roughly 25 minutes.
Block 1 (5 min) — Teach the Principle Without a Ball
Walk-through only. Show your point guards exactly where you want them picking up the ball: out past the top of the key, well before the arc. Use a piece of tape on the floor if you have to. The visual matters.
Block 2 (8 min) — Drill 5: Drag 2-on-2
Run it slow the first 2 reps so X1 and X4 can rehearse the timing of the show and the "Under!" call. Then live. Rotate every two reps. Your only two corrections are: (a) Did X1 pick up early enough? (b) Did X4 give a small show and call "Under!"?
Block 3 (8 min) — Drill 6: Side PNR 2-on-2
Same structure. Walk-through the switch once, then live. Make sure the defense actually plays the 10 seconds after the switch — that's where the drill teaches more than just the initial coverage.
Block 4 (4 min) — Silent Period
Run a portion of the drill where the coaching staff doesn't talk at all. Per the clinic notes: "have a silent portion of the practice where the coaching staff doesn't talk. This way they have to talk and you can hear what they are saying." If players can't call "Under" or "Switch" without your voice prompting them, they won't do it in games either.
Two Benchmarks to Track All Week
Messina is clear that no coach can watch five things at once. Pick two. For this install I'd pick:
- Pickup point on the drag — was X1 engaged before the ball crossed the top of the key?
- Verbal call — did X4 say "Under!" or "Switch!" loud enough for the next gym over to hear?
Track those two things for a week. Don't try to coach everything else simultaneously.
Variations and Progressions
Progression 1: Add a Trailing Shooter
Make the drag drill 3-on-3 by adding a trailing wing. Now X4's hedge has consequences — if the show is too long, the offense can swing the ball to the open shooter. Forces a quick, disciplined hedge.
Progression 2: Let the Offense Choose
Don't tell the offense which screen to set. Let the ball handler call for either a drag or a side PNR. The defense has to read, communicate, and execute the correct coverage live — drag = hedge/under, side = switch.
Progression 3: Blitz Changeup
Against teams with a dominant ball handler but a non-passing big, practice a hard hedge (trap) on the drag instead of going under. X4 traps aggressively, X1 recovers to the roll man. Saves it for a situational changeup in games.
Get Free Coaching Notes
Join the Online Basketball Playbook newsletter for new playbook breakdowns, drills, and practice-ready install ideas.
Get Free Coaching NotesFinal Thoughts
These two drills aren't fancy. Two players, one screen, live action, transition out. That's the whole architecture.
But inside that simplicity sits a complete PNR defensive identity: pick up early, hedge small on drags, switch the sides, communicate everything, and always transition out on a stop. If your players can execute these two coverages at game speed with proper calls, you've solved most of your ball-screen problems.
Pick up early. Talk loudly. Know when to contain and when to switch. That's Messina's PNR defense in one breath.
See it drawn up
Related diagrams


Keep Building
Related breakdowns
Ettore Messina's Favorite 5-on-5 Defensive Validation Drill
A brilliant competitive scrimmage that makes points only count when followed by a defensive stop — putting the emphasis on defense without ever saying the word "defense."
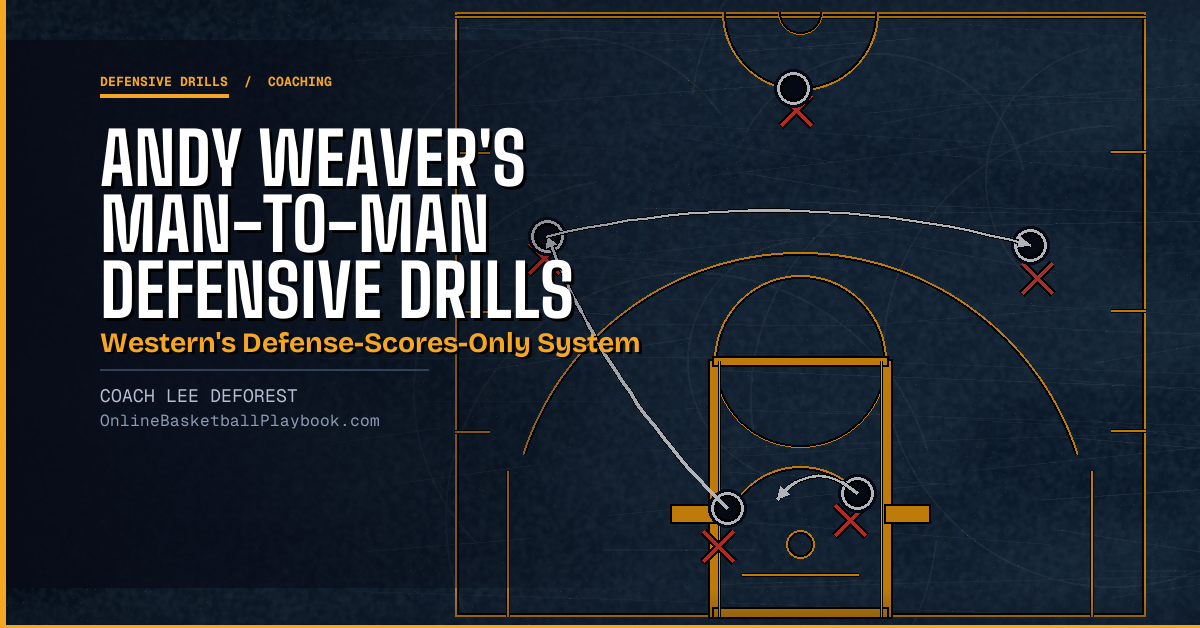
Andy Weaver's Man-to-Man Defensive Drills: Western's Defense-Scores-Only System
Andy Weaver's man-to-man drills from Western High School all share one idea — a stop, a deflection, or a rebound is the only way for the defense to score.
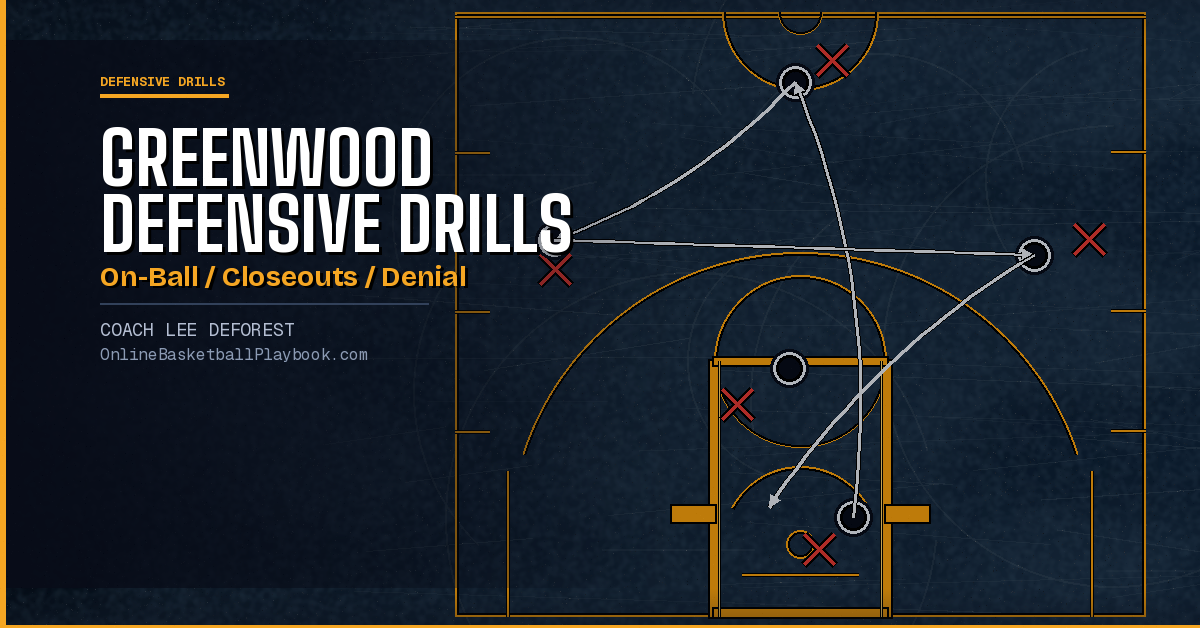
Greenwood's Defensive Drill Progression: On-Ball, Closeouts, and Denial
A complete individual-defense drill menu — stance, closeouts, denial, and help — that builds a defense one rep at a time.
More from Online Basketball Playbook
5 Keys to Defending Screens
The coverage principles behind the drill work — understand why before you rep it.
10 Keys to Setting & Defending Screens
The full picture: both sides of the screen, from the same framework.
How to Coach Defensive Rotations
PnR defense and help-side rotation are inseparable — build them together.