
What Is a Box and 1 in Basketball
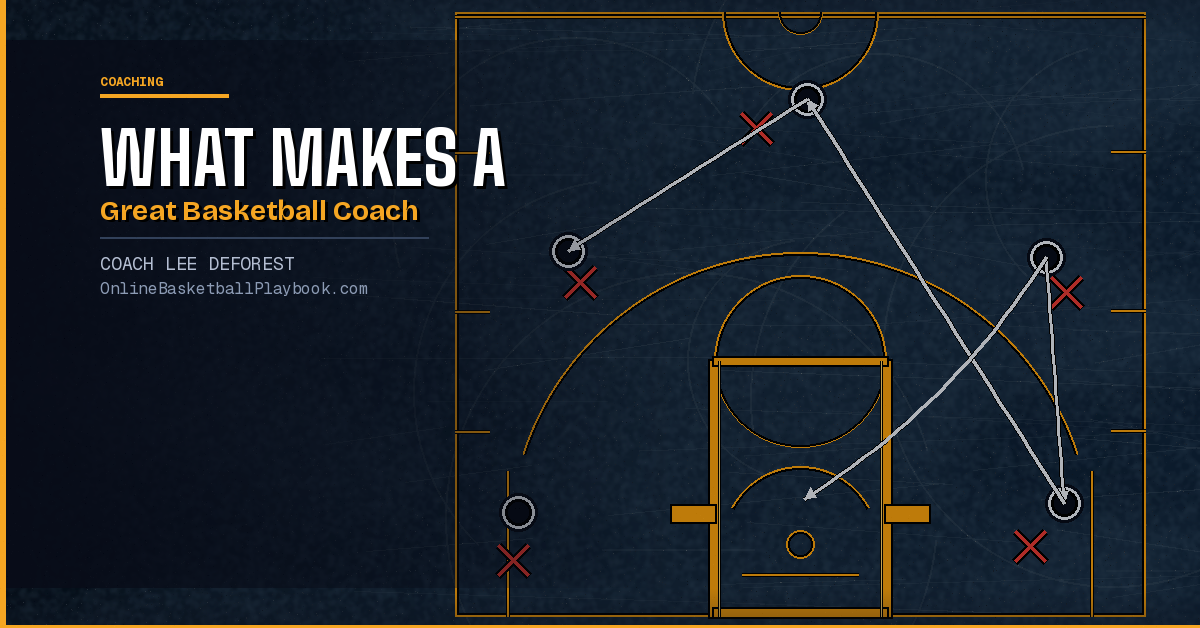
The box and 1 is a hybrid defense that assigns one defender to chase an opponent's best scorer everywhere on the floor, while the other four players hold a zone. It is built to neutralize one dominant player.
Definition and Basic Structure
The box and 1 is what coaches call a junk defense — a hybrid combination of man-to-man and zone principles designed for a specific opponent rather than for general nightly use. It is not a base defense. It is a weapon you pull out when the scouting report tells you one player is the engine of the entire opposing offense.
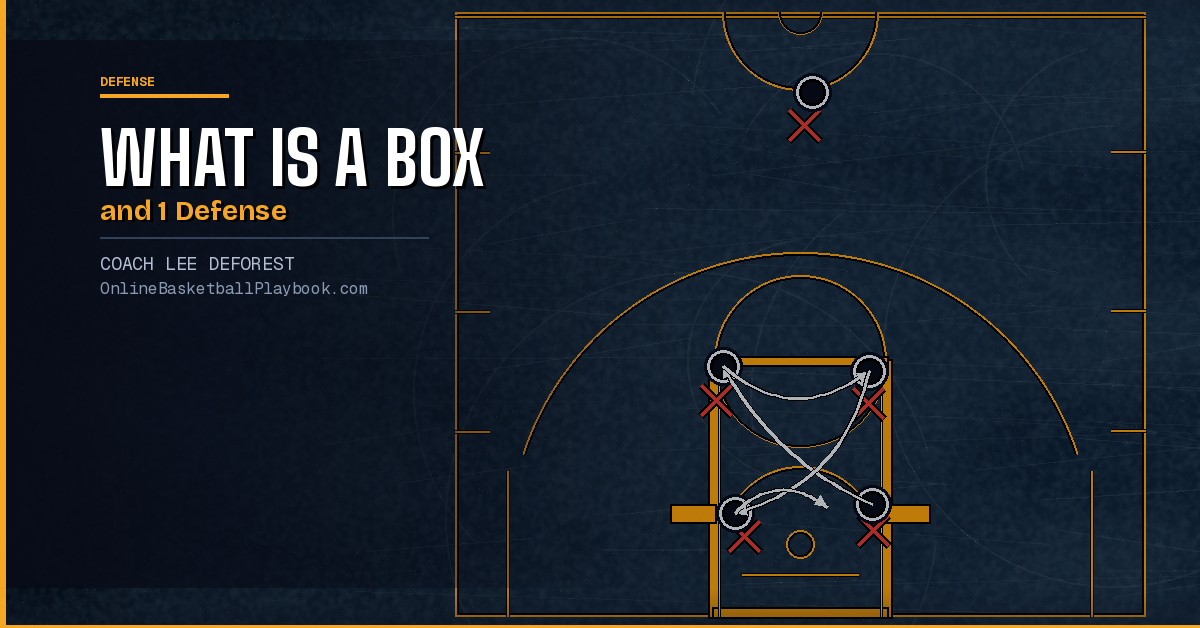
The structure works like this: one defender — the chaser — plays pure man-to-man on the opponent's primary scoring threat. No zone rotations, no help responsibilities, no rest. That player's only job is to deny the star the ball. The remaining four defenders set up in a box zone: two high defenders at the elbows, two low defenders on the blocks. Together those four hold the paint and close out on role-player catches while the chaser stays glued to the star.
The defense gets its name from the shape those four zone players create — a box — and the single man-to-man assignment overlaid on top: box plus one. Understanding this dual nature is critical. The chaser and the box operate on completely different sets of rules. The chaser is playing man defense. The other four are playing zone. Confusing those roles during a game is how the defense breaks down.
Compare this to the 2-3 zone defense, which distributes responsibilities evenly across all five defenders. The box and 1 does the opposite — it concentrates pressure on one player and asks the zone to handle everything else. That asymmetry is the source of both its strength and its vulnerability.
The Chaser Role
The chaser is the heart of the box and 1. Everything else in the defense depends on this player doing their job completely. The assignment is simple to describe and brutally hard to execute: follow the star everywhere on the floor, deny every catch, and never let them get comfortable.
Total denial is the goal. The chaser is not trying to contest shots — they are trying to prevent the star from ever touching the ball. That means following the star through every screen, sprinting through every baseline cut, denying on every inbound play. The chaser stays on the ball-side shoulder, maintaining a denial position that forces the star to catch the ball in unfavorable spots or not at all. If the star does not touch the ball, the defense has succeeded for that possession.
Physical ability matters, but composure matters more. The star player is going to use every tool available: sharp cuts, off-ball screens, pushing off, elbows, trash talk. The chaser needs to stay disciplined and calm through all of it. A chaser who gets rattled and loses composure — gambling for a steal, getting into foul trouble, or letting frustration affect their positioning — destroys the defense more effectively than any offensive play can.
Because the job is so physically demanding, the chaser role cannot be handled by a single player for an entire game. Coaches should plan to rotate the chaser assignment across two or three players throughout the game. Each player takes a few minutes, stays fresh, and then comes back for another stint. This rotation is not optional — a chaser who is exhausted in the fourth quarter gives the star everything they need.
The chaser should also communicate. When the star sets up off-ball, the chaser needs to let the box defenders know where the threat is coming from. Strong verbal communication between the chaser and the high box defenders on screen situations prevents the defense from becoming disorganized when the star runs complicated off-ball action.
Box Zone Responsibilities
While the chaser handles the star, the remaining four defenders operate as a coordinated zone unit. Each position in the box has distinct responsibilities, and understanding those responsibilities is what makes the defense functional rather than chaotic.
High Box Defenders
The two high box defenders sit at the elbows or just above them. Their job is to protect the high post and cover the perimeter on their side. When a role player catches a wing pass, the nearest high box defender must sprint out and close out hard — not lazily, but with disciplined footwork that does not allow a drive. Players here should be athletic and quick enough to cover ground because they will be asked to close out repeatedly. Think about applying concepts from proper closeout technique — a sloppy closeout against a shooting role player gives them a clean three.
High box defenders also need to be aware of any skip pass action. When the ball moves from one wing to the opposite wing, the high box defender on the weak side must rotate quickly. That rotation is one of the more demanding assignments in the entire defense and a primary point of vulnerability.
Low Box Defenders
The two low box defenders own the paint below the block. Their primary job is to prevent post catches and protect against drives. When the ball goes to the corner, the closest low box defender must close out and take away the baseline drive. The other low defender shifts toward the paint to cover any skip to the block.
Low box defenders must front the post before the star's teammates establish deep position. Once a post player has a seal, it becomes extremely difficult to recover without fouling. Getting to front position early — before contact is established — is the standard that keeps the box zone intact near the basket.
When any ball-handler penetrates a gap, all four box defenders collapse toward the paint together, cutting off the drive and forcing a pass back to the perimeter. Ball recovery is the box zone's version of help defense — the same principles from help defense apply here, just adapted to the zone structure.
Weaknesses and How Offenses Attack It
Every defense has a crack, and the box and 1's is clearly identifiable. Skip passes are the primary weapon against this defense. The box zone covers the three-point arc with only two high defenders. A skip pass from one corner to the opposite wing forces the far high defender to sprint a long distance and close out on a shooter who already has their feet set. That closeout arrives late more often than not, and the result is an open look from deep.
This structural weakness explains why the box and 1 fails against teams with balanced shooting. If three or four players on the opposing team can make open threes, forcing the ball to role players does not actually help the defense — it just gives those role players clean looks from distance. The entire logic of the box and 1 depends on the opponent's role players not being capable shooters. When that condition is not true, the defense is actively handing points to the other team.
Ball movement is the second weapon. Quick, sharp passing that swings the ball from side to side forces the box defenders to close out repeatedly. Eventually, a defender is a step slow, and the offensive player attacks the closeout with a drive. Against a team that understands ball reversal, the box zone can be exhausted over a single possession.
Off-ball screens for the star also create real problems. If the opposing coach sets two sequential screens for the star, the chaser has to fight through both while the box defenders cannot help without abandoning zone structure. The best counter is to switch the chaser to a fresh leg and communicate the screen action early. Studying these scenarios during practice — using a focused practice plan — is the only way the defense holds up under game pressure.
When to Use the Box and 1
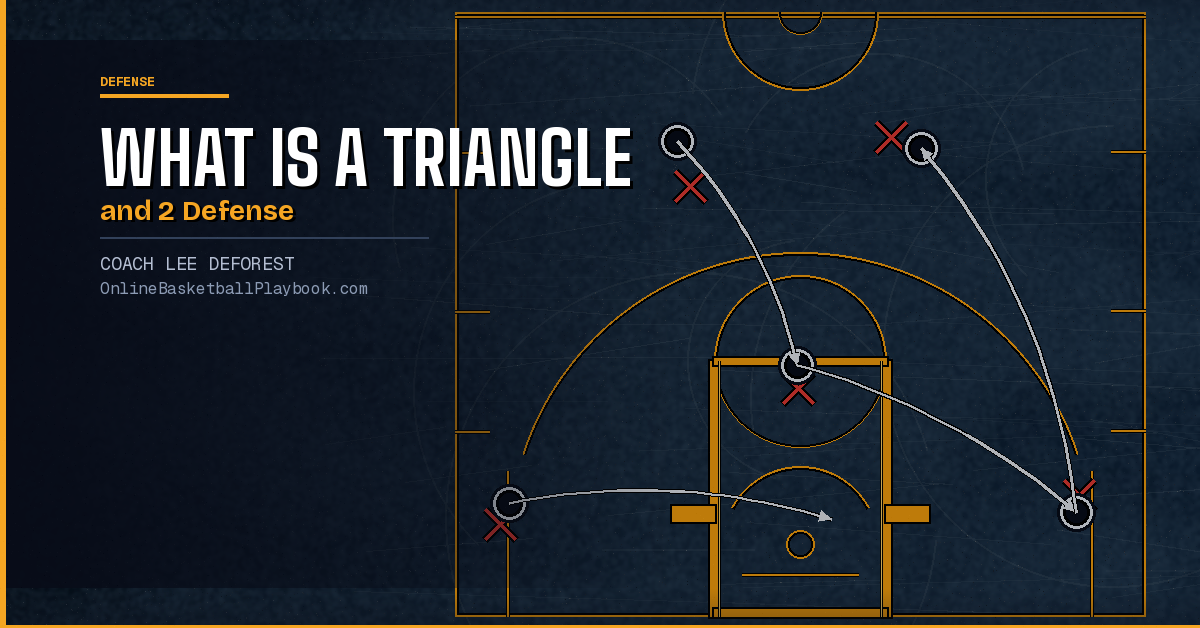
The box and 1 is a situational weapon, not a season-long strategy. Deploy it when the scouting report shows a clear offensive hierarchy — one player who handles the ball a disproportionate amount, creates their own shot, and whose removal from rhythm will effectively disrupt the entire opposing offense. If the opposing team has two players that fit that description, look at the triangle and 2 instead.
The defense works best when the opponent's role players cannot shoot from the perimeter. If those players are legitimately dangerous from three, the skip-pass vulnerability becomes too costly. The tradeoff is only worthwhile when you are confident that open perimeter looks for role players are an acceptable outcome.
Use it in spurts rather than entire halves. Running the box and 1 for three or four possessions at a key moment — particularly when the opponent's star has just been on a run — can disrupt momentum without giving the offense enough film to fully adjust. Switching from a base man-to-man defense to a box and 1 mid-game adds a layer of unpredictability that benefits from the opponent's inability to make immediate in-game adjustments.
Late-game situations are also a natural fit. If a team is protecting a lead in the final two minutes and the opponent has a single player capable of getting them back into the game, the box and 1 denies that player the ball and forces the clock to run while role players try to create. That is a high-leverage use of this defense.
In-Game Adjustments
No defense survives contact with a well-coached offense without adjustments. The box and 1 requires active management from the bench throughout the game.
Track the chaser rotation deliberately. Have a plan — player A for four possessions, player B for four possessions — rather than making reactive switches when exhaustion is already visible. A chaser who is clearly tired is worse than rotating a player in slightly early. Communicate the rotation to the players during timeouts so they know what to expect.
When the star does catch the ball despite the chaser's best effort, the box zone must collapse immediately. Do not wait. All four box defenders shrink toward the paint, cut off any drive, and make the star pass. The perimeter opens up. That is the intended outcome — a contested mid-range or three-point look for a role player is the correct result of the star catching the ball. Trust the logic of the defense.
If skip passes are consistently beating the box, make an adjustment to the high defenders' starting position. Widening their initial position — sitting closer to the three-point line rather than the elbow — reduces the distance they must cover on skip pass closeouts. The tradeoff is slightly less interior protection, but if role players are hitting open threes, that trade is worth making.
Talk to the chaser between possessions. A brief moment of coaching — "you're doing well, stay patient, no reaches" — keeps the chaser mentally fresh and reinforces the composure standard the defense demands. Managing that player's mindset is as important as the tactical adjustments happening around them.
"The chaser must be disciplined (the star will use elbows, push off, trash-talk) and must be rotated: use 2-3 players through the chaser role across the game so no one chaser exhausts himself."
— Basketball Vault
Before calling the box and 1 in a game, confirm two things from the scouting report: the opponent's star gets a disproportionate share of possessions, and their role players are not reliable three-point shooters. If both are true, the defense is a legitimate weapon worth using in short bursts at critical moments.
- Assign the chaser role to your most disciplined on-ball defender — composure matters more than raw speed.
- Plan the chaser rotation before the game: 2–3 players, cycling every 3–4 possessions to prevent exhaustion.
- High box defenders must close out with proper footwork on every wing catch — lazy closeouts give role players open threes.
- Low box defenders front the post early, before the offensive player establishes a seal — recovering from behind is nearly impossible.
- When the star catches the ball anyway, collapse the entire box immediately and force a pass back to the perimeter.
- Use the box and 1 in short bursts — two to four consecutive possessions — to disrupt momentum without giving the offense time to adjust.
- Do not deploy this defense against teams with three or more reliable perimeter shooters; the skip-pass vulnerability becomes unsustainable.
Get free play diagrams, drills, and coaching guides delivered weekly.
See it drawn up
Related diagrams


Keep Building
Related breakdowns