
How to Beat a 1-3-1 Zone Defense
The 1-3-1 zone is built to trap corners, deny reversal, and force bad angles. Once you know where the gaps live — the corners, the short corners, the high post — you can attack it systematically and make it pay every trip down.
Understand the Structure First
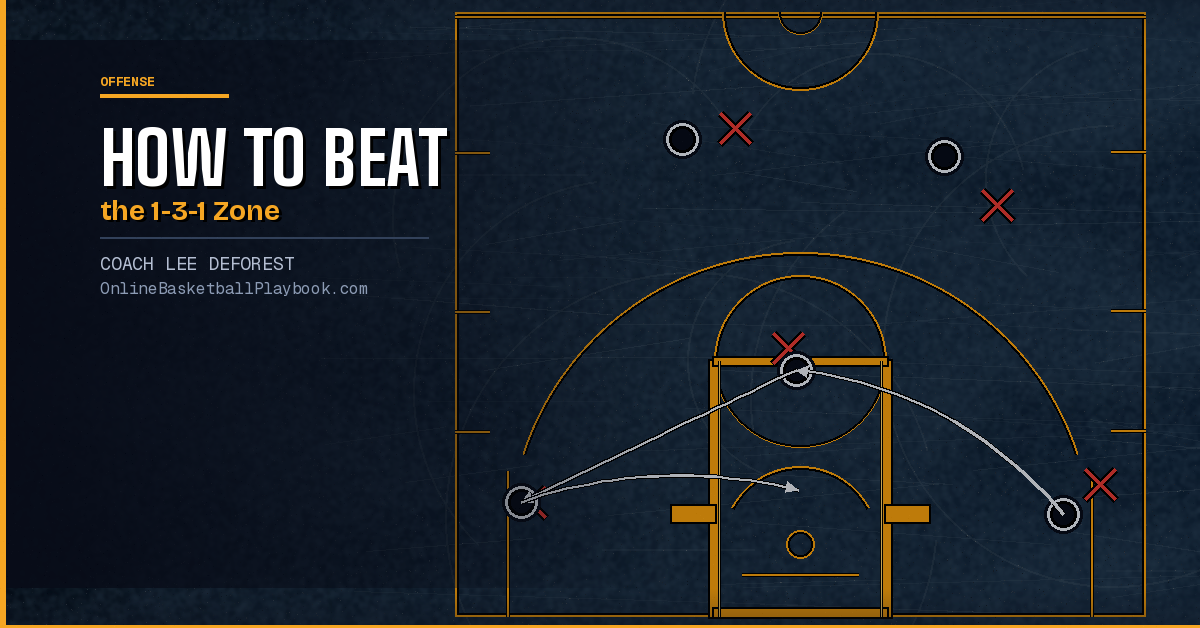
Before you draw up a single play, your players need to understand what they are looking at. The 1-3-1 zone puts one defender at the top (the point), three across the middle (two wings and a middle roamer), and one defender guarding the entire baseline. Each of those defenders has a defined job, and each job creates a predictable gap somewhere else on the floor.
The point defender is typically there to deny easy guard-to-guard reversal across the top. The moment your ball handler gets the pass reversed, the point defender has to sprint to cut off the ball — and that sprint creates lag time you can exploit. The middle defender is the engine of the zone. He covers the high post and rotates to the low post depending on ball location. He covers a lot of ground, which means if you can occupy him in one spot, something opens up on the other side.
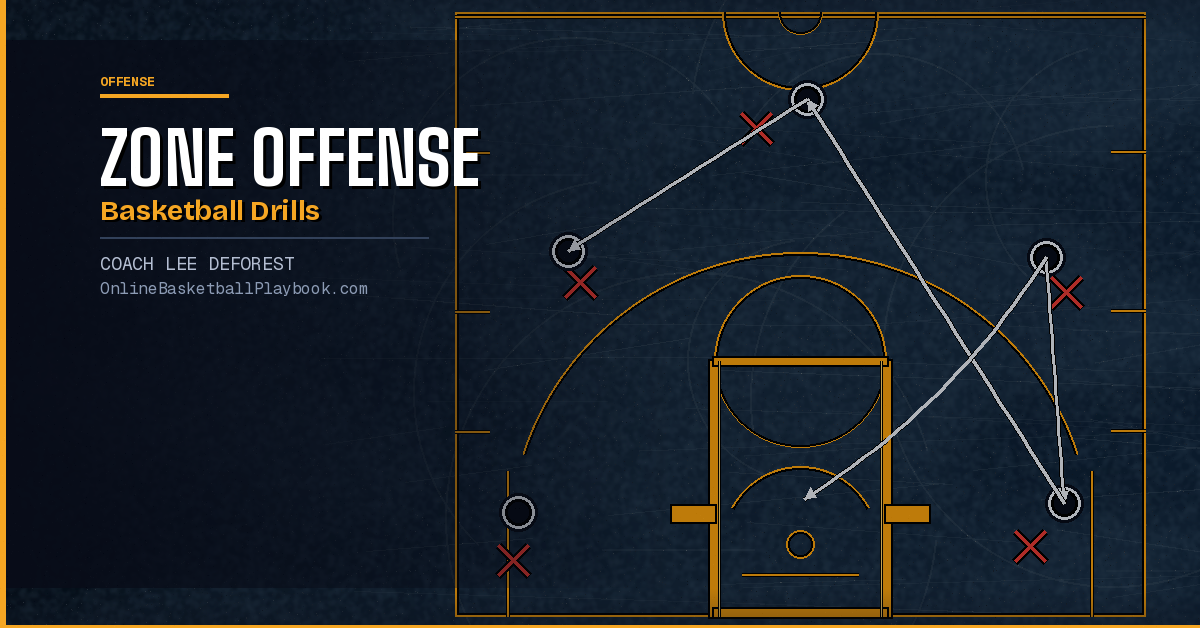
The baseline defender is the most overloaded player on the floor. One player is responsible for corner to corner. That single assignment is the most obvious vulnerability in the entire defense. Two corners exist simultaneously — only one defender can cover both at any given time. Your offensive system should make that fact the centerpiece of everything you do against this zone.
Understanding the 2-3 zone defense and how it differs from a 1-3-1 gives your players valuable context. The 2-3 loads up the baseline with two defenders; the 1-3-1 sacrifices that security to gain pressure at the point and trapping opportunities in the corners. The tradeoff is real. You attack a 2-3 with the elbow and high post. You attack a 1-3-1 with the corners, the short corner, and skip passes that beat the baseline defender's recovery.
One more structural note: the wing defenders in a 1-3-1 cover a wide range — from the elbow out to the corner on their side. When the ball hits a wing, one wing closes out while the opposite wing drops to the paint. Both move simultaneously. That synchronized movement means if you can freeze one wing with a shot fake or a jab step, the interior opens up. Recognition is the first weapon.
Spacing and Alignment Against the 1-3-1
Most zone offenses fail not because of bad actions but because of bad spacing. Crowding the floor lets the zone guard two players with one defender. Against a 1-3-1 specifically, your alignment needs to put defenders in conflict — force them to guard multiple threats they cannot simultaneously cover.
A simple starting alignment is a 1-3-1 offensive set that mirrors the defense: one guard up top, two wings at the elbows or slightly wider, one player at the high post, and one player stationed in the short corner or baseline corner. This is not a coincidence — placing offensive players where the zone defenders rotate to means every defensive rotation reveals a different open player.
The corners are the most important spots on the floor against this defense. Station a shooter in one corner and a cutter or secondary ball handler in the other. The baseline defender has to choose. The moment he cheats toward one corner, throw the skip to the other. Your corner players need to be floor-ready — feet set, eyes on the passer, ready to shoot or attack a close-out. If you put non-shooters in the corners, the baseline defender can shade toward the short corner and take away your best entry angle.
The high-post alignment is equally critical. Placing a player at the free-throw line or just above it occupies the middle defender and gives you a hub for drive-and-kick actions, high-low passes, and any ball reversal that the point defender tries to take away. Your best passer — not necessarily your best scorer — belongs in that high-post spot. When the ball goes into the high post, three defenders have to react. Someone is always open.
Wide spacing also helps your perimeter players read the zone in real time. When players are too close together, a single defensive rotation covers multiple offensive threats. Push your perimeter players to the edges of the lane extended on each side and train them to hold their spots until the ball moves. Ball movement and player spacing work together — neither alone is enough to crack a disciplined 1-3-1.
Corner Entries and Skip Passes
The corner entry is the primary weapon against a 1-3-1. When the ball reaches a corner, the baseline defender has to come out and guard it. That movement pulls him out of position to cover the opposite corner. The wing on the ball side comes down to trap or contest — that movement pulls a wing out of the lane. Two defenders are now on the ball-side corner, and the rest of the floor is significantly more open than it was two seconds ago.
Here is what you want to happen after the corner entry: the high-post player flashes to the ball-side short corner or the lane, the opposite wing rises to the elbow, and the opposite corner player stays wide and ready. The corner receiver looks for the short corner first (high-low), then the opposite wing (skip), then the point guard stepping back toward the elbow for a pull-up. Train these reads as a priority sequence, not a simultaneous decision. Players who know the read order make faster decisions.
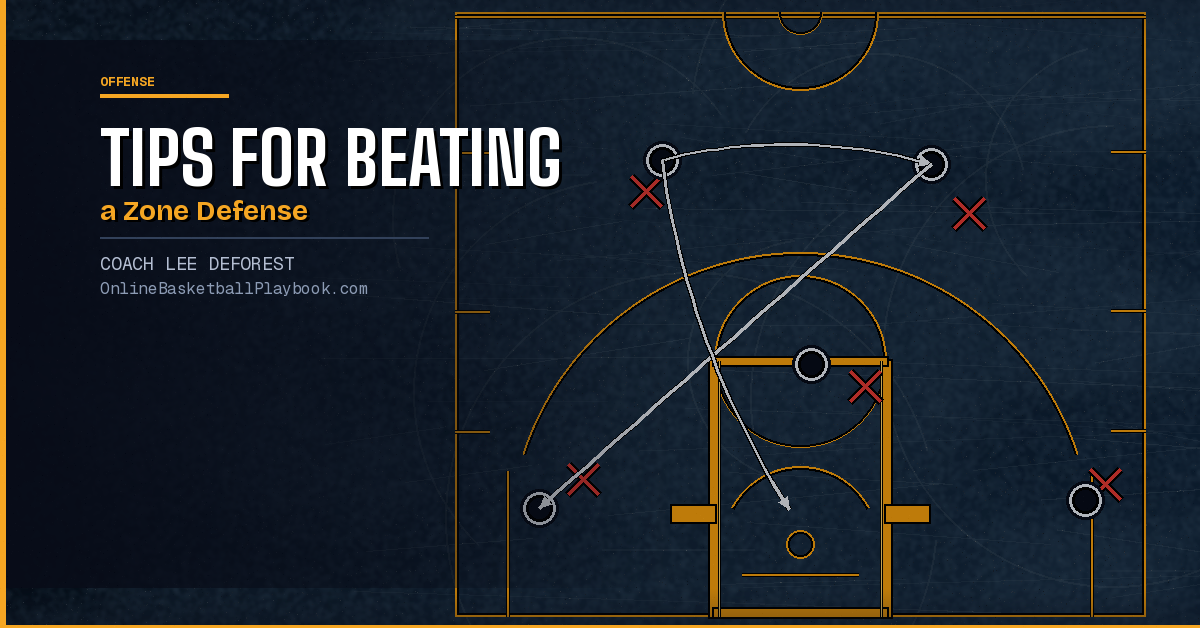
The skip pass is the second major weapon and the one most offenses underuse. A skip pass from one wing directly to the opposite corner — or from the corner to the opposite wing — travels the full width of the floor. The baseline defender cannot cover that distance in time if the pass is thrown quickly and accurately. Your players need to develop the passing confidence and vision to make this throw on time and on target. A passing drills routine that includes cross-court skip passes at game speed is one of the most specific preparation tools you can use against a 1-3-1.
Timing matters more than speed on the skip. The pass should come the moment the baseline defender commits to one side. If you wait too long, he recovers. If you throw it before he commits, you skip to a covered corner. Read first, then throw. Teach your players to watch the baseline defender's hips, not his hands. His hips tell you where he is going before his hands tell you anything.
One detail that separates average zone attacks from great ones: the corner receiver needs to immediately look at the paint after catching the skip. If the middle defender overrotated, there is a lane. If the wing is closing out late, there is a shot. Players who catch and stare at their own feet slow down the decision and allow the defense to recover. Catch and read, not catch and reset.
"The baseline defender is the most vocal guard on the court, covering corner to corner on the baseline and must communicate everything in front of him to the defense."
— Basketball Vault
High-Low and Post Actions
The high-low game is one of the cleanest ways to attack the 1-3-1 because it exploits the middle defender directly. When a player catches at the high post, the middle defender has to step up and contest — or at minimum, account for the threat. That upward movement creates space at the short corner and low post. A second player sealing low on the baseline side gets a clean catch every time the middle defender rises.
Run the high-low this way: ball enters the high post, the low post player seals the baseline defender's inside hip, and the high-post player fires a quick pass to the low position. No dribble. Just catch and throw. The entire action should take under two seconds. If the middle defender stays low to front the low post, the high-post player has an open mid-range shot at the free-throw line. The defense cannot stop both reads simultaneously — that is the entire point of the action.
You can layer in dribble penetration from the high post to get even more out of this alignment. When the high-post player puts the ball on the floor and attacks the lane, both wing defenders have to make a decision — stay wide or help. If they help, skip passes to either corner are open. If they stay, the drive goes all the way to the rim. Midrange pull-up opportunities off one dribble from the free-throw line are some of the highest-percentage shots you can generate against a 1-3-1.
Post play in these scenarios does not require a traditional back-to-the-basket post player. A mobile four who can catch and face-up at the short corner is actually more valuable against a 1-3-1 than a pure low-post scorer. The short corner creates an angle that neither the baseline defender nor the wing defender naturally covers — the baseline defender is defending the corner, and the wing is guarding the elbow. The short corner sits in between. A player who can catch there and make the read between the corner, the high post, and his own shot is a significant asset. Learning more about post play in basketball and the specific footwork involved helps your players take advantage of these angles under pressure.
Ball Screen and Dribble Entry Adjustments
Zone defenses sometimes invite ball screens because defenders are in zones rather than assigned to individuals. A ball screen at the top against a 1-3-1 forces the point defender to decide whether to go over or under — and that hesitation, even briefly, creates an advantage. The guard coming off the screen can attack the gap between the point and the ball-side wing before the defense recovers.
Dribble penetration is one of the most underrated tools against any zone, including the 1-3-1. Guards who can put the ball on the floor and attack the gaps between defenders pull multiple zone players toward the ball, leaving open teammates behind them. The key is not to drive all the way to the rim — the middle defender and baseline defender collapse when you do that, and you end up in traffic with no good angle. Instead, drive to the gap, draw two defenders, and throw back to the open shooter or the high-post player who slid into the space you vacated.
Dribble entry into the high post is particularly effective. Rather than passing to the high-post player, the guard dribbles toward him — what some coaches call a "drive and pitch" or a "dribble hand-off." The movement of the guard dribbling toward the high post forces the point defender and the ball-side wing to track the dribble, while the high-post player can either take a hand-off and attack or slip to a secondary spot. Adding basketball footwork drills that include zone-specific cutting and sealing movements helps your players execute these dribble-entry actions cleanly at game speed.
Do not neglect the transition attack. The 1-3-1 is a setup zone — it takes time to organize. If you can push the ball in transition before the defense sets, you are attacking four or five players who are still running back rather than five players locked into their zone assignments. Developing a sound fast break system gives you built-in advantages against any zone that needs time to set up.
Preparing Your Team to Attack the 1-3-1
Knowing the reads is not the same as executing them under pressure. Your team needs repetition in practice specifically against 1-3-1 looks before they can trust those reads in games. The worst time to teach a zone offense is halftime of a game where you are already down twelve points. Build it into your regular practice plan so players develop the pattern recognition before they need it.
The most efficient practice method is a walk-through followed by a competitive shell. In the walk-through, you freeze the defense at each ball position and ask offensive players to identify the open spot. This is a thinking exercise, not a physical one — you are building the mental map. In the competitive shell, you run live three-on-three or four-on-four inside the zone and allow the reads to happen at speed. Scouts and coaches who have built detailed basketball practice plans around zone attack work consistently see faster player development than those who wait for games to teach the reads.
Shooting from the specific spots the zone attack generates — corner threes, short corner mid-range looks, free-throw line pull-ups — should be a standing part of your individual workouts. Your players will get those exact looks in games. If they are not comfortable shooting from those spots in isolation, they will hesitate when the zone gives them those opportunities in live action. Specificity in shooting work pays dividends in zone games.
Against a disciplined 1-3-1, ball movement should take no more than two passes before someone is attacking a gap or shooting an open look. If your offense is making four and five passes without creating an advantage, your spacing is wrong or your players are not reading the defense — diagnose which one before the zone takes over the game.
Film study is another underused tool for zone preparation. Show your players film of the specific team running the 1-3-1 you are about to face. Where do their wing defenders cheat? How fast is their baseline defender from corner to corner? Does the point defender go under ball screens or over them? Those tendencies shape which attacks you prioritize. A team with a slow baseline defender invites relentless corner skip work. A team with a lazy middle defender invites high-post dribble penetration all night.
Finally, build in a pressure release plan. Even a well-executed zone attack will get stalled sometimes. Have a simple reset — a dribble back to the top, a reversal sequence that resets the zone — so your players do not panic when the first attack stalls. Composure against a trapping zone is as important as any single action you design. Players who stay calm, reset, and run the offense again are far more dangerous than players who rush and throw into traffic the moment the first look is not there.
- Station a shooter in both corners — make the baseline defender cover the full width of the floor on every possession
- Put your best passer at the high post, not necessarily your best scorer — the reads out of that spot determine whether the action succeeds
- Throw the skip pass as soon as the baseline defender's hips commit to one side — not after, not before
- Run the high-low with no dribble — catch the high post and throw immediately to the sealing low player before the middle defender recovers
- Drive to the gap between defenders, not all the way to the rim — draw two and kick back to the open shooter
- Practice the specific shots the zone creates (corner three, short corner mid-range, free-throw line pull-up) so players are confident when the looks arrive in games
- Push early in transition before the 1-3-1 sets — a half-organized zone is far easier to attack than a fully locked-in one
Get free play diagrams, drills, and coaching guides delivered weekly.
See it drawn up
Related diagrams


Keep Building
Related breakdowns