
Dribble Drive Motion Offense: Complete Guide
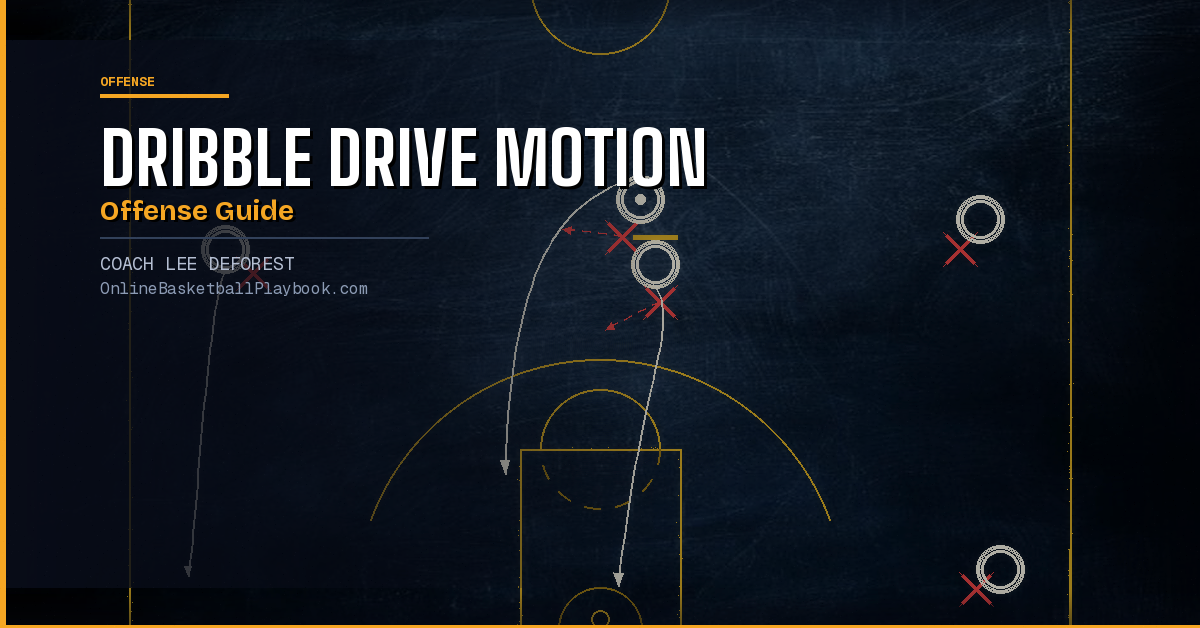
The Dribble Drive Motion Offense puts four shooters on the perimeter, clears the lane, and lets your best playmakers attack downhill. The result: layups, fouls, and open threes — no complicated sets required.
Origins and Core Philosophy
The Dribble Drive Motion Offense was developed by Vance Walberg and brought to national prominence when John Calipari ran it at Memphis. At its core, the system is built on one aggressive idea: if your players can put the ball on the floor and attack a gap, they should never stop at the mid-range. Every drive either ends at the rim, draws a foul, or produces a kick-out three. The mid-range jumper is treated as a losing shot — the system is explicitly designed to eliminate it.
What separates DDM from general motion offense principles is the intentional emptying of the paint. Traditional offenses often park a post player in the lane, which clutters driving lanes and forces the ball-handler to navigate around help. DDM removes that obstruction entirely. The lone post (usually the five) starts opposite the ball on the backside block and clears toward the weak-side corner or elbow the moment a drive begins. That single rule creates the open runway the offense needs.
The philosophy also leans heavily on pace and depth. Coaches who run DDM effectively rotate their bench more freely than most, using fresh legs as a competitive weapon. The simplified reads — drive or shoot, kick or dump — allow substitutes to plug in without burning through lengthy scouting reports. When executed consistently, DDM can out-condition opponents over the course of a game, especially in the second half when tired defenders lose the discipline to stay in front of live dribbles.
Spacing and Personnel
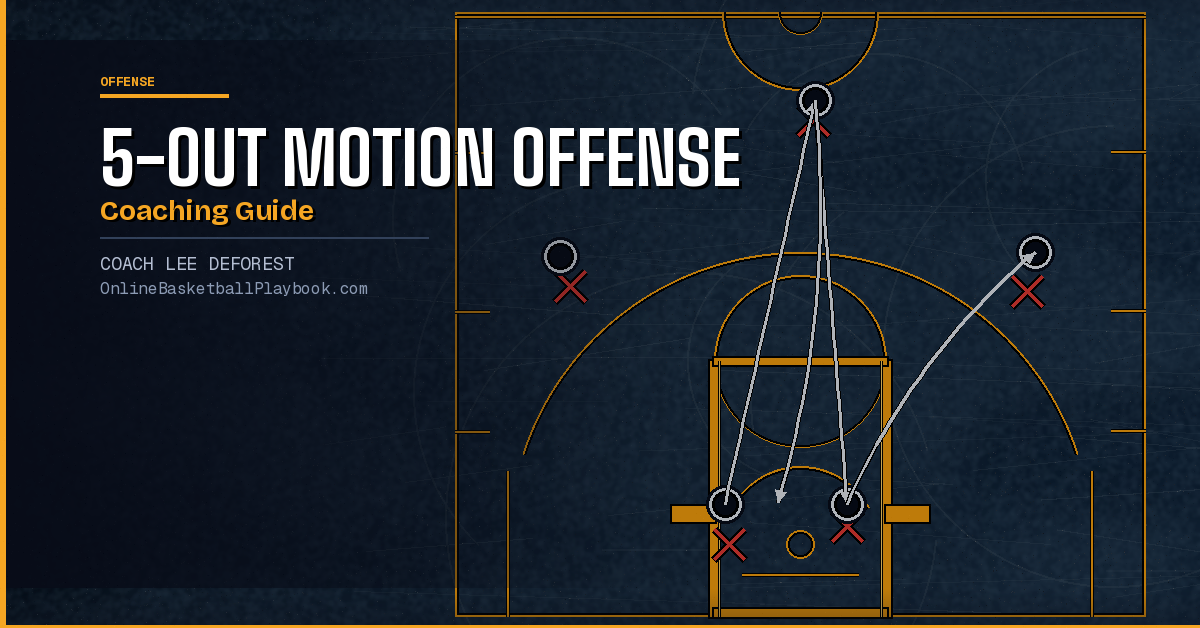
DDM is a 4-out, 1-in structure. The point guard initiates from the top of the key, two wings occupy positions just above the three-point arc on each side, and a corner player stretches the weak-side corner. The post occupies the backside block, ready to relocate the moment the ball is driven.
The spacing between perimeter players is deliberately wide — typically 15 to 18 feet between adjacent spots. This is not accidental. If players are too close together, a single defender can take away both a drive and the kick-out pass. If they are too far, passes become difficult to complete under pressure and the spacing loses its forcing function. The 15-to-18-foot band puts the defense in an unsolvable problem: shade one player and the other is open.
Personnel requirements are straightforward but non-negotiable. Every player on the floor must be a credible shooting threat. A player who cannot make an open three-pointer from the corner is a liability in this system — defenders will sag off them, clog the lane, and eliminate the kick-out advantage entirely. This is why coaches at every level who run DDM spend significant time on shooting form and perimeter skill development before the first game.
The five man does not need to be a traditional post scorer. In DDM, the five's primary value is clearing space and reading dump-offs. A big who can catch, finish, and occasionally hit a mid-post jump shot is ideal. A big who camps in the paint and demands post touches will break the system. Players must buy into their role, which is why building team culture around shared accountability matters before you install this offense.
Penetration Reads and Decision Zones
The intellectual heart of DDM is the penetration read — what the ball-handler does once a drive is initiated. One of the clearest teaching frameworks divides the half-court into three zones, each with its own decision rule.
The Drop Zone sits roughly from the free-throw line elbow area to about four feet outside the lane on each side. This is the critical decision band. When the ball-handler arrives here, he must evaluate a single body-position cue: have his shoulders cleared the defender's shoulders? If yes, he pushes all the way to the rim. If no, he picks up his dribble immediately and enters a 360-degree pivot to survey all kick-out options. This body-checkpoint converts the vague instruction "attack!" into a repeatable, self-administered decision that every player can apply consistently.
The Drag Zone sits near the basket area and is where the ball-handler's job is to drag the defense toward the rim, pulling helpside defenders out of position and opening backside lanes. The Rack Zone is the rim itself — once the ball-handler arrives there, only two outcomes are acceptable: score or draw a foul. No pull-up jumpers. No hesitations. The scoring rule is simple and clear.
"Attack the gap, then read. Drive a tight defender, shoot vs. a sagging one; once help stops the ball, jump-stop and kick/drop/dump."
— Basketball Vault
The kick-out pass is the system's release valve. When help defense collapses on the driver, one or more perimeter players will be open. The ball-handler must identify the highest-value open man — typically the corner shooter opposite the drive — and deliver the pass before help recovers. Understanding help defense principles as a ball-handler is just as important as understanding them as a defender. Knowing where help comes from tells you exactly where to look first.
Off-Ball Movement and Cutting Rules
Off-ball players in DDM are not passive. Their reads determine whether the offense generates a catch-and-shoot or a backdoor layup on every single drive, and they must make those reads in real time based on their own defender — not the ball.
The primary rule for wing players is simple: read your defender. If the defender has opened up toward the ball to help on the drive, the wing fades to the corner and calls for the kick-out pass. If the defender has stayed tight, chesting up anticipating the catch, the wing cuts hard backdoor along the baseline toward the rim. This dual read — fade or cut — happens before the pass is thrown and is governed entirely by what the off-ball defender does.
The post's off-ball responsibility is equally defined. On any dribble pickup in the Drop Zone, the post opposite the ball slides up the lane to the opposite elbow, clearing the backside and opening a dump-off or drop pass angle. This movement must happen automatically — a post who stays camped on the block eliminates the dump-off option that bails out ball-handlers who get stopped short of the rim.
These off-ball rules are best developed through structured repetition. The shell drill is a foundational tool for teaching players to read their own man rather than watching the ball. Coaches who run shell drill variations with live dribble penetration — forcing off-ball players to decide fade or cut based on their defender — build the habit faster than any chalk-talk can.
The corner player on the ball-side has the simplest job: stay in the corner, keep the spacing wide, and be ready to catch and shoot. Premature movement from the corner collapses spacing and often creates a traffic jam at the worst possible moment. Teaching players to stay stationary and disciplined when they are not the primary read is underrated work in this system.
Installing the System: Drills and Practice
DDM rewards teams that build the offense from the ground up — individual reads first, then pairs, then five-on-five. Coaches who skip to full team scrimmages before the reads are internalized end up with chaotic penetration and turnovers rather than the clean layups the system promises.
Start with one-on-one work focused on the Drop Zone decision. Put a ball-handler at the top of the key, a defender in front, and a coach or manager at the Drop Zone boundary. The ball-handler drives, hits the zone, evaluates the body-position cue, and either finishes or picks up and pivots. Repetition here builds the muscle memory that makes the rest of the offense function.
The next layer is two-on-two: ball-handler and a wing, with two defenders. The wing reads her defender — fade or cut — and the ball-handler practices finding her. This is where the kick-out pass timing is trained. The ball-handler must learn to see the open wing without staring at her, and the wing must time her fade or cut to arrive when the pass arrives.
Three-on-three adds the corner player and forces the ball-handler to scan two potential kick-out targets. Four-on-four includes the post. Five-on-five is the final step, but even then, coaches should break down breakdowns — pause the scrimmage, reset positions, and walk through the read that broke down. Consistent film review and review sessions accelerate this learning significantly.
Conditioning matters in DDM. The system's pace and pressure can wear down teams who are not physically prepared. Including conditioning drills that mirror the energy demands of repeated drives — sprint to the rim, recover, sprint again — builds the physical foundation the offense requires. A well-conditioned DDM team plays faster in the fourth quarter than in the first, which is a genuine structural advantage.
Building a complete basketball practice plan around DDM installation means allocating significant time to reads and reactions, not just sets and plays. The offense generates its advantages through decision-making speed, and that can only be trained through high-repetition, read-based practice.
Counters and Adjustments
DDM teams will face defenses designed to take away the drive. The most common counters are a hard-hedging scheme that forces the ball-handler to pick up early, a zone that removes driving lanes, and a trapping scheme at the Drop Zone that tries to create turnovers before the kick-out can be made.
Against hard hedges, the answer is the pull-up skip pass: the ball-handler draws the hedge, immediately kicks to the opposite corner, and the corner player catches and shoots before the help can recover. This is why player development emphasis on catch-and-shoot mechanics is built into DDM from day one. Teams that hedge aggressively are essentially conceding open threes — the offense exploits that willingly.
Against zone defenses, DDM's wide spacing already creates problems. The 4-out alignment stretches zone defenders to their limits, and perimeter ball movement combined with one decisive drive can collapse a zone quickly. The post's ability to receive dump-off passes at the elbow is particularly valuable against zone, as that position splits the middle of most zone formations. For deeper zone-busting strategy, understanding how the 2-3 zone is constructed from the defensive side helps DDM players identify where to attack.
Against trapping schemes, the solution is disciplined use of the jump-stop. Ball-handlers who pick up their dribble under control at the Drop Zone — rather than dribbling into traps — maintain the 360-degree pivot advantage that lets them find open teammates. Panic, rushed passes, and forced finishes into double-teams are the turnover sources that hurt DDM teams. Composure at the Drop Zone is a trained skill, not a natural one.
Coaches can also add a quick-hitting side-ball-screen action to give the ball-handler a different entry into the driving lane when the primary drive is being taken away. A simple ball-screen from the five, followed by the five clearing immediately to open the lane, combines the benefits of pick-and-roll with DDM's spacing principles. Understanding how defenses try to defend the pick-and-roll helps you choose the right screening angles to exploit.
Teams transitioning to DDM from a traditional set-play offense often struggle in the first two weeks because players are waiting for a play call rather than reading and reacting. Expect the learning curve and build tolerance for early mistakes — the reads develop faster than coaches typically expect once players trust the system.
- Empty the middle: the post clears to backside block on every drive — no exceptions.
- Drive tight defenders, shoot sagging ones: if the defender gives space, stop and shoot before the drive.
- Drop Zone body check: shoulders cleared = finish; shoulders not cleared = jump-stop and pivot.
- Wing reads: defender open to help = fade corner; defender tight = cut backdoor baseline.
- Kick-out first, pull-up last: perimeter catch-and-shoot is always preferred over a contested mid-range.
- Post at Drop Zone pickup: slide to opposite elbow to open dump-off angle and clear backside lane.
- Condition for pace: DDM players must run harder in the fourth quarter than the first — train it daily.
Get free play diagrams, drills, and coaching guides delivered weekly.
See it drawn up
Related diagrams


Keep Building
Related breakdowns
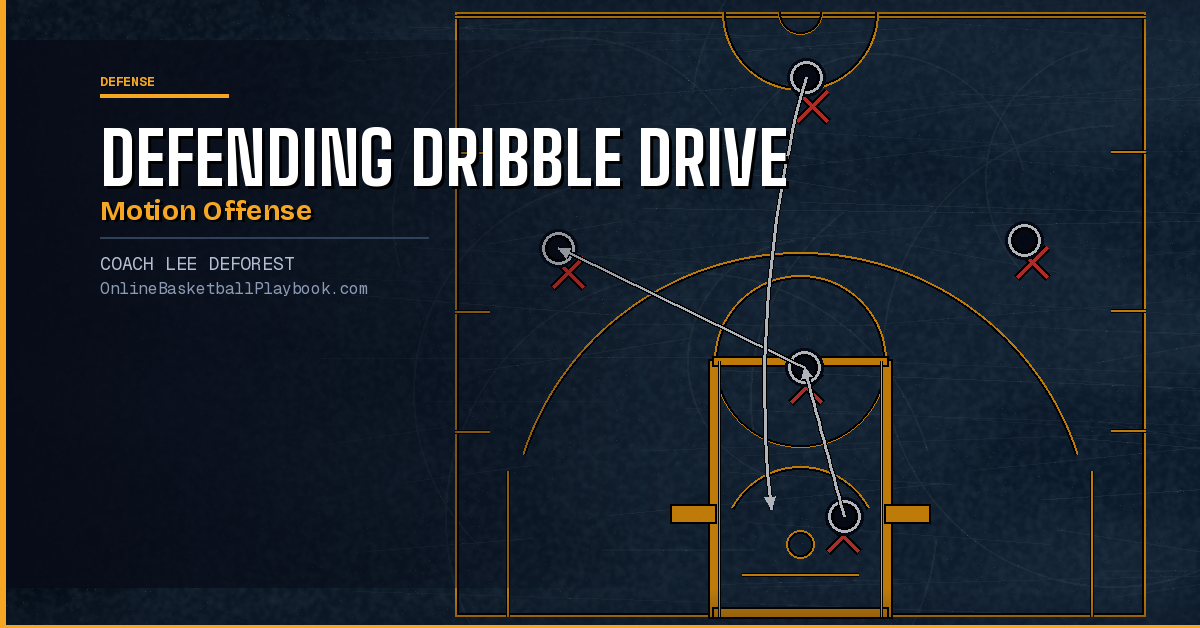
How to Defend the Dribble Drive Motion Offense
How to Defend the Dribble Drive Motion Offense