Basketball Set Plays vs Zone: 14 Sets for the 2-3 and More
Offense

Basketball Set Plays vs Zone: 14 Sets for the 2-3 and More

Basketball set plays vs zone: 14 sets from the high-low stack, 1-4, box, 3-out 2-in and 4-out 1-in, each drawn frame by frame with where every player goes.

By · Published October 19, 2026 · 11 min read

These basketball set plays vs zone are 14 sets for the 2-3 and other zones, each drawn frame by frame.

These basketball set plays vs zone screen areas, not players. The screens go on a zone guard, on the middle man or on a low defender, and a cutter or shooter steps into the gap the screen opens. Four of the sets are built for a 2-3 zone and the rest for any zone. They start from the high-low stack, 1-4, the box, 3-out 2-in, 4-out 1-in and a look with both bigs at the elbows. This page draws 14 sets, each with its type, its action and every diagram frame in order.

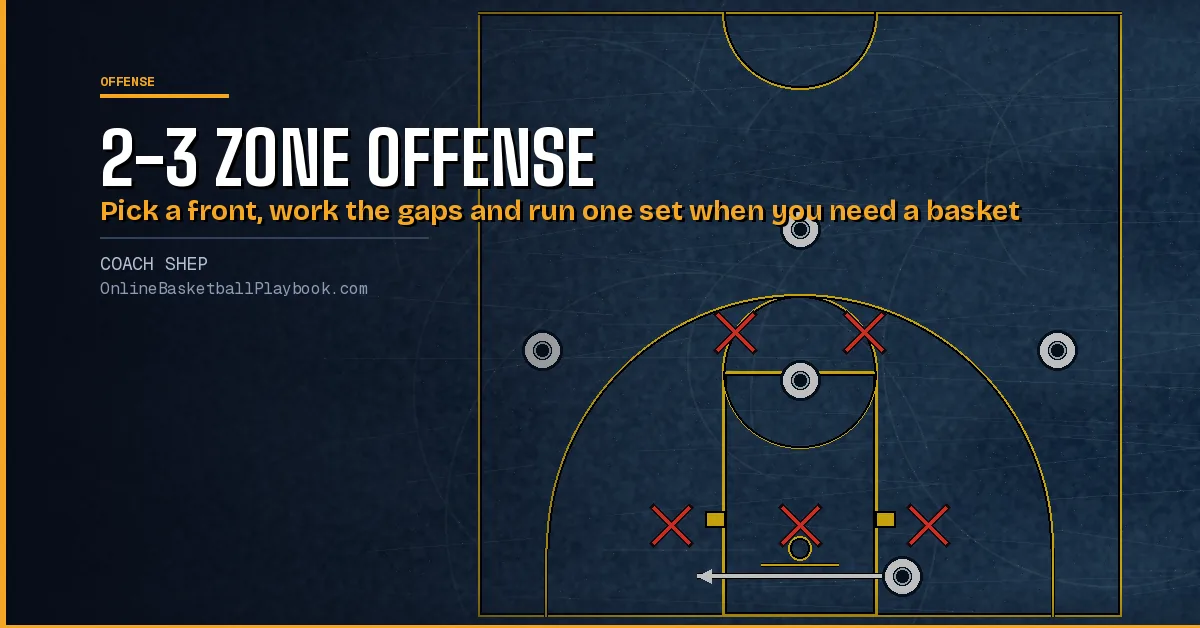
For the principles of attacking a 2-3, see how to beat a 2-3 zone and 2-3 zone offense. For every kind of set, start at basketball plays.

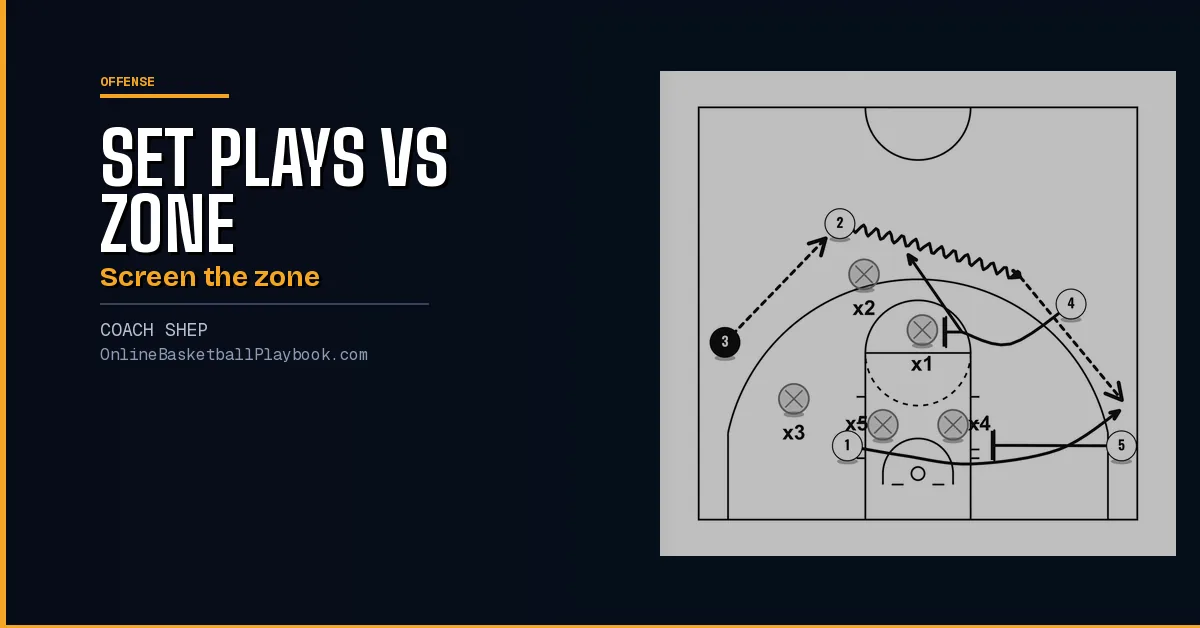
In these sets the screens go on zone defenders: a guard, the middle man or a low defender. Each set shows who gets screened and who steps into the space.

How to Read These Zone Set Diagrams

Each set is drawn frame by frame, and the line under each diagram says who moves and where. The basket is at the bottom of every diagram. Sides are named as a player sees them facing the basket, so the left wing is on the right side of the picture. A solid arrow is a cut, a dashed arrow is a pass, a wavy line is a dribble and a line ending in a short bar is a screen. The diagram guide covers every symbol.

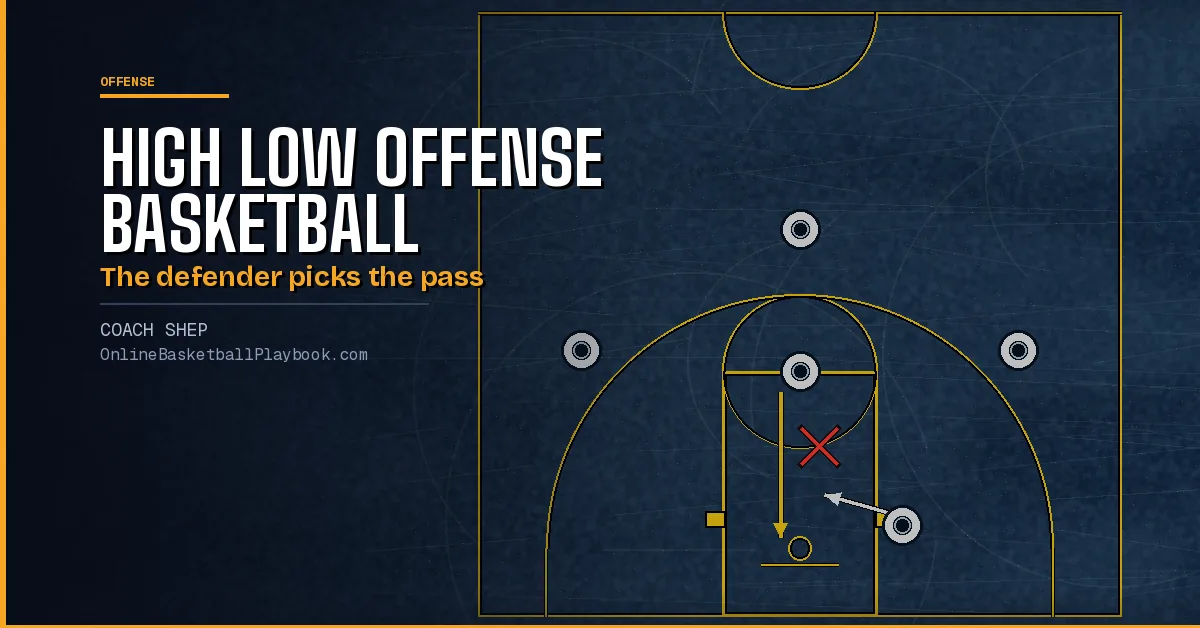
High-Low Stack Option 2

Type: Zone offense | Look: high-low stack | Against: zone

1 puts the ball on the floor toward the high stack. 4 screens for 2, and 2 runs a shallow cut. 4 rolls after the screen. 3 pops out. The ball swings to 3, and 3 looks inside for 5 on the seal.

It starts with the high stack, 2 on 4, at the right elbow. The low stack, 3 on 5, sits at the left block. 1 has the ball at the top of the key.

High-Low Stack Option 2, diagram 1 of 5
Frame 1. Start. High stack right, low stack left.
High-Low Stack Option 2, diagram 2 of 5
Frame 2. 1 dribbles toward the high stack.
High-Low Stack Option 2, diagram 3 of 5
Frame 3. 4 screens. 2 shallow-cuts.
High-Low Stack Option 2, diagram 4 of 5
Frame 4. 4 rolls down the lane.
High-Low Stack Option 2, diagram 5 of 5
Frame 5. 3 pops. Ball reverses to 3. 5 seals.

High-Low Stack Option 1

Type: Zone offense | Look: high-low stack | Against: zone

1 dribbles away from the high stack. 4 screens for 2 and rolls. 3 pops out of the low stack. 5 seals toward the ball.

It starts with the high stack, 2 on 4, at the right elbow. The low stack, 3 on 5, sits at the left block. 1 has the ball at the top of the key.

High-Low Stack Option 1, diagram 1 of 5
Frame 1. Same start.
High-Low Stack Option 1, diagram 2 of 5
Frame 2. 1 dribbles away from the high stack.
High-Low Stack Option 1, diagram 3 of 5
Frame 3. 4 screens. 2 shallow-cuts.
High-Low Stack Option 1, diagram 4 of 5
Frame 4. 4 rolls.
High-Low Stack Option 1, diagram 5 of 5
Frame 5. 3 pops. 5 seals toward the ball.

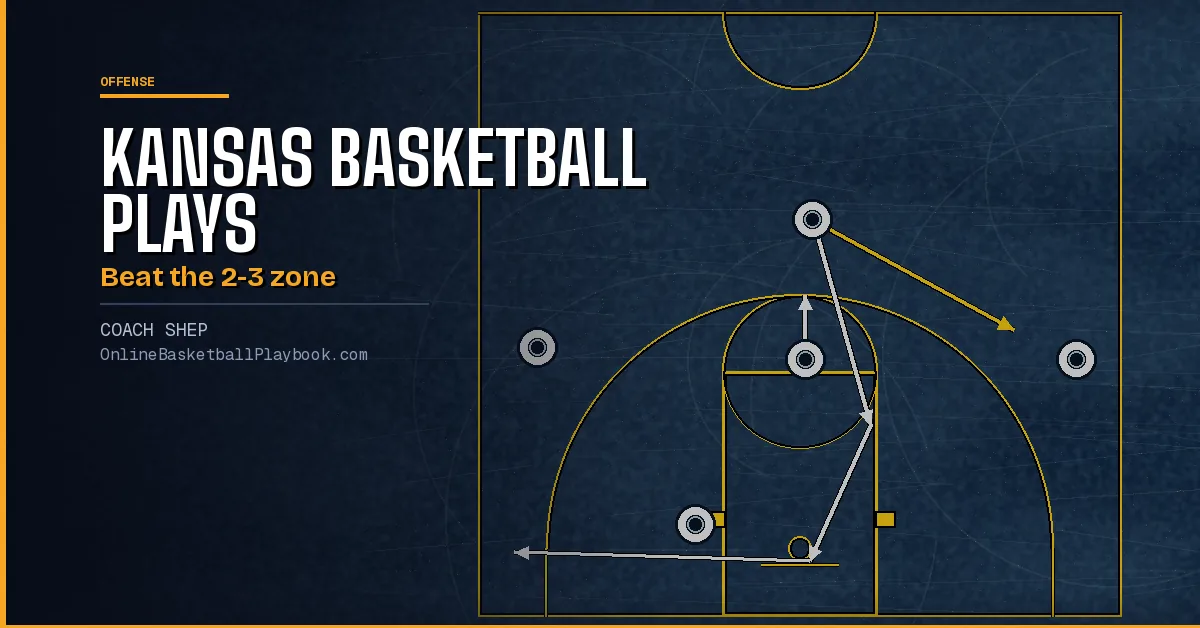
1-4 Push vs 2-3

Type: Zone offense, 2-3 | Look: 1-4 high | Against: 2-3 zone

1 dribbles at the top of the key and sends 4 on a basket cut to the far block. 1 hits 3. 5 ball screens for 3 into the middle. 3 has three looks: 4 looping under, 5 rolling to the short corner, or the shooters spotted up.

1-4 Push vs 2-3, diagram 1 of 2
Frame 1. 1 dribbles to the top of the key, pushing 4 into a basket cut and out to the opposite block. 1 passes to 3 on the wing. The zone slides with the ball.
1-4 Push vs 2-3, diagram 2 of 2
Frame 2. 5 ball screens for 3, who attacks the middle of the zone while 4 loops under the rim and 1 sits in a gap. 3 looks for 4 looping under, 5 rolling to the short corner, or 1 and 2 spotting up to shoot.

8

Type: Zone offense, 2-3 | Look: 3-out 2-in | Against: zone

1 dribbles to the wing while wings 2 and 3 screen the two zone guards. The post on the ball side screens the middle. 4 flashes to the mid-post. If nothing is there, swing it and 3 looks inside to 5.

8, diagram 1 of 3
Frame 1. Both wings, 2 and 3, screen the zone guards. 1 dribbles to the wing. 5, the ball-side post, screens the middle of the zone as 4 cuts into the lane.
8, diagram 2 of 3
Frame 2. 4 flashes to the mid-post for the pass from 1. 5 holds his screen on x5. 3 pops out and 2 steps out for the reversal.
8, diagram 3 of 3
Frame 3. If there is no pass to 4, the ball is reversed from 1 to 2 to 3. 3 dribbles down and looks side and in to 5.

Push Base In (BYU)

Type: Zone offense, 2-3 | Against: 2-3 zone

1 passes to 4 and gets it right back. 3 cuts through to the wing. 1 dribbles to the other wing and 4 cuts in behind. 5 screens in the middle defender, and 2 comes off for the shot.

Push Base In (BYU), diagram 1 of 2
Frame 1. 1 passes to 4 on the wing and 4 passes it right back. 3 cuts across to the free throw line.
Push Base In (BYU), diagram 2 of 2
Frame 2. As 3 cuts through to the wing, 1 dribbles to the other wing and 4 cuts behind him for the catch. 4 reverses the ball to 3. 5 screens the middle zone defender as 2 runs the baseline and 3 passes to him for the shot.

Spartan Zone Options

Type: Zone offense | Against: zone

1 dribbles to the wing. 2 cuts to the rim and curls off 5. 4 down screens for 3, and 3 lifts to the wing. 1 hits 2. 2 reads the two low defenders and finds 4 or 3.

Spartan Zone Options, diagram 1 of 3
Frame 1. 1 dribbles the ball to the wing. 2 cuts to the rim, then curls off the screen from 5, who steps to the block. 4 screens down for 3, who cuts up to the wing.
Spartan Zone Options, diagram 2 of 3
Frame 2. 1 passes to 2. If the low defender on the far side follows 3 on the screen, 2 passes to 4. 2 can also pass to 5.
Spartan Zone Options, diagram 3 of 3
Frame 3. If the low defender stays on 4 after the screen, 1 passes to 2 and 2 passes to 3 for a shot.

Zone Set Play 4

Type: Zone offense | Against: zone

5 back screens for 2 while 4 and 3 screen the outside and middle of the zone. 2 curls to the wing. 5 pops to the top of the key and catches. 5 hits 2 coming off the screens, or skips it to 1.

Zone Set Play 4, diagram 1 of 2
Frame 1. 5 sets a back screen for 2. 4 screens the outside of the zone and 3 screens the middle. 2 curls around and out to the wing. 5 pops to the top of the key, and 1 hits him and cuts to the other wing.
Zone Set Play 4, diagram 2 of 2
Frame 2. 5 can pass to 2 off the screens, or if the zone drifts toward 2, 5 skips the pass to 1 for the shot.

1-4 Zone Set (screen the forward and center of the zone)

Type: Zone offense | Look: 1-4 | Against: zone

1 passes to 2, and 4 fills 1's spot. 5 rolls to the post. 2 hits 4. 3 screens the zone forward, and 1 pops off that screen.

1-4 Zone Set (screen the forward and center of the zone), diagram 1 of 4
Frame 1. 1 dribbles toward 2 and passes to him as 2 steps up to meet it. 5 rolls into the post.
1-4 Zone Set (screen the forward and center of the zone), diagram 2 of 4
Frame 2. 4 replaces 1 at the top of the key. 1 cuts down the lane line to the opposite block.
1-4 Zone Set (screen the forward and center of the zone), diagram 3 of 4
Frame 3. 2 passes to 4. 3 screens in on the forward of the zone and 1 pops out off the screen. 4 dribbles and passes to 1. 3 has a possible slip after screening.
1-4 Zone Set (screen the forward and center of the zone), diagram 4 of 4
Frame 4. 3 goes into the lane and screens the center of the zone, and 5 cuts off it. 4 screens the guard and slips, and 3 comes off 4's screen to the top of the key. 1 dribbles and looks for 5 in the post, 3 at the top of the key or 4 slipping.

32 Lob

Type: Zone offense, 2-3 | Look: 3-out 2-in | Against: 2-3 zone

1 passes to 2. 2 dribbles to the corner to pull X3 out, and 3 slides in behind. 2 gives it back to 1. 3 cuts behind 5's screen and catches the lob from 1.

32 Lob, diagram 1 of 3
Frame 1. 1 passes to 2 on the wing.
32 Lob, diagram 2 of 3
Frame 2. 2 dribbles to the corner to pull x3 with him. 1 cuts toward 2, and 3 slides down behind the zone to the far corner.
32 Lob, diagram 3 of 3
Frame 3. 2 passes back to 1. 5 screens and 3 cuts behind the screen along the baseline. 1 throws the lob to 3.

Box Set - Zipper Cut to Overload

Type: Zone offense | Look: box | Against: zone

1 dribbles out and passes to 2. 5 screens in the guard, and 2 runs the zipper cut to the top of the key. 4 screens the weak-side guard for 3.

Box Set - Zipper Cut to Overload, diagram 1 of 4
Frame 1. Box set. 1 dribbles out to the wing. 5 screens in on the guard of the zone and 2 zipper cuts up the lane to the top of the key.
Box Set - Zipper Cut to Overload, diagram 2 of 4
Frame 2. 1 passes to 2. 4 screens in on the weakside guard and 3 comes off the screen. 2 passes to 3. 4 looks to slip.
Box Set - Zipper Cut to Overload, diagram 3 of 4
Frame 3. 1 cuts through the lane along the baseline to the far corner off baseline screens from 5 and 4. 3 dribbles and passes to 1. 4 can slip after he screens for 1.
Box Set - Zipper Cut to Overload, diagram 4 of 4
Frame 4. On the catch by 1, 5 flashes to the high post, and 3 steps out to the wing to form the overload. 1 passes to 5 and 5 looks to 4 inside.

Corner

Type: Zone offense | Against: zone

1 dribbles left and hits 2. 4 pops to the corner. 2 hits 4 and cuts. The ball comes back to 1. 4 and 5 screen for 2 to come to either wing. If 2 comes off 5, 1 skips it to 3 and 3 hits 2.

Corner, diagram 1 of 2
Frame 1. 1 dribbles toward the wing and passes to 2. 4 pops out to the corner. 2 passes to 4 and cuts to the basket. 4 passes back out to the wing, where 1 has the ball next.
Corner, diagram 2 of 2
Frame 2. 4 and 5 screen for 2, who can go to either wing. If 2 cuts off 5's screen, 1 skip passes to 3 and 3 passes to 2.

Ohio

Type: Zone offense | Look: 4-out 1-in | Against: zone

Enter to the wing, and 1 and 2 trade spots. The ball swings to 2, and 2 dribbles left. 4 sets a high ball screen at the top of the key. 5 screens the closest low defender, and 1 gets the three. 4 slips or pops. 5 posts.

Ohio, diagram 1 of 2
Frame 1. 1 makes the wing entry to 3. 1 and 2 exchange, 1 cutting down to the baseline and 2 coming up to the top of the key.
Ohio, diagram 2 of 2
Frame 2. 3 reverses the ball to 2, who dribbles toward the left side. 4 sets a ball screen on the top of the zone and can slip or pop. 5 screens the nearest bottom defender and 1 comes off it for 2's pass and a three. 5 then posts up in the paint.

Shooter

Type: Zone offense | Look: 3-out 2-in | Against: zone

1 enters to 3. 4 pops to the corner and catches. 5 flashes. 3 cuts through, and 1 v-cuts to take the swing pass. 4 and 5 stagger for 3. Then 5 screens for 4 rolling over the top.

Shooter, diagram 1 of 3
Frame 1. 1 enters the ball to 3. 4 pops to the corner and 3 passes to him. 5 flashes to the ball side.
Shooter, diagram 2 of 3
Frame 2. 3 cuts through to the opposite block. 1 v-cuts back for the ball reversal and 4 passes to 1.
Shooter, diagram 3 of 3
Frame 3. 4 and 5 set a stagger screen for 3, who runs the baseline. 5 turns and screens for 4, who rolls over the top of the screen. 1 dribbles up the wing.

X Zone Offense

Type: Zone offense | Look: 4 and 5 at elbows | Against: zone

On the X call, the bigs go to the elbows. 1 hits 3, and 3 dribbles to the corner. 4 dives ball side. 5 sits in the middle. Swing it, and 5 screens X2 so 1 can drive and kick. Run it on both sides without stopping.

X Zone Offense, diagram 1 of 6
Frame 1. On the X call, 4 and 5 sprint to the elbows.
X Zone Offense, diagram 2 of 6
Frame 2. 1 passes to 3, who dribbles down to the strong side corner. 4 dives to the strong side block. 5 sits in the middle of the zone.
X Zone Offense, diagram 3 of 6
Frame 3. 3 looks for 4 on the strong side block and 5 sitting in the middle of the zone. If neither is open, 3 swings it to 1 as 5 steps out to screen x2, and 1 penetrates the middle.
X Zone Offense, diagram 4 of 6
Frame 4. 1 comes off 5's screen, penetrates the middle of the zone and kicks the ball out to 2.
X Zone Offense, diagram 5 of 6
Frame 5. After the pass from 1, 2 dribbles down to the strong side corner. 1 replaces 2 on the wing. 4 cuts from the weak side block to the strong side elbow, and 5 cuts behind the zone to the strong side block.
X Zone Offense, diagram 6 of 6
Frame 6. 2 can take the jumper, hit 5 in the short corner, or hit 4 at the elbow.

More zone sets are on zone offense quick hitters, and the high-low stack sets borrow from high-low offense. A 1-3-1 needs its own answers, in how to beat a 1-3-1 zone, and practice work is in drills to teach zone offense. Inbound sets against a zone are on BLOB set plays and inbound plays against a zone. More offense guides are under the Offense hub.

Want the printable playbook packs?

Playbook packs: zone attack, press break, press defense, out of bounds, quick hitters, practice plans and the youth turnover cure, each a printable PDF. Or draw your own version free in PlayDraw.

See the playbook packs

More Set Pages

Back to Basketball Plays and every Offense page.