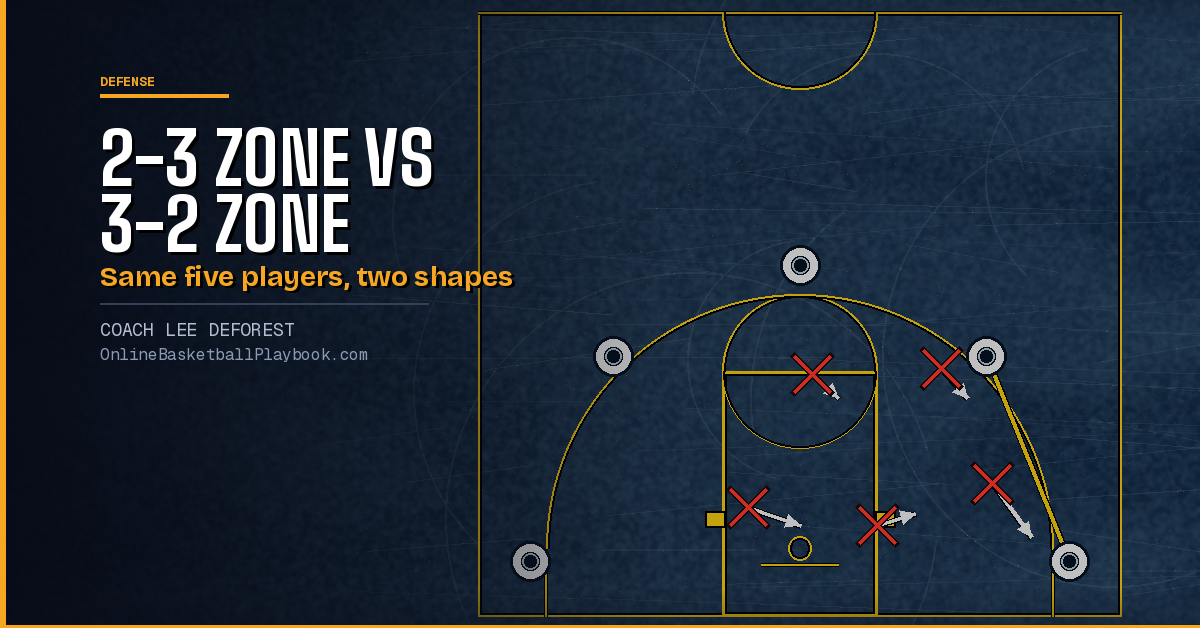
The 2-3 and the 3-2 use the same five players and swap one defender between the front line and the back line. That one move changes everything the zone protects. The 2-3 puts three defenders near the rim. The 3-2 puts three at the top and parks one of them on the high post. Below, the two shapes are drawn at the same three ball spots so you can see where each one bends.
2-3 Zone vs 3-2 Zone at a Glance
| 2-3 zone | 3-2 zone | |
|---|---|---|
| Starts near the rim | Three | Two |
| Protects | Paint, rim, low post | High post, wings, top of the key |
| Thin spots | High post, short corner, corners | Both corners, dribble penetration |
| Decided by | The center | The back two |
| Rebounding | Three already inside | A triangle forms on every shot, but only two start inside |
| Best against | A team that scores inside | A high-post team that cannot shoot from the top |
Ball at the Top
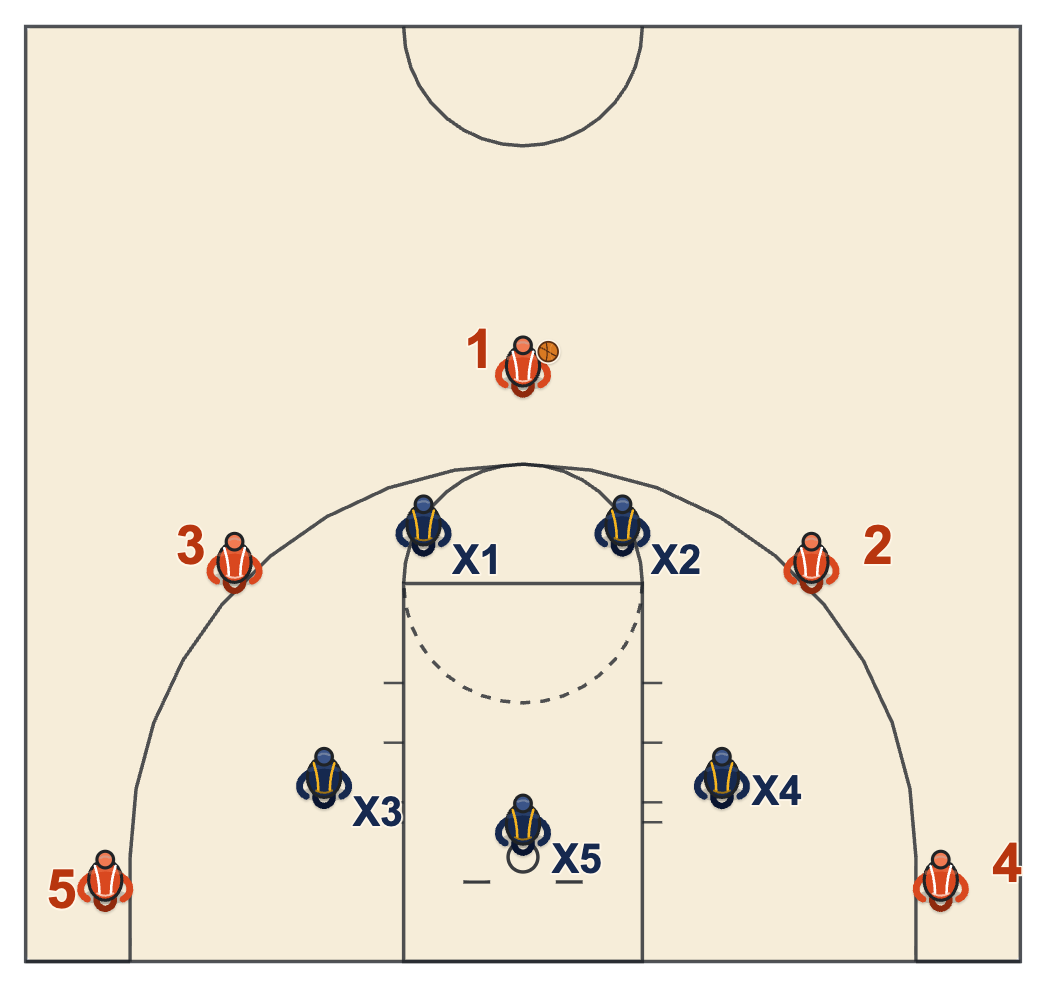
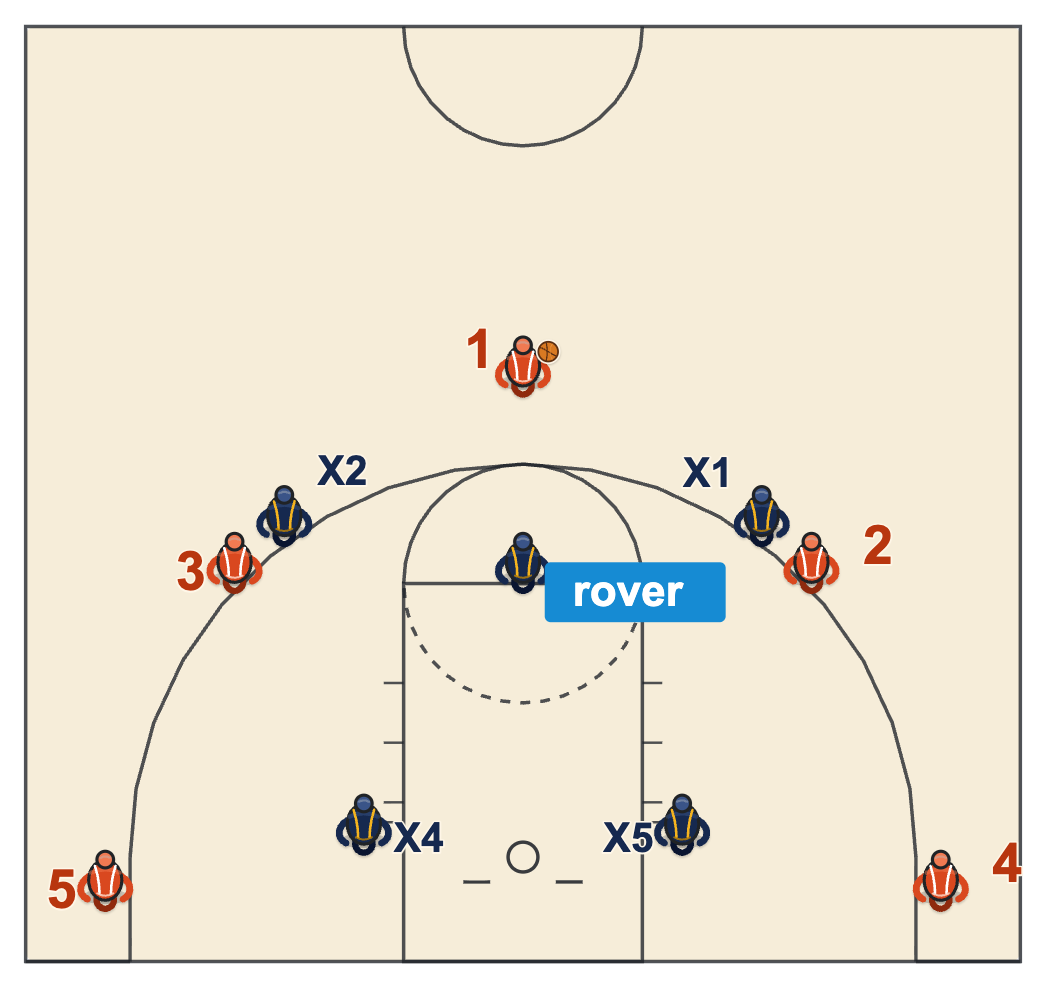
In the 2-3 the two guards start a step inside the arc and close together. The gap between them is the pass to the elbow, and a pass through it splits the zone. In the 3-2 that gap does not exist, because the middle defender of the top three sags to the free-throw line with arms wide. The 3-2 leaves the point guard alone at the top on purpose and denies the passes to the wings.
Ball on the Wing
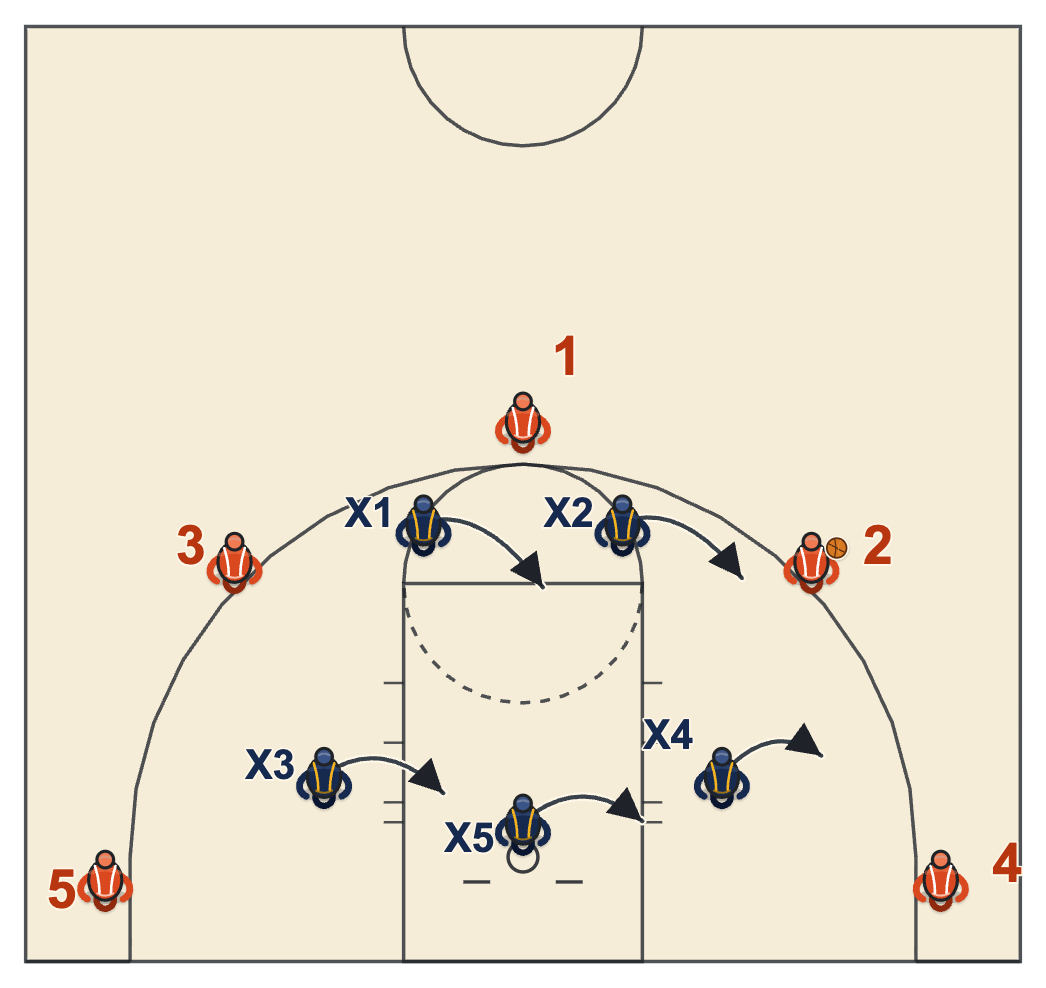
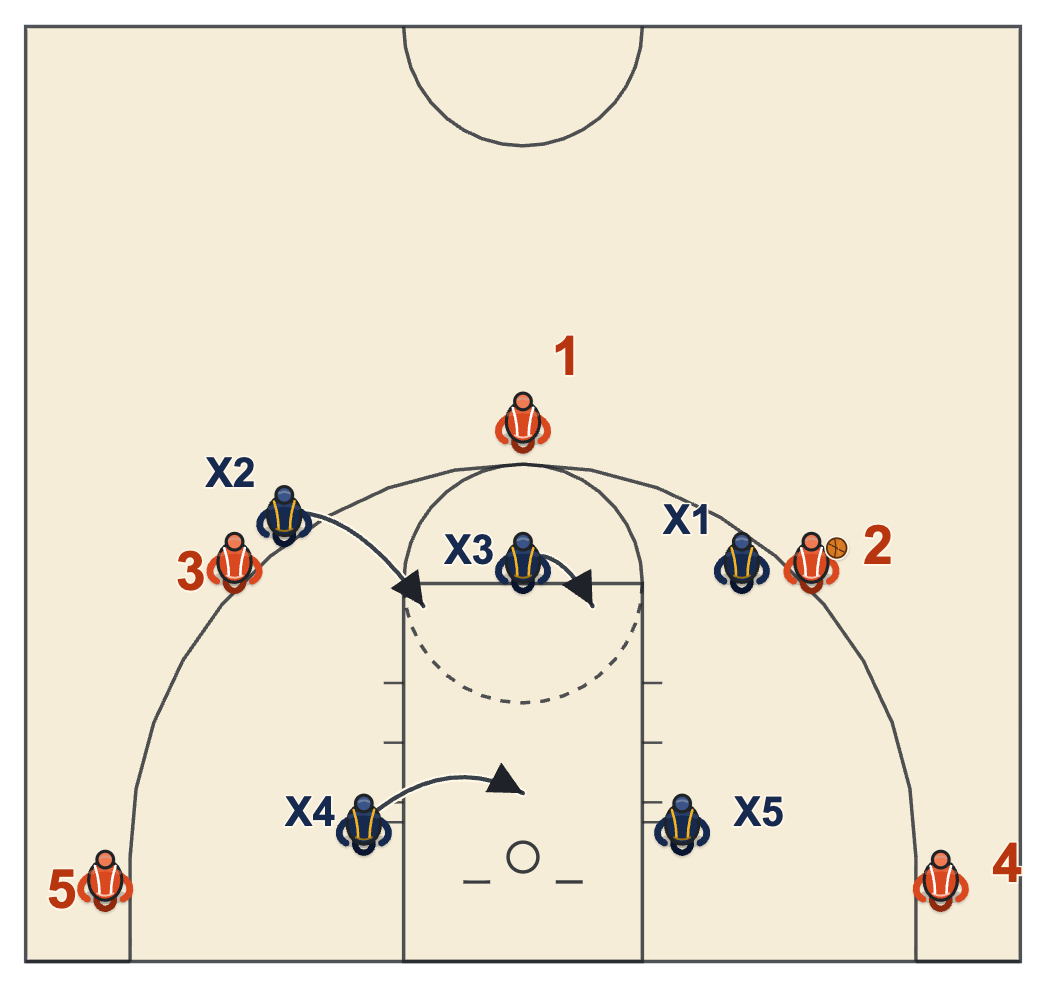
The wing is where the two zones feel most different to a ball handler. Against a 2-3 he is guarded by a guard who had to slide out from the middle. Against a 3-2 he was already being denied, so the catch comes farther out and later. Behind the ball, the 2-3 has three defenders shifting across the lane. The 3-2 has two, which is why the weak-side post slides all the way to the middle.
Ball in the Corner
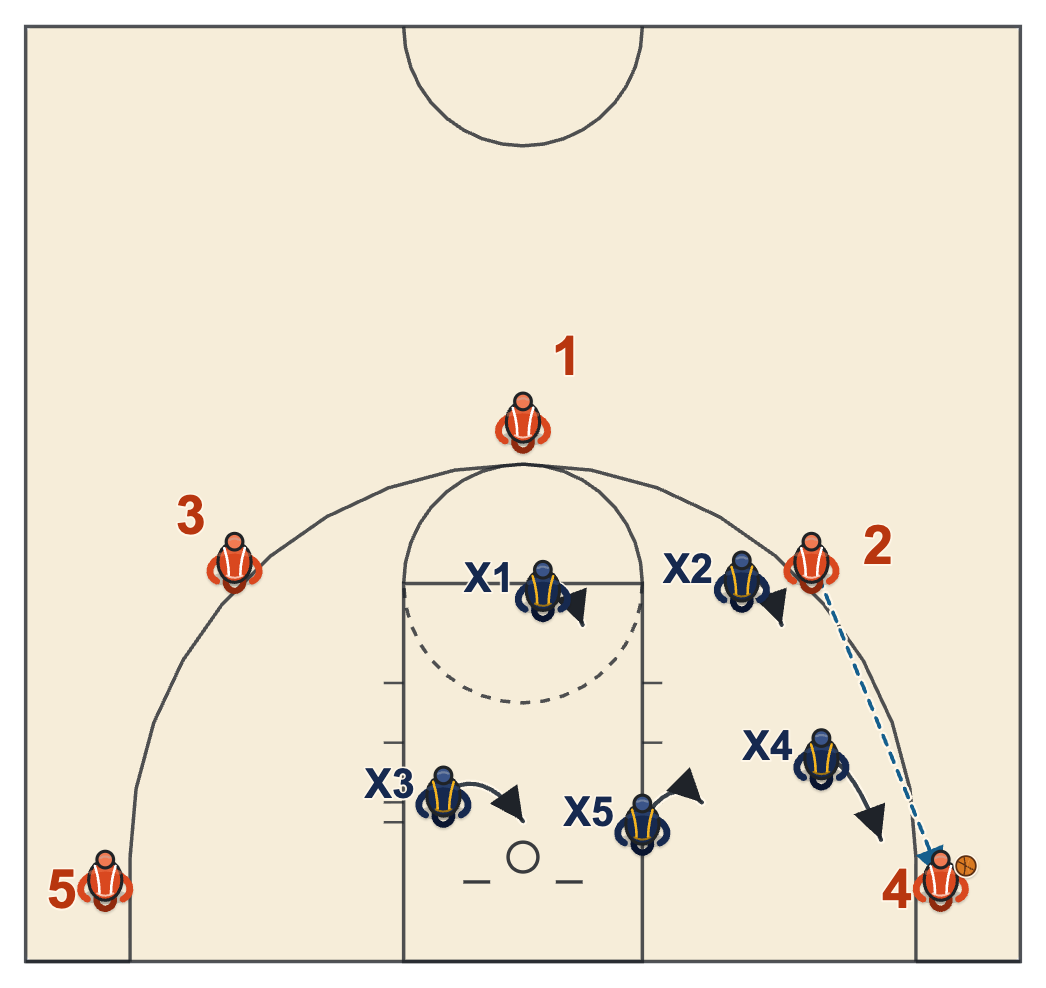
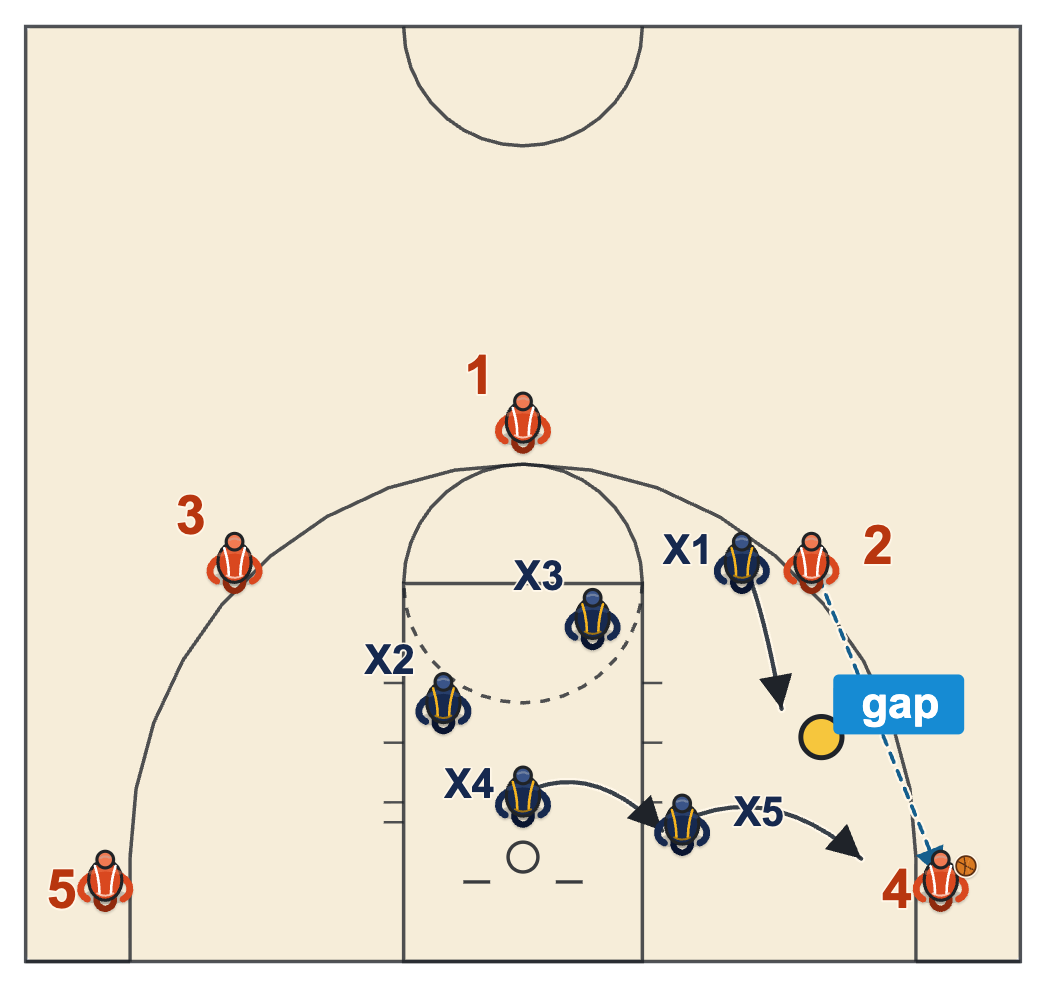
The corner is the 3-2's hardest spot. A post has to close out, the other post has to cover the block, and the wing defender drops into the gap. A skip pass to the far corner catches a 3-2 with nobody near it, so the weak-side wing has to close out first and the post bumps him back. The 2-3 handles the corner more easily: the ball-side back defender closes out with his backside to the corner, which contests the catch and takes away the baseline drive in one move.
Get the next side-by-side in your inbox
One email when a new comparison or diagram set goes up. Free.
The High Post
This is the real reason to choose one over the other.
2-3
The high post is its soft middle. The guards try to keep the ball out of it. When it gets there, one of two things happens depending on the coach. Some collapse on it. Others let the center guard it one on one while the other four sprint out to the shooters, accepting a pull-up jumper in exchange for no open threes.
3-2
The high post is covered before the first pass. If the ball gets there anyway, the rover guards it straight up, the two wings pinch to the elbows and the posts hold the blocks. Every shooter is then one short pass away, so the pinch has to be quick and the closeouts short.
Personnel
2-3: the center decides it. He guards the post, steps to the short corner, contests at the rim, rebounds the far side and talks. The two guards need quick feet to jump-switch on reversals. The two back wings need to get from the block area to the corner fast.
3-2: the back two decide it. They guard both blocks and both corners with one fewer helper, so they need to be bigger and more mobile than a 2-3 back line. The rover is the brain at the top. The two wing defenders need length to deny and to trap in the corner.
Which One to Run
- Opponent scores inside or has one dominant post: run the 2-3.
- Opponent runs its offense through the high post and cannot shoot from the top: run the 3-2.
- Opponent has shooters in both corners: be careful with the 3-2. The corner skip is its weakness.
- Opponent drives the gaps well: be careful with the 3-2. Penetration is its other weakness.
- You already run a 1-2-2 press: the 3-2 is almost free, since the press drops into it without new positions.
- You want one zone for the whole season: the 2-3 is the safer base. Keep the 3-2 as the change-up.
Full breakdowns: 2-3 Zone Defense and 3-2 Zone Defense. From the offense side: How to Beat a 2-3 Zone and How to Beat a 3-2 Zone. Every other zone is ranked on Best Zone Defense for Your Team.
Want every frame, printable?
OBP Pro members get the full diagram files for every defense on this page, ready for a practice binder or a scouting report. $9 a month. Or draw your own version free in the play drawer.
See what OBP Pro includesMore Side-by-Side Pages
- Types of Defense in Basketball
- Best Zone Defense for Your Team: 6 Zones Compared
- Man-to-Man vs Zone Defense
- Pack Line vs Pressure Man-to-Man
- Best Full-Court Press: 6 Presses Compared
Back to Types of Defense and every Defense page.
Keep Building
Related breakdowns
Man-to-Man vs Zone Defense
What each one teaches, what each one hides, when to switch mid-game, and the hybrid that sits between them.
Best Zone Defense for Your Team: 6 Zones Compared
The 2-3, 3-2, 1-3-1, 1-2-2, 2-1-2 and matchup zone, each matched to the roster and the opponent it beats.
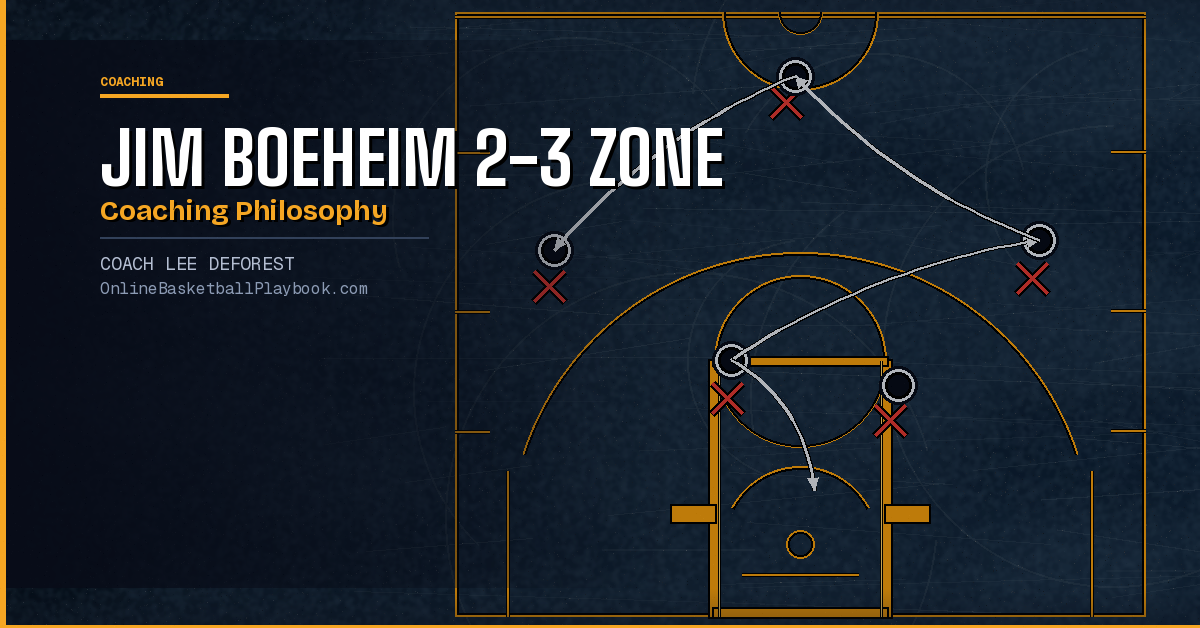
Jim Boeheim 2-3 Zone System and Coaching Philosophy
Jim Boeheim 2-3 Zone System and Coaching Philosophy