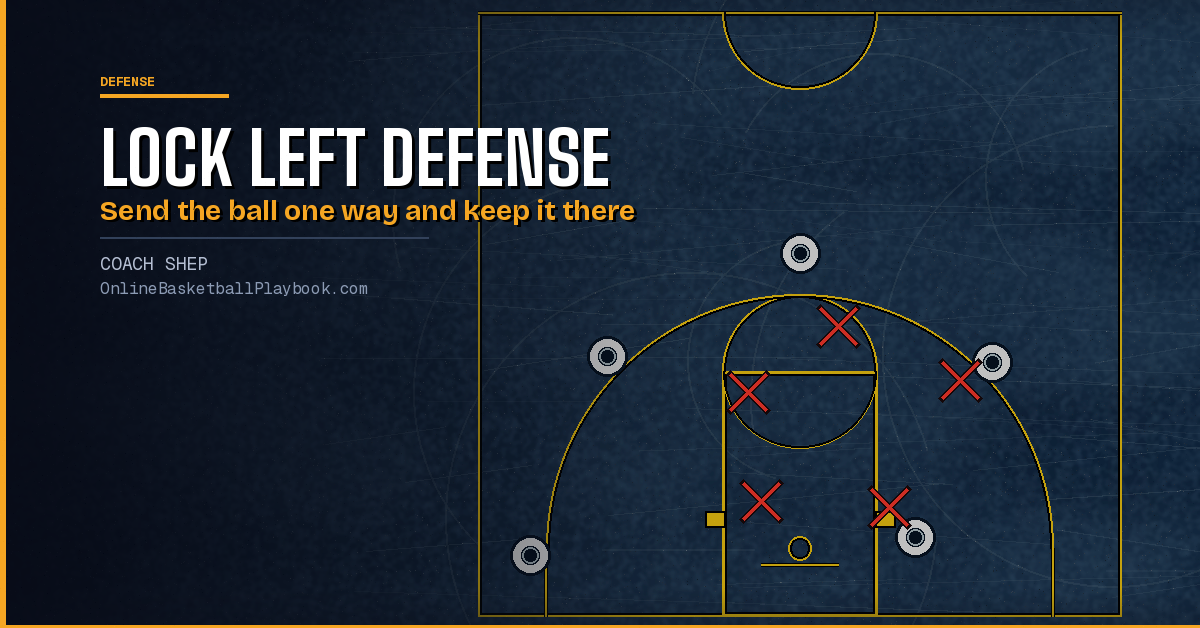
Lock left defense is a man-to-man defense built on one rule: send the ball to the offense's left side of the floor and keep it there all game. The system calls that left-side corridor "Jail." Taking away the right side and every reversal shrinks the floor, so every defender knows where the ball is going and where help comes from. It is one answer to a question every man-to-man coach settles, which way to force the ball. This page covers the lock left defense rules layer by layer, how it changes help and rotation, what it takes away and gives up, and the other force-direction versions coaches run, side by side, so you can compare them. It sits under types of defense in basketball in the defense section.
What Lock Left Defense Is
The premise is that "force left" settles positioning on every action. The sideline becomes a second defender, half the floor disappears, and help rules get simpler because the ball always comes to one side. The system is short and visual, built in ten layers, each with its own read, technique and measure.
Read the diagrams on this page carefully. The offense faces the basket at the bottom of each frame, so the offense's left is the right side of the picture.
The vocabulary is part of the system:
- Jail. The left-side corridor the ball is sent to.
- The smile. The arc in the paint. No help comes from outside it.
- Wedge down. Wall up first, then drop in to erase the shot.
- Wolf, Gap, Snipe, Nail and Wall. The five transition roles.
The Stance and the First Rule

Layer 1 is a two-way read on the dribble. A right-hand dribble gets turned with a hip turn and a sprint. A left-hand dribble gets locked left. The stance is nose to shoulder, and the on-ball defender attacks the dribbler's right pocket. The target is for the ball to cross half court on the left side on more than 70 percent of possessions.
The five transition roles exist to get the ball into Jail before the offense sets up. Wolf hunts the handler, Gap runs back, Snipe runs up, Nail centers the paint, and Wall defends with a smile stance.
Other systems turn the ball before half court without the left-only rule. One transition version turns the handler at least twice and keeps him on one side so the defenders already back can load up. Another pins the ball in a sideline alley and turns it two to three times before half court. The base stance work behind any force is on defensive stance.
How Lock Left Defense Changes Help and Rotations
Build the wall at the rim, not the paint line. Layer 2 puts help at the rim. Defenders wall up first, then wedge down to erase the shot. The system accepts open weak-side shooters on the offense's right, the side the ball is not allowed to reach, rather than collapsing early and giving up the three.
Stunt and hunt passes, not dribbles. Layer 3: the gap defender fakes help to bait a pass. He sits to the left of the ball, so any pass his stunt steers goes toward Jail.
Snipe the free side. Layer 4: the weak-side defender on the offense's right plays chest to the ball, switches everything and even encourages backdoor cuts, so the ball never crosses over. He is there to pick off the cross-court pass.

Overload Jail. Layer 5: once the ball is stuck left, the on-ball defender plays the highest pressure, the defender next to the ball shrinks the floor with a drop or a stunt, and the weak side walls up heavy toward the middle of the floor.

Close and fly when the offense gets a step. Layer 6 covers the scramble. The ball defender "makes it go," closing off and taking the charge line. The wall stays in help and does not open a passing lane. One lane may stay open on purpose to force a predictable result. The techniques include a closeout and a scram switch.
The general help rules these layers build on are on help defense principles, and the closeout to the open shooter on the far side is on closeout and recover.
Rebounding, Screens, Colors and Late Game
Rebound by role. Layer 7 gives every shot three roles. The Chaser skips the box-out and goes to get the ball. The Spacers check their man and read whether to help or stay. The Eraser takes his man out of the play. That cuts against a standard box-out on every shot.
Weak and Switch for actions. Layer 8: off-ball screens default to a switch. On-ball screens default to "press and down," forcing the handler over the top and then cutting him off, with blitz, switch, drop, flat and trap as the other calls. The full ball-screen menu is on pick and roll defense.
Dial pressure by color. Layer 9 has three tiers called live: Red is high pressure that traps and extends, Green is strategic, and Blue is cool and protects the paint.
Carry the rule into special situations. Layer 10 applies the force to baseline out-of-bounds plays, an all-out press, the end of a game when the defense needs turnovers, and the end of a game when it is protecting a lead and must not foul.
Measure every layer. Each layer has its own number, such as the share of possessions that cross half court on the left, turnovers forced in Jail, threes allowed and defensive rebounding, so a coach can see which layer broke on a given night.
What Lock Left Defense Takes Away and Gives Up
- Takes away: the offense's right side and every reversal, so the floor shrinks and every helper knows where the ball is coming from.
- Gives up: the weak-side shooters on the offense's right, left open by design. A skip or reversal that gets through finds them, which is why Layer 4 snipes the free side.
- Horns breaks the influence. Two high screeners let the handler drive either way, so the defense cannot send the ball away from one screen, and the high screens also pull baseline help away.
- The middle breaks a sideline force. A denial defense is most vulnerable with the ball in the middle, where drives confuse who helps. The lock left answer when the offense gets a step is Layer 6.
Get the next coaching guide in your inbox
One email when a new guide or diagram set goes up. Free.
Seven Force-Direction Versions
Lock left is one of seven force-direction choices laid out below. None is ranked.
| Version | Force direction | What the on-ball defender does | Where help comes from |
|---|---|---|---|
| 1. Lock left | Offense's left, always | Turn a right-hand dribble, lock a left-hand dribble, nose to shoulder | Inside the smile at the rim, the gap to the left of the ball, an overload in Jail |
| 2. One player blueprint | Middle-court players to the left, outside-third drivers to the baseline | Nose on the driver's outside shoulder | Not stated |
| 3. Sideline, then baseline | Sideline, then baseline, trap there | Outside foot back, push to a checkpoint or the corner | The weak side commits once the ball leaves the middle, trap on the baseline drive |
| 4. Denial man | Top of the key to the sideline, wing to the baseline | Head on the shoulder of the side you take away | The weak side only, a high and a low helper, no help from one pass away |
| 5. Pack Line | Middle, into the help, never baseline | Shades the baseline side | All help to the middle from the pack |
| 6. Pack, no direction | No direction, just no baseline | Levels off the dribble with big steps to the chest | The pack gaps |
| 7. By scout | Away from the strong hand, the post's favorite side or the screen | Over-guards the strong hand or the preferred side | Depends on the base defense |

Version 5 is Dick Bennett's Pack Line, which never gives up the baseline and forces the drive into four defenders sitting in the gaps. A Pack Line version that runs Version 6 ties its no-baseline rule to its bigs playing three-quarter in the post, which makes baseline help hard for them. Full guides: how to coach pack line defense and pack line vs pressure man to man.

Version 7 includes Quin Snyder's Utah "Channel" on the ball screen: the guard's foot angles funnel the handler to one side and pin him to the sideline. Under most versions sits the same floor, no middle. Roy Williams' practice stations ran a one-on-one channel with "sideline, no middle," and a sideline-force version teaches forcing the ball to the sideline and limiting penetration spots.
Why Coaches Force Sideline or Middle
Hubie Brown's framing treats force middle against force baseline as a philosophy choice. For high school coaches the talent on hand decides it, and a coach should learn both.
Reasons to force sideline or baseline
It uses superior speed and athleticism, plays a more athletic bench more minutes, takes opponents out of their sets, pushes the pace and creates turnovers, keeps the ball on one side so help is always known, and means players learn one baseline rotation instead of every screen and cut that free reversal brings.
Reasons to force middle
It keeps players out of foul trouble, limits bench minutes, stops a more athletic opponent's penetration, prevents easy wing post entries, makes the opponent run its offense and out-execute the defense, and limits offensive rebounds. Every defender starts in help, so the team learns recovery, not the full deny, help and recover sequence.
Denial defense adds a reason for baseline: baseline drives have clear helpers, while middle drives confuse who helps. How each of these fits a program's identity is on how to build a defensive identity.
The Force Lives in the Feet
Each version puts the force in the stance. One sideline version forces with the outside foot back. One closeout rule has the outside foot back and the inside foot forward. One force-baseline version keeps the baseline foot back. Lock left uses nose to shoulder, and one baseline-force shell uses nose to shoulder to force the ball to the baseline corner.
Some systems give the force a target. One pressure system steers the ball to sideline checkpoints in the box area. An older pressure version marks X spots at the top of the circle, each sideline at the free-throw line extended, and each baseline about 12 feet from the basket.
Teaching the Force in a Shell
The lock left material gives no install order of its own. Shell versions in other systems carry a force: one baseline-force shell plays nose to shoulder on the ball, forces to the baseline corner and allows no middle penetration, with the cue that one dribble means one hard step and two dribbles mean be ready to trap. Messina runs his shell from under the basket and freezes play to correct. The shell itself is on the shell drill page, and the man-to-man install sequence is on building up man-to-man defense.
Questions Coaches Ask
What is lock left defense?
A man-to-man defense that forces the ball to the offense's left side of the floor all game and keeps it there, so the sideline acts as a second defender and help always comes from a known side.
Why force the ball to one side?
One side keeps help known, shrinks the floor and lets players learn one rotation. The trade is an open weak side if the ball ever gets across.
Should you force baseline or middle in basketball?
Coaches split. Forcing sideline and baseline suits a faster, deeper team. Forcing middle into the help protects against foul trouble and a more athletic opponent. One view is that the talent on hand decides it.
How does lock left defense guard ball screens?
Its default on a ball screen is "press and down": force the handler over the top, then cut him off. Off-ball screens are switched.
Want every diagram, printable?
OBP Pro members get the full diagram files for every alignment, coverage and action on this page, ready for a practice binder or a scouting report. $9 a month. Or draw your own version free in the play drawer.
See what OBP Pro includesMore Core Coaching Guides
- What Is Spacing in Basketball? Distances, Gaps and Alignments
- Pick and Roll Defense: Every Ball Screen Coverage Compared
- Dribble Handoff: Types, Reads, Counters and How to Defend It
- Pressure Defense Basketball: The SOS Man-to-Man System
Back to Types of Defense and every Defense page.
Keep Building
Related breakdowns
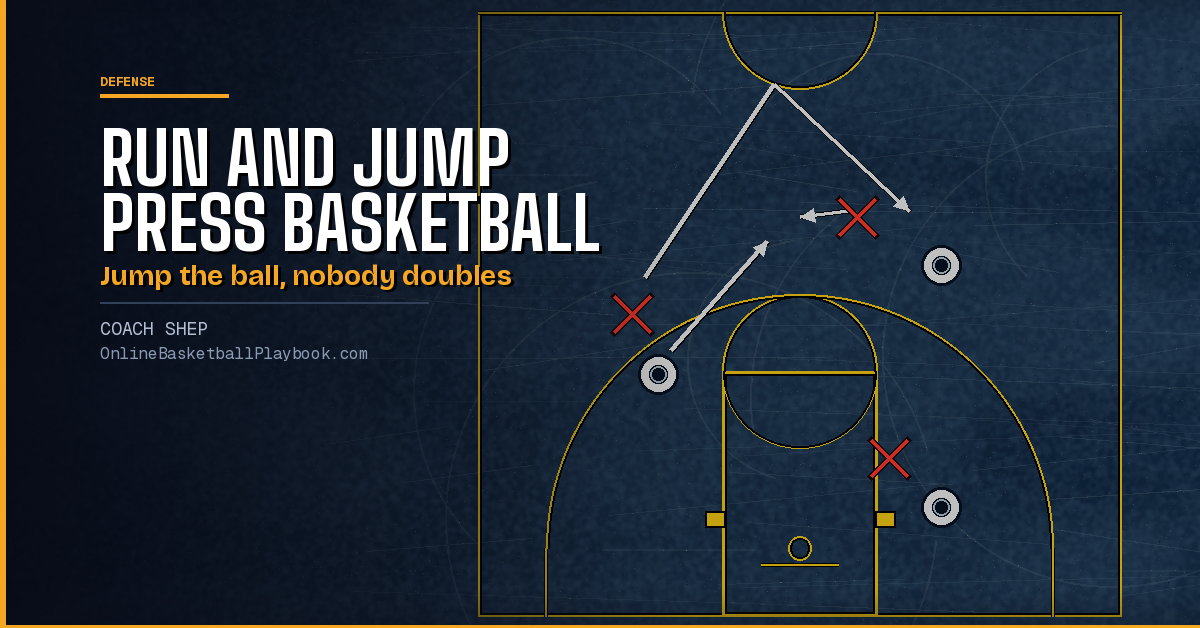
Run and Jump Press Basketball: Rules, Rotations and Drills
Run and jump press basketball explained: the jump switch, when to jump, middle or sideline, the rotation, when to call it, how offenses beat it and the drills.
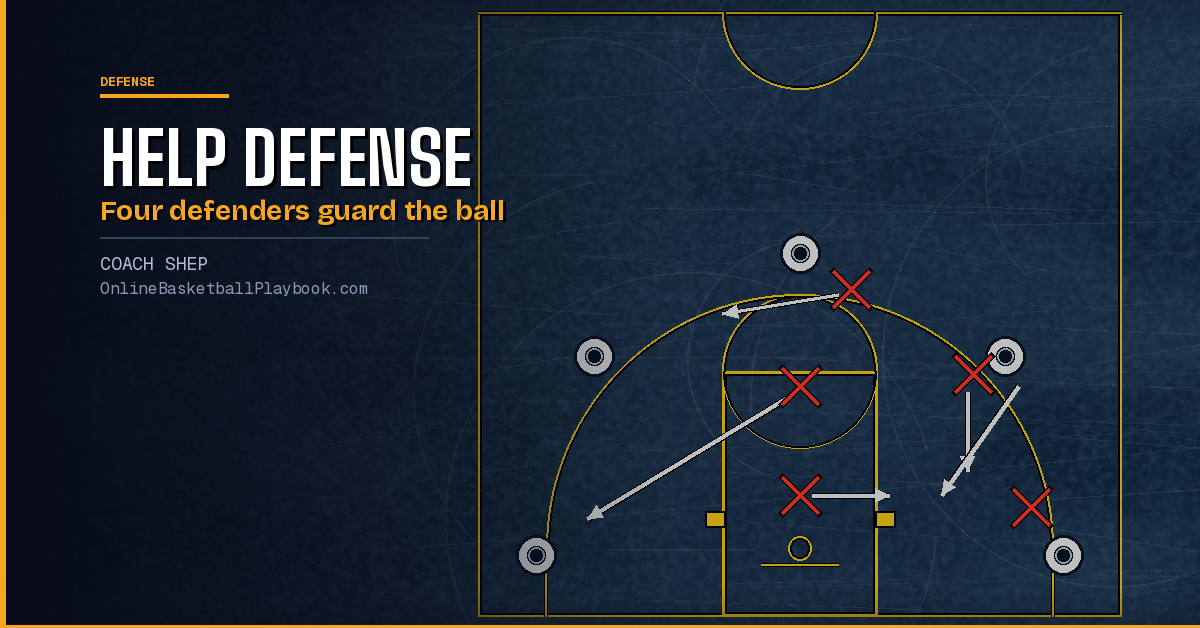
Help Defense Basketball: Help Side, Stunts, Rotations and 911
Help defense basketball explained: where help side defenders stand, stunt or commit, who rotates on a drive, the 911 call, and every version side by side.
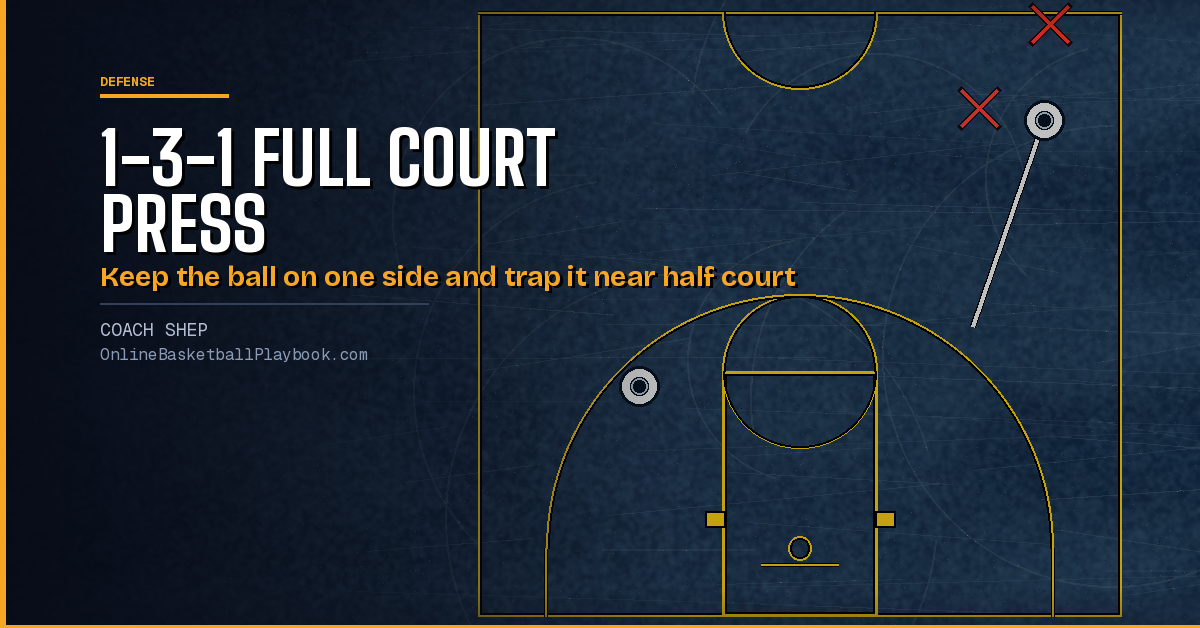
1-3-1 Full Court Press: Roles, Traps and Rotations to Install
The 1-3-1 full court press from setup to frontcourt trap: each role, the reversal rotations, an aggressive version, the costs and when coaches call it.