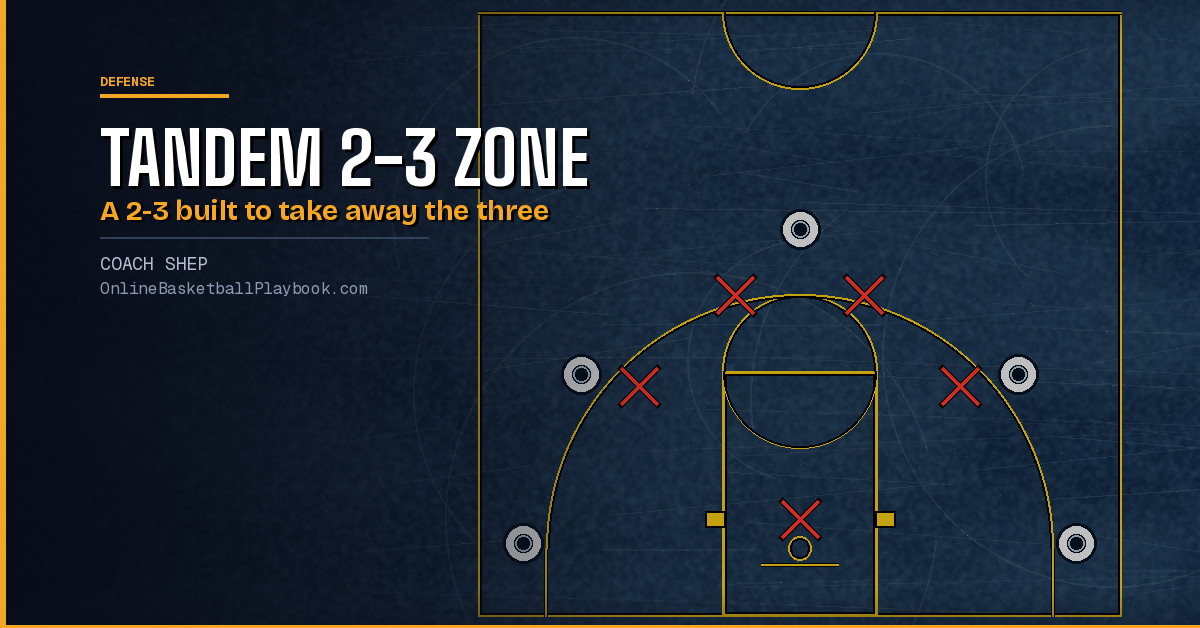
The tandem 2-3 zone is a pressure version of the 2-3 zone. It keeps the two-guard front, starts both wing defenders high to take away three-point shots, and leaves one defender at the rim to guard everything inside. It is built as a base defense, not a change-up, and it runs on five rules rather than a set of fixed spots. This page covers the rules, each role, the base rotation, the wing bump, how it guards the high post, the short corner, baseline out-of-bounds plays, ball screens and drives, the press that rolls back into it, and a second use of the word "tandem": a front where one guard plays behind the other. The family of zones is on types of defense in basketball.
What the Tandem 2-3 Zone Is
Most coaches picture a 2-3 as a sit-back zone: protect the paint, deny middle touches and make the offense shoot over it. The tandem turns that around. Four things set it apart:
- Pressure. The perimeter is pressured, and drives are sent to a shot blocker at the rim.
- Anticipation. The middle is open on purpose, so every defender has to read the next pass and fly to it.
- A shape that changes. Depending on where the ball and the offense are, the same five players look like a 2-3, a 1-2-2, a 2-2-1 or even a 4-1.
- A press on top. The zone can be rolled up the floor to slow the game down or to trap.
In 2023-24 one Division I team played it for more than 1,900 possessions over 33 games and held opponents to .804 points per possession, fourth in Division I. Opponents took 18.5 three-point attempts a game and made 30.6 percent of them. The team forced turnovers on 18.9 percent of possessions and averaged 9.8 steals a game.
The Five Rules
Every rotation in the tandem comes back to five rules:
- All five move on the flight of the ball. Be in the new spot before the catch, not after it.
- Hands never drop below the waist. Active hands are one reason for the steal and turnover numbers above.
- Never get screened. Seeing the action early is how the zone takes away many zone sets.
- See the next play before it happens. This is the anticipation rule.
- Nobody shoots where he catches it. The goal is to take the attempt away, not only to contest the make, because good shooters make contested shots.
Many zones teach the first rule. The general zone rules sit on the best zone defense.
The Three Jobs
| Spot | Job |
|---|---|
| Point defenders (X1, X2) | Each owns a predetermined half of the floor and matches the ball handler above the free-throw line on his side. Pressure can be intense, but the main tool is length to deter inside passes. The second job is the high post: stunt at it or cushion it, but never body it, because the point defenders must stay free to close out on shooters. |
| Wing defenders (X3, X4) | Take away the three first. They start higher than in a standard 2-3, close hard on the wing with the backside toward the corner to discourage the corner pass, and funnel drives back to the middle. When the ball goes to the corner, short corner or middle, the weak-side wing covers the rim, so length helps here. |
| Inside defender (X5) | The hub. He guards any catch in the corner, short corner or high post one on one, contests every shot at the rim vertically without fouling, gets to the opposite side of the rim to block out on outside shots, and talks the defense through every action. |
X5's contest is meant to be vertical, not a block attempt. He is looking to make the finish hard without fouling.
Base Alignment and Rotation
The base looks more like a 2-2-1 than a 2-3. X1 and X2 sit in the usual two-guard front. X3 and X4 start out at the wings, sometimes so high that the shape reads 4-1, to remove the kick-out three. X5 stays under the basket where he can see all five offensive players.

On reversals. On a reversal the high wings can pick up a player above the free-throw line, especially when nobody stands in the ball-side corner. With a player in that corner, the wing defender stunts hard at the ball handler to stop the shot and then retreats toward the corner.
Keep it on a side. Once the ball is on a side, the defense keeps it there and forces the ball handler back toward the partner defender. On a dribble handoff or similar action, the guards and wings jump-switch. After the switch, the guard forces the ball to stay on one side and denies the reversal. In the middle third, the two guards square up and force neither way.
The open middle. A standard 2-3 often collapses when a wing or slot drive reaches the middle. The tandem expects it. It is comfortable giving up shots from 10 to 12 feet by funneling penetration to X5, which is why the ball has to stay on one side whenever the offense is on an outer third of the floor.
The corners. Because the wings start so high, X5 guards the corner catch too, usually after an overload and a quick swing. It does not happen often, because X3 and X4 close out with the backside to the corner in a hard shade that discourages the pass.
The Wing Bump
The wings share the wing with the guards. When the ball is reversed, or passed from the middle third to the wing, X3 or X4 stunts at the catch to take away the drive while X1 or X2 recovers to close out. Then the wing defender goes back to the corner if someone stands there.

A hard stunt leaves one weakness: a fast ball swing into the corner and a three from there. The tandem answers it with technique. X3 or X4 stunts with the outside foot and outside hand high and the back to the corner, and uses active hands to deflect the corner pass. The same body position pushes any drive back toward the recovering guard. If the corner pass still gets through, X5 goes out to contest it. Closeout footwork for the recovering guard is on closeout and recover.
The High Post
The tandem does not fully deny the high post, even when the offense parks a player in the middle of the zone. The point defenders stunt in or cushion, like a defensive back in football, to make the entry passer hesitate. On a reversal, X1 or X2 stunts down toward the wing. With the ball in the middle third, the guard off the ball may sag slightly, still with no body denial. The reason is the first goal. Taking away the three means accepting tough twos in the middle.
When the high post does catch it, X5 steps up and guards him one on one at arm's length. He must not get beaten off the dribble, because nobody gets an uncontested shot. He plays the drive and contests without fouling.

The other four rotate "out and down" to their boxes just outside the paint, split the space with the shooters, and talk as they fly to a match. From there they can close out hard or stunt and swipe if the post puts the ball down. Three more rules apply:
- Overload. With three offensive players on one side, the forward on the opposite side rotates all the way across the rim to match.
- Short-corner players. X3 and X4 get inside anyone in the short corner so he cannot seal for a dump-down pass, and so he is blocked out. With only one player low, the weak-side wing takes him and the ball-side wing gets to his box, stunting at the short corner while still guarding the corner shooter.
- The post drives. X5 stays with him, the perimeter stunts and swipes, and nobody fully commits. The defense would rather force a contested finish at the rim than over-help and give up a kick-out three.
The offensive side of this spot is on attacking a zone from the high post.
The Short Corner
The short corner is not denied either. Against a 3-2 offensive set, both short corners are often open. The pass is discouraged with ball pressure, active hands and stunts, especially when the ball is on the same side. The tandem then guards the catch two ways.
X5 steps out. X5 comes out from under the basket and plays the catch at arm's length without getting beaten off the dribble. The weak-side wing rotates under the basket to take the dive cut from the high post, and the other three perimeter defenders bump one spot, rotating out and down to the nearest man so every closeout is short. Rules one and four, moving on the flight of the ball and seeing the next play, are what keep the dive cut from becoming a layup.

Trap the entry. Less often, and largely at the players' discretion, the ball-side wing traps the short-corner catch. The rotation stays the same except for the guard on that side, who forms a triangle between the two nearest perimeter players and covers the first pass out. If the ball moves on to the next perimeter player, the other guard rotates to it, the weak-side wing sprints back to his man, and X5 returns under the basket. Trap rules for every zone are on trapping in basketball.
Ball Screens and Drives
Middle ball screens between the two guards are switched or stunted, by scout. Against a poor shooter, the on-ball defender goes under and the other point defender stunts while he recovers. Against a good shooter, the defender goes over and forces him inside the arc, with a guard-to-guard switch or a stunt that funnels him to X5. No big hedges at the level of the screen, so it is a true one-against-two, which is why "never get screened" matters so much.
Side and slot ball screens get a stunt from the next defender, who funnels the ball to X5.
No rejects. The on-ball defender jumps to the handler's outside hip and makes him use the screen, then goes over or under. As the handler comes off, the next perimeter defender stunts to take away the middle drive, and X5 steps up slightly on a roll so the roller catches above the charge circle. If the roller catches, X5 plays it as a high-post catch and the perimeter gets ready to block out. Ball-screen coverages in general are on how to defend the pick and roll.
Drives. Slot drives down the lane line and wing drives into the middle are handled alike. A guard beaten on a closeout "peel switches": in the middle third he curls to the elbow area, and on a wing drive he may peel to the ball-side corner or short corner to stop the dump-down or the corner kick-out. X5 steps up above the charge circle to stop the ball, the other three collapse to their boxes and stunt without over-committing, and the weak-side guard stays home to contest a kick-out or jump the pass.
Get the next coaching guide in your inbox
One email when a new guide or diagram set goes up. Free.
Baseline Out of Bounds
Against baseline out-of-bounds plays the tandem flattens out. X4 and X5 take the paint, the ball-side guard takes the corner, the weak-side guard takes the middle and closes out to any catch above the free-throw line, and the backside wing takes the weak-side block out to the corner. In 2023-24 opponents scored about .8 points per possession on these inbounds. After an entry to a corner or wing and a swing back out, the guard who started in the corner sprints to the open wing or slot while a wing stunts to buy him time, and the zone is back in its base. More inbounds coverages are on how to defend baseline out of bounds plays.
The Press That Rolls Back Into It
After made baskets only, the tandem can start as a 3/4-court 1-2-2 press that mainly takes time off the shot clock. X1 guards the ball in the middle third. X2 and X3 trap, stunt or rotate to the ball on their side, then sprint back to the middle on a reversal. X4 guards skip passes over half court and X5 the rim, a two-man tandem against three. If the press is broken, X4 takes the ball and X5 the rim, and they swap on the next pass. After a swing or two the defense retreats to its base, usually at about 22 seconds on the shot clock. Other 1-2-2 presses are on the 1-2-2 press.
The Tandem Front
The word "tandem" has a second meaning in 2-3 teaching. In a tandem front the two top defenders line up one behind the other instead of side by side, which makes the 2-3 look like a 1-1-3:
- X1 stays matched on the opposing point guard and can extend farther out on the floor.
- X2 plays behind him and is responsible for the first pass to the wing.
- The extended point forces an early entry pass and makes the offensive wings step farther from the basket to catch it.
- X1 pushes the ball handler toward one sideline, usually the side away from the best wing shooter.

A related answer for a ball in the middle is to match by shooter: the guard opposite the best shooter takes the ball, and the guard nearest the shooter steps into the passing lane to him. The full one-up, one-back zone is on the 1-1-3 zone defense page.
Who It Fits
The tandem needs a rim protector who can guard one on one, contest without fouling, rebound and communicate. It also needs high-motor players, demanded effort and talk, and enough basketball sense to work through situations that a shell drill cannot stage. With those pieces it can fit a high school team. It also tends to make opponents run their second-best offense against it, because their main sets and primary looks are taken away.
The breakdown work that builds the habits behind it, moving on the flight, closeouts, the bump and zone rebounding, is on zone defense drills. For a 2-3 that matches up with man principles instead, see how to coach a match-up zone, and the offensive answers are on how to beat a 2-3 zone.
Questions Coaches Ask About the Tandem 2-3 Zone
What is a tandem 2-3 zone?
An aggressive 2-3 that starts its wing defenders high to take away threes, keeps one defender at the rim as the hub, and accepts tough two-point shots in the middle.
What are the rules of the tandem 2-3?
Move on the flight of the ball, keep the hands above the waist, never get screened, see the next play before it happens, and let nobody shoot where he catches it.
How is the tandem different from a regular 2-3 zone?
The wings start high, so the base looks like a 2-2-1. The high post and short corner are cushioned, not denied, and the lone back defender guards those catches one on one while the rest stay home on shooters.
Who guards the corner in the tandem 2-3?
The wing defender closes out with his back to the corner to discourage the pass. If the ball still gets there, X5 goes out to contest.
What is a tandem front in a 2-3 zone?
The two top defenders line up one behind the other. The front one extends on the point guard and pushes him to a side, and the back one takes the first pass to the wing.
Want every diagram on the site?
OBP Pro members get the full diagram files for every guide on the site, ready for a practice binder or a scouting report. $9 a month. Or draw your own version free in the play drawer.
See what OBP Pro includesMore Coaching Guides From This Batch
- Zone Defense Drills: Slides, Closeouts, Traps and Rebounding
- How to Defend Cutters in Basketball: Every Cut, Every Rule
- Taking a Charge in Basketball: Technique, Falls and Drills
- Post Defense in Basketball: Front, Three-Quarter or Behind
Back to Types of Defense in Basketball and every Defense page.
Keep Building
Related breakdowns
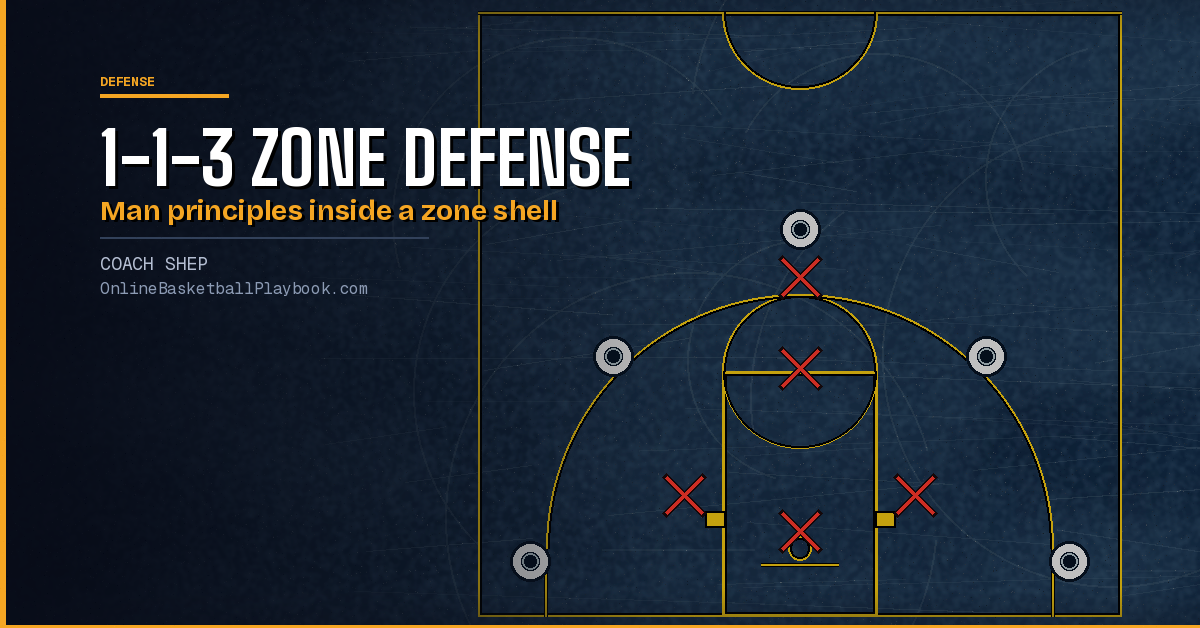
1-1-3 Zone Defense: Man-Zone Rules, Slides and Traps
The 1-1-3 zone defense explained: the alignment, the roles, the sideline pin, who takes the wing pass, the elbows, corner traps, rebounding and when to use it.
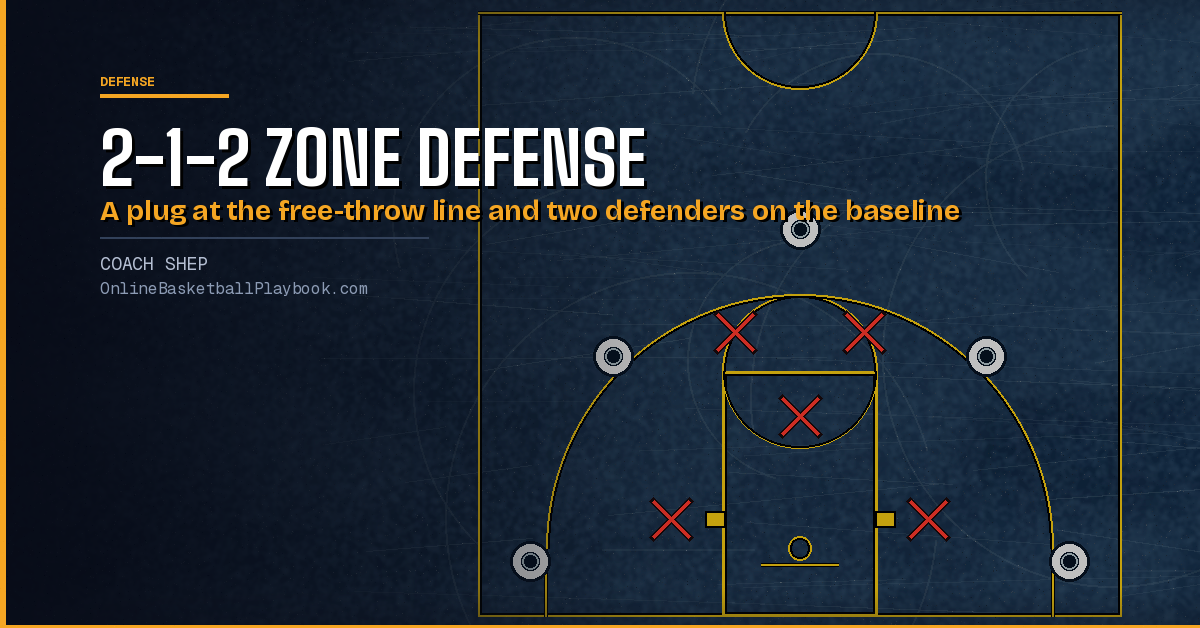
2-1-2 Zone Defense: Rotations, Weak Spots and Personnel
2-1-2 zone defense guide with the alignment, rotations by ball location, how it differs from the 2-3, who plays the middle and its weak spots.
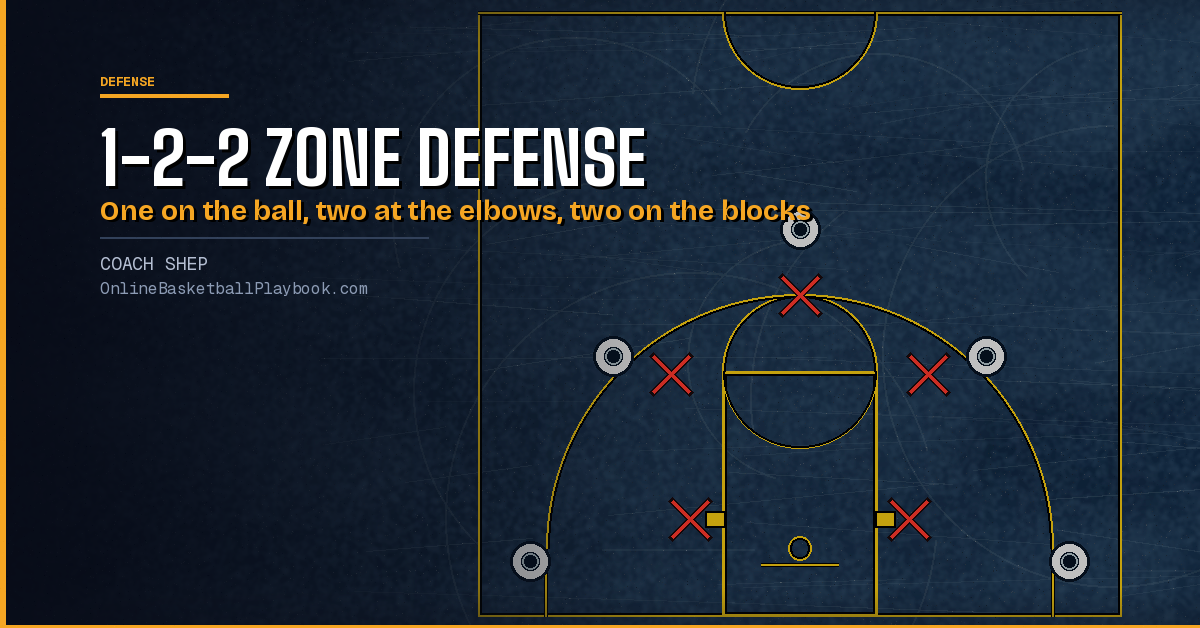
1-2-2 Zone Defense: Rotations, Weak Spots and Drills
How to run the 1-2-2 zone defense: the five roles, rotations for every ball spot, the corner trap, the high post problem, the versions coaches run and the drills.