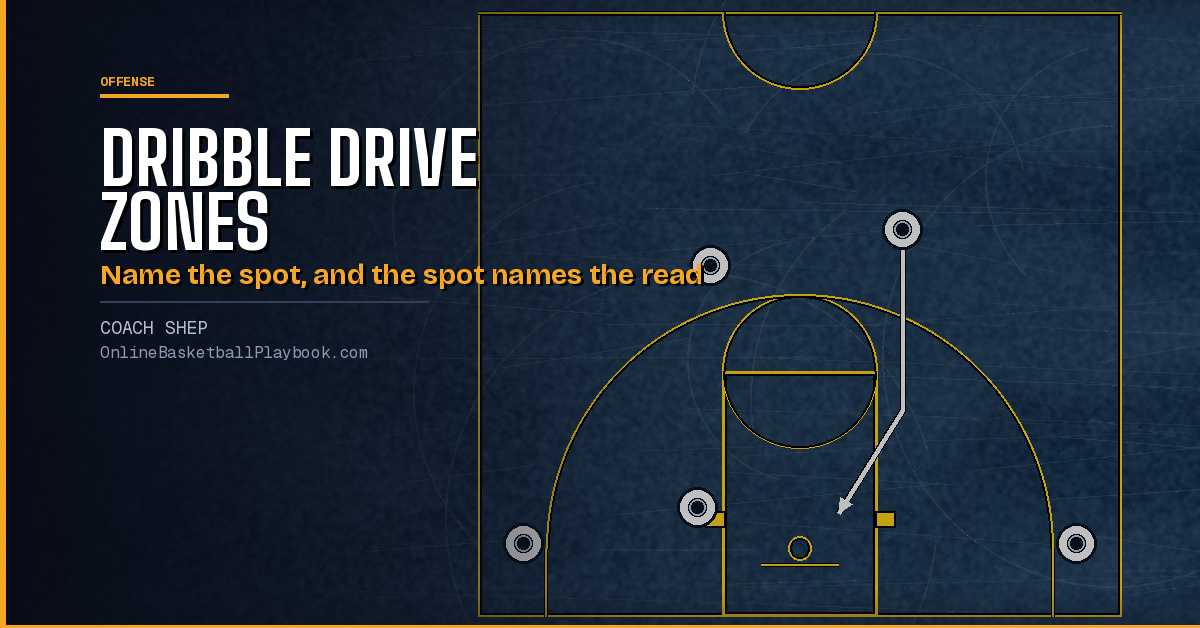
Dribble drive zones are the floor areas that give a driver one word for where he is and what to do there. Vance Walberg's offense named them Rack, Drag and Drop, and other clinics add Blow Out and Breakdown in front of them. The trouble is that the maps do not agree. The Drag zone means three different places depending on whose map you read, and the Drop zone moves from the top of the key to the elbows. The dribble drive motion offense hub gives the short version. This page lays out each map with its edges, what happens in each zone, how the driver stops, and the call words built on top.
Walberg's Three Dribble Drive Zones
Walberg's own maps name three half-court zones. His jump-stop version draws their edges most exactly:
- Drop zone. From just inside the top of the key to the free-throw line extended, and out toward the sideline. This is where a driver who cannot reach the rim stops.
- Drag zone. From just inside the free-throw line to just above the block.
- Rack zone. From the block into the basket.

In 2007 he put the same three in nearly the same places: the Drop zone from the free-throw line to the top of the key extended, the Rack zone at the front of the rim, and the Drag zone between them. His order of preference is clear. In 2007 he said he wants players in the Rack zone first, and that the Drop zone is for players not good enough to get to the rack.
Walberg's numbers matter for reading any of his diagrams. In his version the 1 and the 5 are both point guards, the 2 and the 3 are the corner shooters, and the 4 is the big who runs the middle and stays opposite the drive in a 4-out 1-in look. He wrote that calling the big a 4 makes him feel good while keeping him inside. Other versions call the post the 5 and the trailer the 4, and the diagrams on this page use that numbering: 5 is the post, 4 the second guard.
The Zone Maps Side by Side
The same system reached coaches through several maps. Each one is a working dialect, and the table names each by how it is drawn.
| Version | Zones | Drop | Drag | Rack |
|---|---|---|---|---|
| Outside-Drag version | Rack, Drop, Drag | Where the driver picks up his dribble | Outside, where the driver looks to pass out | The rim |
| Walberg, 2007 | Drop, Drag, Rack | Free-throw line to the top of the key extended | Between Drop and Rack | The front of the rim |
| Jump-stop version | Drop, Drag, Rack | Just inside the top of the key to the free-throw line extended, out toward the sideline | Just inside the free-throw line to just above the block | The block into the basket |
| Walberg, five zones | Blow Out, Breakdown, Drop, Drag, Rack | For players who cannot reach the rack | Named, edges not given | The first choice |
| Elbow-stop version | Drop and Rack, with drag as a read | A box at each elbow | A guard dragging behind the ball | Score, or off the glass to the big |
| Five-zone full-court map | Blow Out, Break Down, Drop, Drag, Rack | Stop above the foul line | Between the foul line and the rack, the worst place to stop | Take it to the rim |
| Basket-Drag map | Drop, Drag, with Rack folded in | The free-throw line elbows | The basket area | Score or draw the foul |
| Elbow-box map | Breakdown, Drop, Rack It | A box at each elbow | None | Rack It, past the Drop zone |
| Three-box map | Drop Box, Drive Box, Dead Corner Box | Drop Box, where the driver jump-stops and decides | None | Drive Box, get past your man and attack |

The elbow-box map adds four spots the others do not draw. The T is the spot a foot below the middle of the free-throw line, and a T-cut is a cut to it. The quick spots are where the 2 or the 3 steps up out of the corner for an entry pass. The 2 side is the right side of the floor, where the 2 always starts, and the 3 side is the left, fixed by personnel and not by where the ball is.
The Drop Zone: Stop and Let It Develop
Every map has a Drop zone, and they agree on its job: a driver who cannot reach the rim stops there and lets the play develop. One map says the name comes from the driver dropping the ball off instead of finishing. Where it sits changes, from the top of the key in Walberg's 2007 map to a box at each elbow in the elbow-stop version. A shoulders test decides whether a driver stops there at all, covered on the hub page: shoulders past the defender's, keep going, and if not, pick up the dribble.
The reads off a Drop zone stop:
- Backdoor for the ball-side wing. In Walberg's 2007 version, a Drop zone stop leads to a backdoor for the ball-side wing or a two-man game. In the elbow-stop version, the 2 takes one step up out of the corner and reads his man. Denied means a back cut, and a sinking defender means a kick up to him.
- The post clears. The jump-stop version says a jump stop in the Drop zone signals a back cut or a kick out and sends the post to the weak-side elbow. In the three-box map, the post flashes to the opposite elbow only when the driver stops in the Drop Box.
- Backdoor, pitch back, post flash. The elbow-box map lists three looks in that order: the backdoor, the pitch back to the cutter behind the driver, and a flash from the post.
- The weak side lifts. In the outside-Drag version, a Drop zone stop sends his second point guard dragging behind the ball and the weak-side wing up to an open window.

Two passing rules come with the Drop zone. The elbow-stop version bans a one-handed pass from it, and say not to pass to the 2 until he is even with or above the driver. The full read tree after the stop is on dribble drive reads.
The Drag Zone Means Three Places
A staff that says "drag" has to say which one it means:
- Between the Drop zone and the rim. Walberg's jump-stop version and the five-zone full-court map put it inside the free-throw line and above the block, and in Walberg's 2007 map it sits between the Drop zone and the rim. The five-zone map calls it the least desirable place to stop and suggests treating a Drag zone stop as an automatic turnover in practice.
- The basket area. The basket-Drag map uses Drag for the area at the rim, where the driver drags the help to the basket to open a dump-off or a kick-out.
- Outside. Walberg's outside-Drag version calls Drag the outside area, where the driver looks to pass out.
On the first map, a stop in the Drag zone means a skip. The jump-stop version says a jump stop there lets the driver pivot away and find an open teammate while the weak-side wing drifts, with a sharp pass thrown at the receiver's head. A drift is the weak-side wing taking at least two steps up the arc. Early in the Drag zone, the skip to that wing is the call Drag 3.

The Rack Zone: Score or Off the Glass
At the rim there are two options. In 2007 Walberg said to shoot or throw the ball off the backboard to the big, and he disliked wrap-around passes there. In the elbow-stop version, the driver scores or puts it off the glass to the big in clean-up position, and if the big's defender helps, the big steps in and lifts a hand for a lob, with only high passes and no wrap-arounds or bounce passes. The basket-Drag map folds the Rack into one line: score or draw the foul, there is no other option.
Teammates have jobs on a drive to the rack. In Walberg's 2007 version, lane penetration means both corners filled, the big on the opposite block in clean-up position, and a guard dragging in behind the ball.

The elbow-box map calls the same area Rack It and gives the driver four looks there: a layup, a runner, a skip across to the far guard, or the ball banked off the backboard to the 5.
Blow Out and Breakdown
Two zones sit outside the half-court three. Walberg's five-zone clinics and the five-zone full-court map add them in front of the others:
- Blow Out zone. The backcourt before half court, crossed as fast as possible with a blow-out dribble. The jump-stop version gives the same floor other names: the bust-out zone for the backcourt and the control zone for the frontcourt.
- Breakdown zone. Just past half court. On the five-zone map, it is where guards break defenders down toward the middle. On the elbow-box map, it is the area at the top of the key where the point guard decides whether to rack or drop and which side, the 2 side or the 3 side, to attack.
In another Walberg version, Walberg gave the Breakdown zone its own reads off a pass from the 1 to the 5. If the 5 squares up or dribbles with his inside hand, the 1 X-cuts and brushes the screen. If the 5 reverses the ball to the 3 without a dribble, it is wheel. If the 5 dribbles toward the 3 with his outside hand, it is circle. Transition rules into these zones are on fast break and transition offense.
Get the next coaching guide in your inbox
One email when a new guide or diagram set goes up. Free.
The Words Built on the Zones
Once the zones have names, the calls and cuts borrow them. Several words carry more than one meaning, and general terms are on basketball terminology. The table gives each version.
| Word | What it means, by version |
|---|---|
| Drop 2, Drop 3 | Backdoor and corner reads off a Drop zone stop. Drop 2 is the backdoor in Walberg's 2007 version. Another Walberg version adds Drop 23 and Drop 32 |
| Drag 3, Drag 5 | Drag 3 is the skip to the wing early in the Drag zone. Drag 5 is the second point guard dragging behind a Drop zone stop in the outside-Drag version, and a euro loop in his 2007 version |
| Kick up | A pass to the wing, who curves off the line to set his feet. In the elbow-stop version, the kick up goes to a corner player who stepped up because his defender sank |
| Kick back | A euro-loop pass from the weak-side guard spot that must be a positive pass (Walberg's 2007 version). A guard-to-guard pass (another Walberg version). The return pass to the original passer, usually followed by a T-cut (elbow-box map) |
| Pitch back | A stopped driver's pass back to the cutter behind him. Caught past the midline, it raises the rack percentage, in another Walberg version |
| Euro, drift | A euro trails a teammate's drive to the arc for a catch-and-shoot three. A drift is the weak-side wing taking at least two steps up the arc |
| Gap cut | A flash into the lane by the 5, timed to give the Drop zone driver a clean passing lane |
| Back dribble | A guard dribbles at his man and then backs up, a signal that a T-cut is coming |
| Quick | A quick entry pass to the 2 or the 3, who steps at least one step up out of the corner to catch it |
The full plays built from these calls are drawn on dribble drive named plays.
How to Stop in Each Zone
The sources split on the stop, and the split runs through Walberg's own material:
| Version | Drop zone | Drag zone | Rack zone |
|---|---|---|---|
| Jump-stop version | Jump stop, the signal for a back cut or kick out | Jump stop, then pivot away to find a teammate | Jump stop and power layup |
| Walberg in his 2007 version | Stride stop preferred, ball on the outside hip with no rocking | Not separate | Shoot or off the glass |
| Elbow-stop version | No longer a jump stop. A stride step, stopping high above the elbow before low | Not separate | Score or off the glass |
| Elbow-box map | A Drop is a stride stop by a driver who cannot get by his man | None | Go to the hole |
| Basket-Drag map | Stop and drop the ball off | Inside foot forward, not a two-foot jump stop, which gives the defense an angle on the pass | Folded into the Drag zone |
Walberg's Fresno teams jump-stopped everything, and a high jump stop at 12 to 15 feet was their back-cut look. Footwork for both stops is on basketball pivot footwork.
The five-zone version marks X's on the floor first and adds options as understanding grows. Drills that put the zones into live reps are on drills to teach the dribble drive motion, and the defense's answer to the zones is on how to defend the dribble drive motion offense.
Questions Coaches Ask About Dribble Drive Zones
What are the zones in the dribble drive offense?
In Vance Walberg's three-zone map, the Drop zone sits from the top of the key toward the free-throw line, the Drag zone from inside the free-throw line to above the block, and the Rack zone from the block to the basket. Five-zone versions add Blow Out and Breakdown in front of those three.
What is the Drop zone in dribble drive?
Where a driver who cannot reach the rim stops and lets the play develop. Depending on the map it sits at the top of the key or in a box at each elbow, and the stop is the signal for a backdoor, a kick up or a post flash.
What does Drag mean in dribble drive?
It depends on the map. It can be the area between the Drop zone and the rim, the basket area, or the outside area where the driver looks to pass out. Walberg's call Drag 3 is a skip to the wing early in the Drag zone.
What does "rack it" mean?
Commit to the rim. In the Rack zone the driver scores or puts the ball off the glass to the big. On the elbow-box map, Rack It also allows a runner or a skip to the opposite guard.
Want every diagram on the site?
OBP Pro members get the full diagram files for every offense guide on the site, ready for a practice binder or a scouting report. $9 a month. Or draw your own version free in the play drawer.
See what OBP Pro includesMore Offense System Guides
- The Read Principle in Basketball: Do the Opposite of the Defense
- Princeton Offense vs Motion Offense: Compared by Principle
- Dribble Drive Reads: Kick Up, Kick Back, Loop and Dump
- Dribble Drive Named Plays: Drop, Quick, Pop and Corner Sets
Back to Dribble Drive Motion Offense and every Offense page.
Keep Building
Related breakdowns
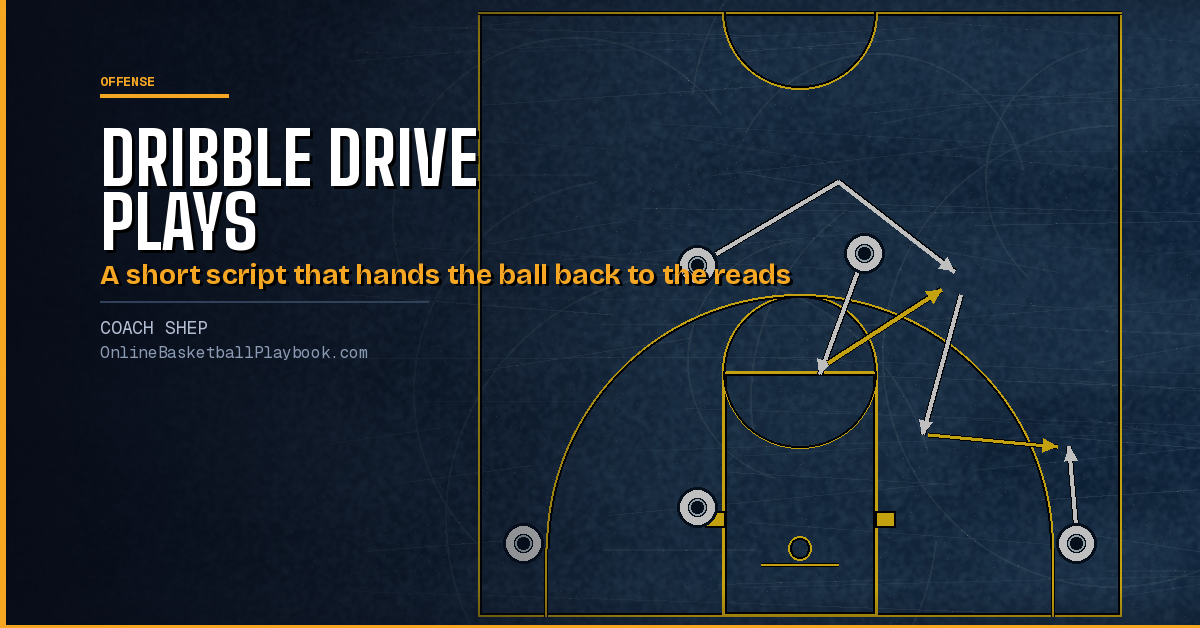
Dribble Drive Named Plays: Drop, Quick, Pop and Corner Sets
Dribble drive named plays, each drawn: Drop, Drag, Quick and Pop calls, a corner ball screen set, one entry with four finishes, the numbering and when to call one.
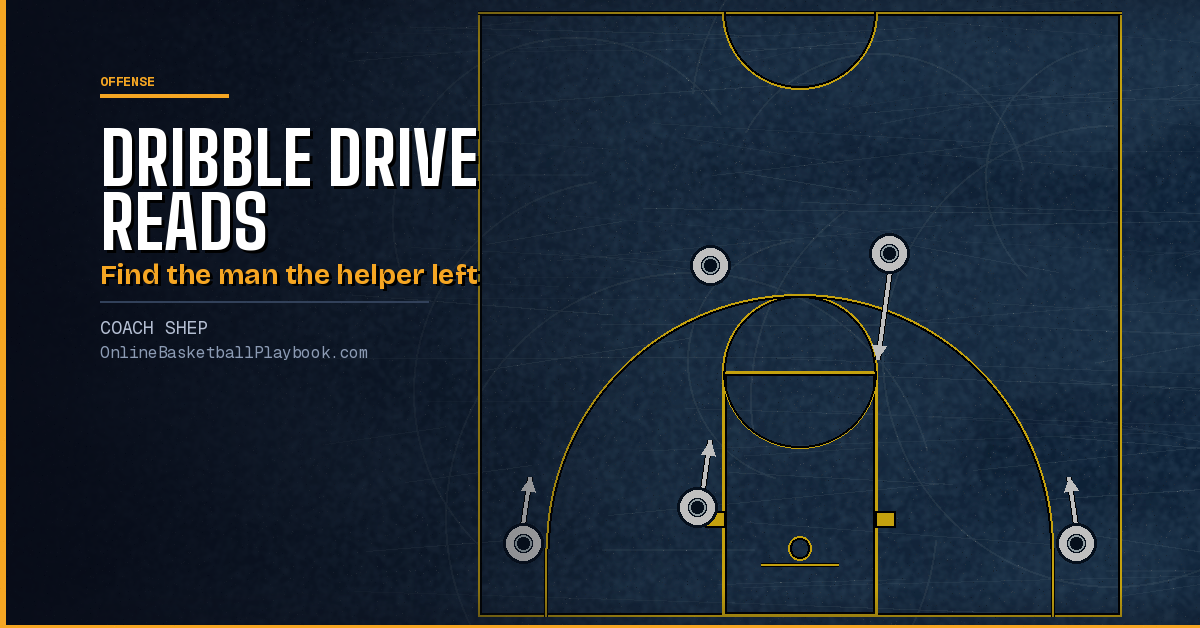
Dribble Drive Reads: Kick Up, Kick Back, Loop and Dump
Dribble drive reads for the driver and the four players around him: the helper tree, kick up, kick back, loop cut, dump, baseline drive jobs and the passing rules.
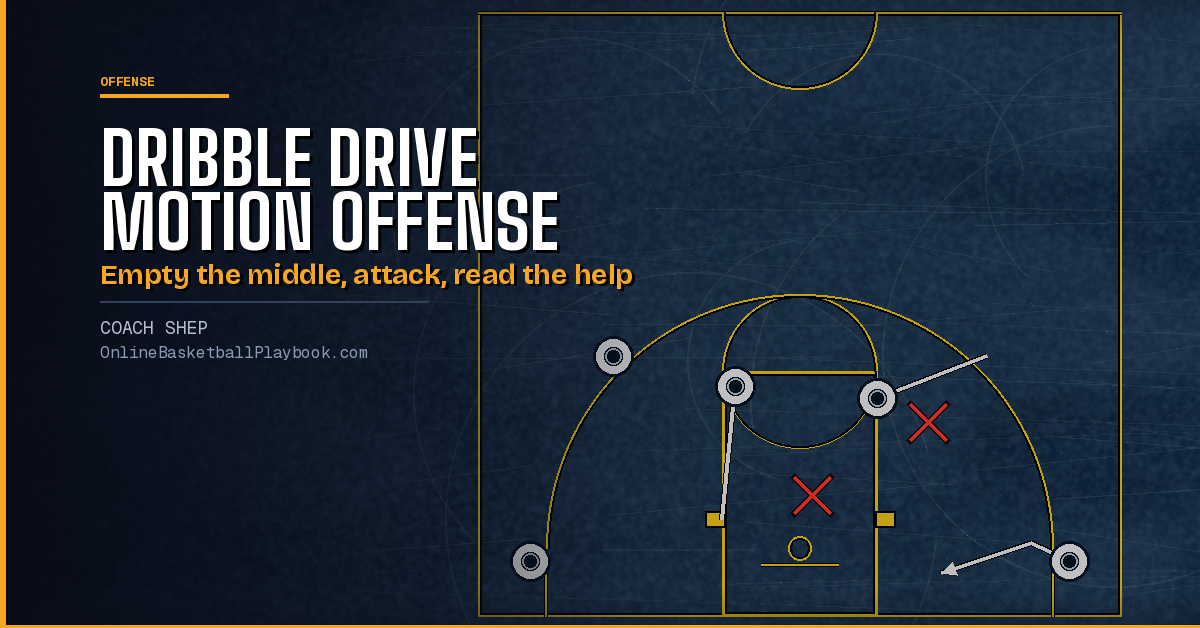
Dribble Drive Motion Offense: Spacing, Reads and Install
The dribble drive motion offense explained: 4-out 1-in spacing, the Drop, Drag and Rack zones, the read off a drive, shot diet, weak spots and the install.