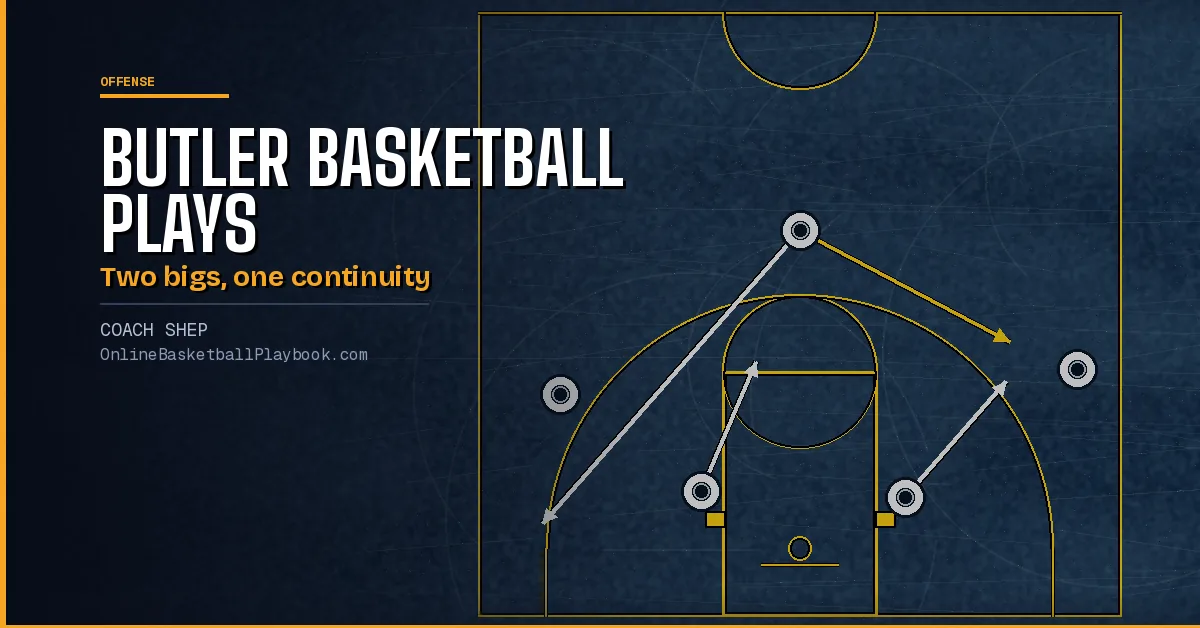
Butler basketball plays from the Brad Stevens era ball screen package are built so the ball screens never stop. The package has five sections. The spread pick and roll drives everything, three families of named sets (AI Cut, Bigs Up and Reverse Action) feed it, and a group of quick hitters finishes the menu. This page draws 27 sets across 73 frames. Every frame of the original is redrawn, and the text under it names where all five players go. It covers this ball screen package only.
Butler Basketball Plays at a Glance
The spread pick and roll is the engine, and the full continuity is drawn step by step on the ball screen continuity offense page. The sets below either start that engine in a new way or hand the ball to a shooter.
| Play | Family | Frames | What it does |
|---|---|---|---|
| Spread Pick and Roll: Big Lifted | The Spread Pick and Roll | 4 | The base read. One big ball-screens, the other lifts to the top of the key and takes his defender away from the rim. |
| Spread Pick and Roll: Rim Spot | The Spread Pick and Roll | 4 | The weak-side big stays low and ducks in at the rim instead of lifting. |
| Spread Pick and Roll: Mix | The Spread Pick and Roll | 4 | Starts like Rim Spot, then the two bigs swap the lift and the duck-in on the next screen. |
| Spread Pick and Roll: Movement | The Spread Pick and Roll | 2 | The same two-big engine with the guards moving to new spots. The source shows it as diagrams only, with no words. |
| AI Iso | The AI Cut Family | 1 | The AI cut on its own. 2 cuts over the top of the two bigs at the elbows and attacks. |
| AI BS Behind | The AI Cut Family | 3 | After the AI cut, 1 comes off a ball screen on the back side and can throw back to 2 coming off a double screen. |
| Box Leak | The AI Cut Family | 2 | A cut over a double screen pulls the defense one way, then 4 leaks out the back of a screen for a catch-and-go. |
| AI Double BS | The AI Cut Family | 3 | The AI cut turns into a wing ball screen, with the screener's partner popping to the top of the key. |
| AI Fence | The AI Cut Family | 2 | The AI cut and the dribble pull the defense right, and 3 comes back through an elevator screen for a three. |
| Big Up Double | The Bigs Up Family | 3 | Both bigs start high. After a back screen and a ball reversal, 4 and 5 set a double screen for 2. |
| Big Up Shuffle One | The Bigs Up Family | 3 | After the reversal, 4 cuts off 2's shuffle screen, then 5 screens down for the screener. |
| Big Up Shuffle Two | The Bigs Up Family | 3 | The same shuffle cut, then 2 and 5 stagger for 3 coming from the corner. |
| Big Up Strong Double Tom | The Bigs Up Family | 3 | 5 steps into a ball screen, rolls off a double screen, and the screeners then turn and stagger for 2. |
| Big Up Weak Tom | The Bigs Up Family | 3 | 5 steps off for the reversal and ball-screens for 1, and 2 back-screens the roll man. |
| Reverse Action | Reverse Action | 3 | A chain of dribble hand-offs that moves the defense before the ball screen arrives. |
| Reverse Action Hoya | Reverse Action | 4 | The hand-off chain, then a screen for the screener into a hand-off from 5. |
| Reverse Action Post Flat | Reverse Action | 3 | The hand-off chain ends in a throw-ahead and a throw-back, setting up a post feed. |
| HO Clear | The Quick Hitters | 2 | A back screen empties 1 out, then 3 feeds 5 and follows his pass for a hand-off. |
| Weak Stack Post | The Quick Hitters | 2 | 3 breaks out of a low stack, 4 makes a nail cut, and 2 screens for 5 crossing the lane for a post feed. |
| Double Stack Double Tom | The Quick Hitters | 2 | 2 breaks out of a low stack, 1 screens down on 5, and 5 rolls off a double screen. |
| Double Clear Iso | The Quick Hitters | 2 | 2 loops a down screen to the wing, then 1 comes off a double screen and sweeps it baseline. |
| Rockets | The Quick Hitters | 2 | On the dribble, 5 turns to screen down for 2, then 3 steps up the lane to rip-screen 5's defender. |
| Under Duck | The Quick Hitters | 2 | 3 cuts under 5 and comes back up the floor, then 5 ducks in for the feed. |
| Up Clear | The Quick Hitters | 2 | 1 dribbles to the wing, 3 cuts to the top of the key, and 5 back-screens 3 for a lob. |
| Rockets Reverse | The Quick Hitters | 3 | 4 comes out of the low stack to catch on the wing, then 5 screens down for 2 and turns to screen for 3. |
| USA Misdirection | The Quick Hitters | 3 | A back screen and a re-screen on 1 draw the defense, while a screen-the-screener chain frees the cutters. |
| Weak Stack BS Fence | The Quick Hitters | 3 | A back screen, a ball screen for 2, then a double screen for 3 coming through the fence. |
How to Read These Diagrams
Every play is drawn frame by frame, one diagram for each frame of the original, and the text under each diagram says where every player starts and where he goes. The basket is at the bottom of each diagram. Sides are named as a player sees them facing the basket, so the left wing is on the right side of the picture. A solid arrow is a cut, a dashed arrow is a pass, a wavy line is a dribble and a line ending in a short bar is a screen. The diagram guide covers the symbols in full. No offensive player starts a frame standing in the lane. Where a source frame had someone there, he is drawn on the nearest lane line or block.
Get the next coaching guide in your inbox
One email when a new guide or diagram set goes up. Free.
The Spread Pick and Roll
Spread Pick and Roll: Big Lifted
The base read. One big ball-screens, the other lifts to the top of the key and takes his defender away from the rim.

Frame 1. 1 passes from the top of the key to 2 on the left wing and speed-cuts to the right corner. 4, the ball-side big, sprints from the left block to ball-screen for 2. 5, the weak-side big, sprints from the right block to his lift spot at the top of the key. 3 stays on the right wing.

Frame 2. 2 comes off 4's screen and throws ahead to 5 at the top of the key. 4 rolls to the rim, and he is 5's first look because the lift pulled 5's defender away from the basket. If 4 is not open, 5 dribbles at 3, who cuts back to the rim from the right wing. 1 comes up from the right corner to the right wing.

Frame 3. 5 throws ahead to 1 on the right wing and sprints into a ball screen for him. 4 sprints out of his roll up to the lift spot at the top of the key. 3 clears from the left block to the left corner and 2 stays on the left wing. The bigs have traded jobs and the action starts again.

Frame 4. The continuity. 1 comes off 5's ball screen on the right wing and throws ahead to 4, who lifted to the top of the key, and 5 rolls to the rim. 4 dribbles at 2 and passes to 3, who comes up from the left corner to the left wing, while 2 cuts from the left wing toward the rim.
Spread Pick and Roll: Rim Spot
The weak-side big stays low and ducks in at the rim instead of lifting.

Frame 1. 1 passes from the top of the key to 2 on the left wing and speed-cuts to the right corner. 4 sprints from the left block to ball-screen for 2. This time 5 stays low on the right block. 3 holds the right wing.

Frame 2. As 2 uses 4's ball screen, 5 drops hard to a spot just in front of the rim. He wants the ball, and his move also empties the weak side for 2's drive. 4 pops back toward the left corner. If 2 cannot get to the rim, he throws ahead to 3 in the right slot. 1 waits in the right corner.

Frame 3. 1 comes up from the right corner to the right wing and 3 swings him the ball, then speed-cuts off 5 on the right block toward the left side. 4 comes in from the left wing toward the lane and 2 stays in the left slot.

Frame 4. The continuity. 5 comes up from the right block and ball-screens for 2 on the right wing, and 2 comes off it and advances the ball to 3 in the left slot. 4 ducks in from the left block. 3 passes to 1 on the left side and speed-cuts through the lane toward the right block.
Spread Pick and Roll: Mix
Starts like Rim Spot, then the two bigs swap the lift and the duck-in on the next screen.

Frame 1. 1 passes from the top of the key to 2 on the left wing and speed-cuts to the right corner. 4 sprints from the left block to ball-screen for 2, and 5 stays low on the right block. 3 holds the right wing.

Frame 2. 2 comes off the screen and throws ahead to 5, who has lifted to the top of the key. 4 rolls to the rim as 5's first look. If 4 is covered, 5 dribbles toward the right side and passes to 1, who comes up from the right corner to the right wing, while 3 cuts to the rim from the right wing.

Frame 3. 5 ball-screens for 1 on the right wing. This time 4 does not lift: he ducks in hard from the left side of the lane. If 1 cannot attack, he throws ahead to 2 on the left wing. 3 waits in the left corner.

Frame 4. 2 throws ahead to 3, who comes up from the left corner to the left wing, and speed-cuts through to the rim. Once 2 is past him, 4 loops out to ball-screen for 3. 5 changes jobs again and sprints from the right side to the lift spot at the top of the key. 1 holds the right slot.
Spread Pick and Roll: Movement
The same two-big engine with the guards moving to new spots. The source shows it as diagrams only, with no words.

Frame 1. 1 dribbles from the top of the key toward the left slot and passes to 2 on the left wing, then cuts through along the baseline to the right corner. 5 comes up from the left block toward the left wing. 4 is on the right block and 3 on the right wing.

Frame 2. 5 ball-screens for 2 and 2 dribbles off it toward the top of the key. 4 cuts from the right block along the baseline to the left wing. 1 finishes his cut in the right corner and 3 holds the right wing.
The AI Cut Family
AI Iso
The AI cut on its own. 2 cuts over the top of the two bigs at the elbows and attacks.

Frame 1. 4 and 5 stand at the elbows. 2 cuts from the left block over the top of both of them to the right wing. 1 dribbles toward the top of the key and hits 2, who drives at the rim. 3 clears from the right block across to the left corner.
AI BS Behind
After the AI cut, 1 comes off a ball screen on the back side and can throw back to 2 coming off a double screen.

Frame 1. 2 cuts from the left block over 4 and 5 at the elbows to the right wing. 3 clears from the right block to the right corner. 1 holds the ball at the top of the key.

Frame 2. 4 ball-screens for 1 on the back side and 1 drives off it to the left side of the lane. 5 turns to screen for 2 on the right wing. 3 holds the right corner.

Frame 3. 1 can take it to the rim from the left side or throw back to 2. 2 comes off the double screen behind him, 5 first and then 4, across the top to the left slot. 3 waits in the right corner.
Box Leak
A cut over a double screen pulls the defense one way, then 4 leaks out the back of a screen for a catch-and-go.

Frame 1. 3 steps from the right block to the right corner. 5 and 4 set a double screen along the free-throw line and 2 cuts from the left block over the top of it to the right wing. 1 dribbles right to pull the defense the same way.

Frame 2. 5 screens 4 from the inside and 4 slips out the back of it to the left wing. 1 passes to him and 4 rips and goes to the rim. 2 holds the right wing and 3 the right corner.
AI Double BS
The AI cut turns into a wing ball screen, with the screener's partner popping to the top of the key.

Frame 1. 2 cuts from the left block over the top of 4 and 5 at the elbows to the right wing, and 1 dribbles toward the top and passes to him. 3 clears from the right block to the left corner.

Frame 2. 5 screens 4, and 4 sprints off it into a ball screen for 2 on the right wing. 5 will pop to the top of the key after his screen. 1 is on the left wing and 3 in the left corner.

Frame 3. 2 comes off 4's screen and throws ahead to 5 at the top of the key as 4 rolls. 5's defender has to come up to guard the catch, so the rim is open and 5's first look is the rolling 4. If that is not there, 5 turns to the left side: he can dribble at 1 for a backdoor or ball-screen for 3, or 1 screens down for 2 and 2 gets a hand-off from 5. 1 is on the left wing and 3 in the left corner.
AI Fence
The AI cut and the dribble pull the defense right, and 3 comes back through an elevator screen for a three.

Frame 1. 2 cuts from the left block over 4 and 5 at the elbows to the right wing. 1 dribbles toward the top of the key, and 3 moves from the right block under the basket toward the left side.

Frame 2. With the defense pulled to the right, 4 and 5 stand side by side as an elevator screen. 3 runs up through the gap between them to the left slot and 1 passes to him for an open three. 2 holds the right wing.
The Bigs Up Family
Big Up Double
Both bigs start high. After a back screen and a ball reversal, 4 and 5 set a double screen for 2.

Frame 1. 1 passes from the top of the key to 4 on the right wing, and 3 cuts along the baseline from the left block to the right corner. 5 back-screens for 1 near the top of the key and 1 cuts off it toward the lane and out to the left wing. 2 stays on the right block.

Frame 2. The ball is reversed: 4 passes from the right wing to 5 at the top of the key, and 5 passes to 1 on the left wing. Then 4 moves in toward the right block and 5 steps down toward the right elbow. 2 is on the right block and 3 in the right corner.

Frame 3. 4 and 5 set a double screen on the right side of the lane, 4 at the elbow and 5 just above him. 2 comes up off it from the right block to the top of the key, and 1 passes to him from the left wing. 3 holds the right corner.
Big Up Shuffle One
After the reversal, 4 cuts off 2's shuffle screen, then 5 screens down for the screener.

Frame 1. 1 passes from the top of the key to 4 on the right wing, and 3 cuts along the baseline from the left block to the right corner. 5 back-screens for 1 near the top of the key and 1 cuts off it toward the lane and out to the left wing. 2 stays on the right block.

Frame 2. The ball is reversed: 4 passes from the right wing to 5 at the top of the key and 5 passes to 1 on the left wing. 2 sets a shuffle screen near the right block and 4 cuts off it across the lane to the left block. 3 holds the right corner.

Frame 3. 5 screens down from the top of the key for 2, who just set the shuffle screen. 2 comes up off it to the top of the key and 1 passes to him. 4 is on the left block and 3 in the right corner.
Big Up Shuffle Two
The same shuffle cut, then 2 and 5 stagger for 3 coming from the corner.

Frame 1. 1 passes from the top of the key to 4 on the right wing, and 3 cuts along the baseline from the left block to the right corner. 5 back-screens for 1 near the top of the key and 1 cuts off it toward the lane and out to the left wing. 2 stays on the right block.

Frame 2. 4 passes from the right wing to 5 at the top of the key and 5 passes to 1 on the left wing. 2 sets the shuffle screen near the right block and 4 cuts off it to the left block. 3 holds the right corner.

Frame 3. 2 and 5 set a staggered screen on the right side, 2 lower and 5 higher. 3 comes up off both from the right corner to the top of the key and 1 passes to him. 4 is on the left block.
Big Up Strong Double Tom
5 steps into a ball screen, rolls off a double screen, and the screeners then turn and stagger for 2.

Frame 1. 1 passes from the top of the key to 4 on the right wing. 5 back-screens for 1 near the top of the key and 1 cuts off it toward the lane and out to the left wing. 3 steps in from the left block under the basket and 2 stays on the right block.

Frame 2. 5 steps into a ball screen for 4 on the right wing. 4 drives off it toward the top and looks to pass ahead to 1 on the left wing. 3 and 2 stand on the right lane line and set a double screen, and 5 rolls off it along the baseline to the left block.

Frame 3. 4 and 3 turn and set a staggered screen on the right side of the lane, 3 lower and 4 higher. 2 comes up off both from the right block to the top of the key and 1 passes to him from the left wing. 5 is on the left block.
Big Up Weak Tom
5 steps off for the reversal and ball-screens for 1, and 2 back-screens the roll man.

Frame 1. 1 passes from the top of the key to 4 on the right wing, and 3 cuts along the baseline from the left block to the right corner. 5 back-screens for 1 near the top of the key and 1 cuts off it toward the lane and out to the left wing. 2 stays on the right block.

Frame 2. 4 passes from the right wing to 5 at the top of the key and 5 passes to 1 on the left wing, then 5 heads over to screen for 1. 2 moves from the right block into the lane and 3 holds the right corner.

Frame 3. 5 ball-screens for 1 on the left wing and 1 drives off it toward the top of the key. 5 rolls to the rim and 2 comes under from the left block to back-screen for him. 3 is in the right corner and 4 on the right wing.
Reverse Action
Reverse Action
A chain of dribble hand-offs that moves the defense before the ball screen arrives.

Frame 1. 1 dribbles from the top of the key toward the right wing and hands off to 2, who comes up from the right wing to meet him. 4 is on the left block, 5 on the right block and 3 in the left slot.

Frame 2. 2 dribbles across the top and hands off to 3, who comes from the left wing to meet him. 4 lifts from the left block, 5 slides from the right block out toward the right wing, and 1 holds the right corner.

Frame 3. 3 dribbles toward the top of the key and passes to 5, who steps out to the right wing. 4 back-screens for 2 in the left slot and 2 cuts off it to the left block, where 5 can hit him. 1 waits on the right side.
Reverse Action Hoya
The hand-off chain, then a screen for the screener into a hand-off from 5.

Frame 1. 1 dribbles from the top of the key toward the right wing and hands off to 2. 4 is on the left block, 5 on the right block and 3 in the left slot.

Frame 2. 2 dribbles across the top and hands off to 3. 4 runs from the left block to the left corner, 5 slides out toward the right wing and 1 holds the right corner.

Frame 3. 5 comes up the right side and 3 throws ahead to him from the left slot, then runs over the top of 5 and sets a screen for 1, who is low on the right side. 2 is on the left wing and 4 in the left corner.

Frame 4. 1 comes off 3's screen around to 5 on the right side, takes the hand-off and drives toward the lane. 2 is on the left wing and 4 in the left corner.
Reverse Action Post Flat
The hand-off chain ends in a throw-ahead and a throw-back, setting up a post feed.

Frame 1. 1 dribbles toward the right wing and hands off to 2. 4 is on the left block, 5 on the right block and 3 in the left slot.

Frame 2. 2 dribbles to 3 on the left wing and hands off. 3 dribbles back toward the top and throws ahead to 1 on the right wing. 4 is on the left block and 5 on the right block.

Frame 3. 1 throws the ball back to 3 in the left slot. 2 cuts from the left wing to 4 on the left block and rubs X4 off 4's high side, so 3 can feed 4. 5 is in the right short corner.
The Quick Hitters
HO Clear
A back screen empties 1 out, then 3 feeds 5 and follows his pass for a hand-off.

Frame 1. 4 screens down from the right elbow and 3 comes off it from the right block to the right wing, where 1 passes to him. 2 cuts from the left block along the baseline to the right corner. 5 back-screens for 1 and 1 empties into the lane.

Frame 2. 3 throws to 5 at the top of the key and follows his pass for a hand-off. 3 drives toward the lane, 5 rolls to the rim, and 4 replaces from the right block up toward the right elbow. 1 is in the left corner and 2 in the right corner.
Weak Stack Post
3 breaks out of a low stack, 4 makes a nail cut, and 2 screens for 5 crossing the lane for a post feed.

Frame 1. 3 breaks out of the low stack on the left side to the left wing and 1 passes to him. 1 then cuts toward the left side of the lane, on the strong side. 4 makes a cut from the right wing across to the middle of the free-throw line for a catch. 5 is on the left block and 2 on the right block.

Frame 2. 3 passes to 4 at the top of the key and 4 dribbles toward the right slot. 2 screens in the lane for 5, and 5 crosses from the left block to the right block, where 4 feeds him. 1 is in the left corner.
Double Stack Double Tom
2 breaks out of a low stack, 1 screens down on 5, and 5 rolls off a double screen.

Frame 1. 2 breaks out of the left low stack to the left wing and 1 passes to him. 1 then screens down on 5 in the right low stack, and 5 comes up to the top of the key. 1 breaks wide to the right wing. 4 stays low on the left and 3 low on the right.

Frame 2. 5 ball-screens for 2 and 2 dribbles off it toward the top of the key, then passes to 1 on the right wing. 4 and 3 set a double screen along the baseline and 5 rolls around them to the right block.
Double Clear Iso
2 loops a down screen to the wing, then 1 comes off a double screen and sweeps it baseline.

Frame 1. 5 screens down from the left elbow and 2 loops around him from the left block to the left wing, where 1 passes to him. 1 takes a step away toward the right slot. 3 clears from the right block to the right corner and 4 drops from the right elbow toward the top of the key.

Frame 2. 1 jabs, then comes off the double screen of 4 and 5 toward the left corner. 2 drives his dribble up the floor and throws back to 1, who catches and sweeps it along the baseline. 3 is in the right corner.
Rockets
On the dribble, 5 turns to screen down for 2, then 3 steps up the lane to rip-screen 5's defender.

Frame 1. 1 dribbles right and passes to 4, who pops from the right block area to the right wing. 5 turns wide from the free-throw line to go down-screen for 2. 2 leaves the left block early toward the left elbow. 3 steps into the lane from the right block.

Frame 2. 3 steps up the lane and screens 5's defender (a rip screen, not a cross screen). 5 cuts off it to the rim for the pass from 4 on the right wing. 2 is in the left slot and 1 at the top of the key.
Under Duck
3 cuts under 5 and comes back up the floor, then 5 ducks in for the feed.

Frame 1. 3 cuts from the right wing under 5, along the baseline, and back up to the left slot. 4 flexes from the left block to the left corner and 2 cuts over the top from the left wing to the right wing. 5 is on the right block and 1 holds the ball in the right slot.

Frame 2. 1 passes to 3 in the left slot and 3 front-pivots. On the catch, 5 ducks in hard from the right block and 3 looks to feed him, with a bounce pass if he likes. 4 is in the left corner and 2 on the right wing.
Up Clear
1 dribbles to the wing, 3 cuts to the top of the key, and 5 back-screens 3 for a lob.

Frame 1. 1 dribbles to the right wing. 3 comes up from the right low stack to the top of the key and 1 passes to him, then cuts through along the baseline. 4 and 2 are stacked low on the left and 5 is low on the right.

Frame 2. 2 pops out of the left low stack to the left wing and 3 passes to him. 5 back-screens for 3 and 3 cuts to the rim for the lob. 4 stays on the left block and 1 is in the left corner.
Rockets Reverse
4 comes out of the low stack to catch on the wing, then 5 screens down for 2 and turns to screen for 3.

Frame 1. 4 pops out of the right low stack to the right wing and 1 passes to him and cuts through. 5 turns wide from the top of the key to go down-screen for 2 on the left block. 3 stays low on the right.

Frame 2. 5 screens down for 2 and 2 comes up off it to the top of the key, where 4 passes to him. 3 is on the right block and 1 in the right corner.

Frame 3. 5 turns and screens for 3, who cuts from the right block along the baseline to the left side. 2 looks to feed 3 on his cut. 1 is in the right corner and 4 on the right wing.
USA Misdirection
A back screen and a re-screen on 1 draw the defense, while a screen-the-screener chain frees the cutters.

Frame 1. 1 passes to 4 at the right elbow area. 2 cuts through from the left wing to the right corner, and 3 dives in from the right wing on 4's catch. 5 back-screens for 1 and 1 cuts toward the left wing.

Frame 2. 5 turns to re-screen for 1, and 1 calls for the ball hard as he comes off it toward the top of the key. 4 turns the other way and gives the ball to 2, who comes back up from the right corner to the right wing. 3 rip-screens for 5 and 5 cuts to the rim.

Frame 3. 4 finishes the chain: he screens for 3, who set the rip screen, and 3 comes off it to the right slot for the pass from 2 on the right wing. 5 is on the right block and 1 in the left slot.
Weak Stack BS Fence
A back screen, a ball screen for 2, then a double screen for 3 coming through the fence.

Frame 1. 1 passes from the top of the key to 2 on the right wing. 5 sprints up from the left low stack and back-screens for 1, who cuts off it toward the left side. 3 stays low on the left and 4 on the right block.

Frame 2. 5 steps into a ball screen for 2 on the right wing and 2 dribbles off it toward the top of the key. 1 is on the left wing, 3 on the left block and 4 on the right block.

Frame 3. 4 loops out of the post and sets a double screen with 5 on the right side. 3 comes from the left block under the basket and through the double screen to the right wing, and 2 passes to him. 1 is on the left wing.
Ideas That Repeat
- The lifted big pulls his defender away from the rim, which opens the roll.
- Three reads (lift, duck in or mix) come off one first look.
- The screener of one action becomes the lifter of the next.
- Screen the screener shows up in Big Up Shuffle One and USA Misdirection.
- Reverse Action gets to the ball screen through hand-offs, which gives the same reads a different tempo.
- On Under Duck the big ducks in hard and the catcher front-pivots and looks for him.
The pick and roll reads are covered in pick and roll and pick and pop, the elevator screen in AI Fence in elevator screen, the shuffle cut in shuffle offense, the hand-offs in dribble hand-off and the back screens in back screen basketball. The same two-big idea shows up in the spread pick and roll offense. Butler is one of four programs on the college basketball plays page under the Offense hub. Whichever family you pick, rep both big jobs until they are automatic.
Questions Coaches Ask About Butler Basketball Plays
What is in the Brad Stevens Butler ball screen package?
A spread pick and roll with four reads (Big Lifted, Rim Spot, Mix and Movement), the AI Cut, Bigs Up and Reverse Action set families, and a group of quick hitters.
What is the spread pick and roll?
The ball-side big sets a ball screen while the weak-side big lifts to the top of the key. On the next screen the bigs trade jobs, so the action repeats.
What is an AI cut in basketball?
In this package it is a cut by 2 from the left block over the top of the two bigs at the elbows. It pulls the defense toward the cutter before the next action.
Why does the weak-side big lift to the top of the key?
The lift pulls his defender away from the rim, which leaves the rim open for the roll, most of all when the roller's defender hedges.
What is Reverse Action?
A chain of dribble hand-offs that leads into the ball screen. The Hoya version adds a screen into a hand-off.
School profile: Butler Bulldogs on College Basketball Recruit.
Want the printable playbook packs?
OBP Pro members get the premium playbook packs: the zone attack, out of bounds and practice plan PDFs, plus each new pack as it is finished. The membership page lists what is in each one. Or draw your own version free in PlayDraw.
See what OBP Pro includesMore College Basketball Plays
- College Basketball Plays: Sets and Systems by Program
- Gonzaga Basketball Plays: Flex Quick Hitters
- Kansas Basketball Plays: Bill Self 2-3 Zone Offense
- Michigan State Basketball Plays: Tom Izzo Sets
Back to College Basketball Plays and every Offense page.
Keep Building
Related breakdowns
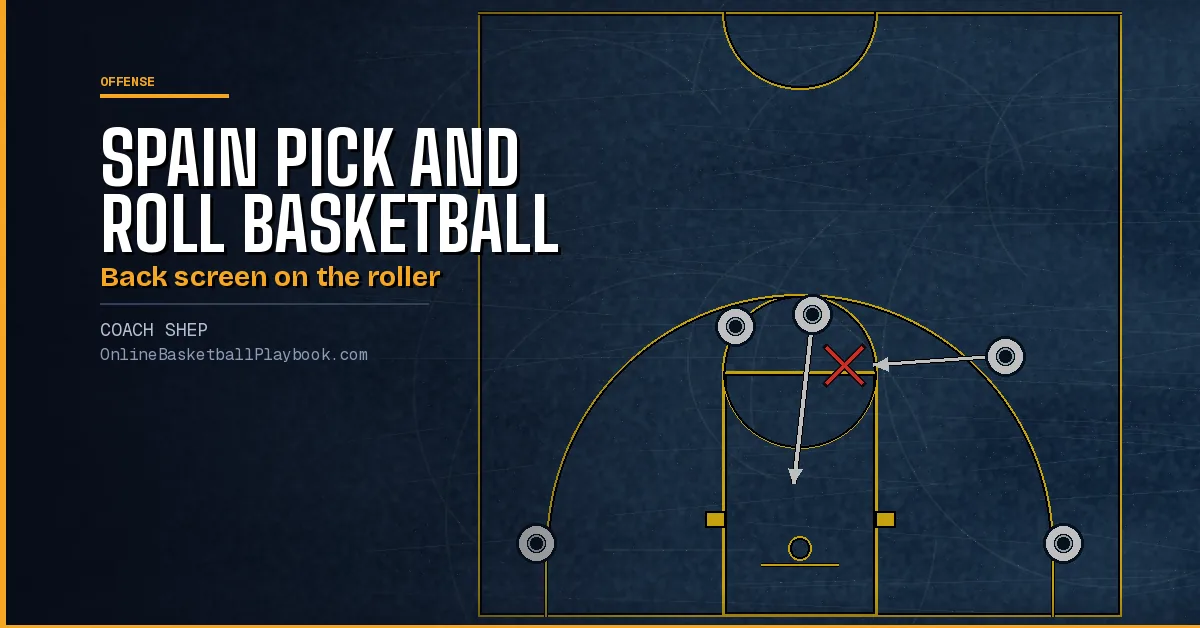
Spain Pick and Roll Basketball: Screen the Screener
The Spain pick and roll explained: a ball screen plus a back screen on the roller's defender, the pop, the hedge counter, the versions and the coverages.
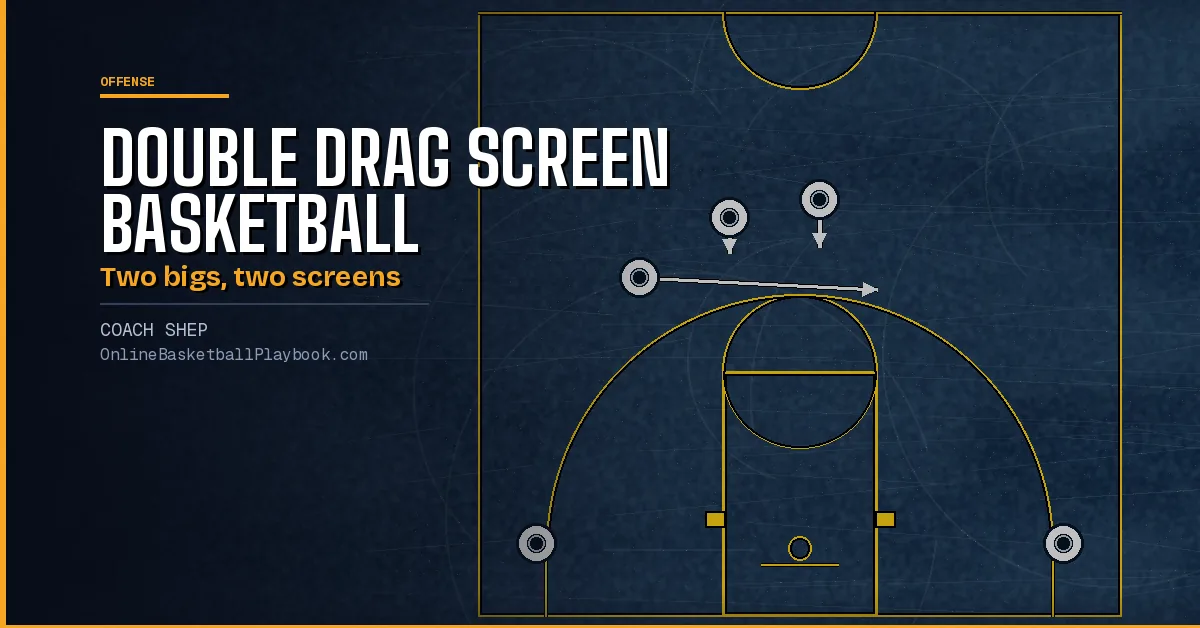
Double Drag Screen Basketball: Roll, Pop and Slip
The double drag screen explained: two trailing bigs screen in turn for the ball handler, with the roll and pop rules, the slip, the reads and the coverages.
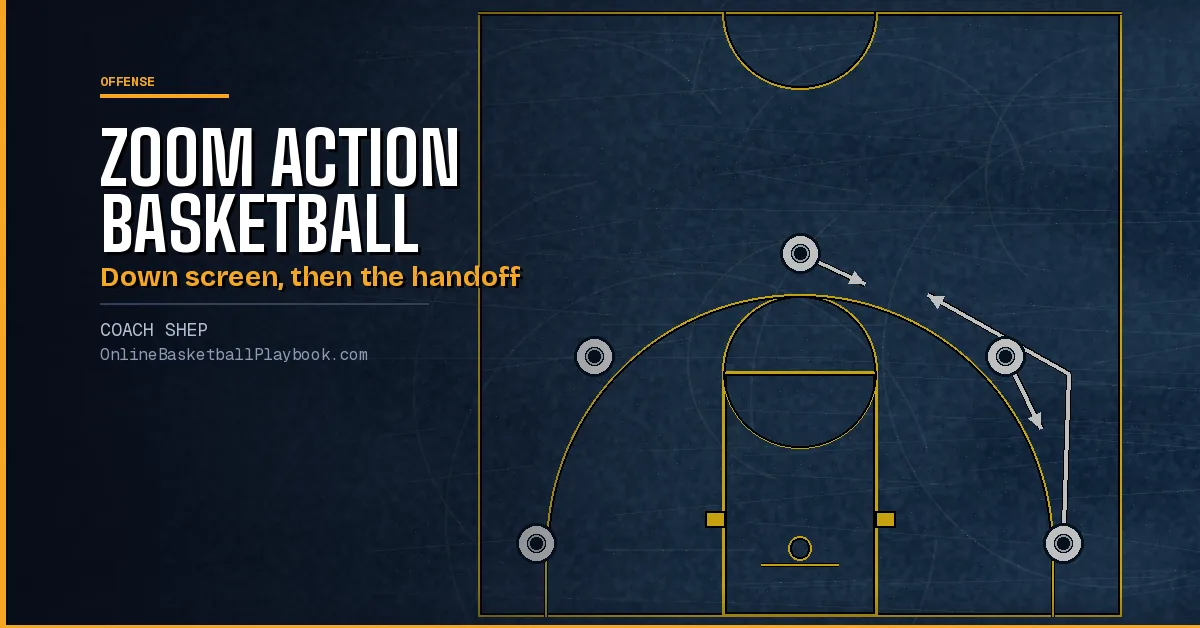
Zoom Action Basketball: Down Screen Into a Handoff
Zoom action basketball explained: the down screen into a dribble handoff, the three reads, the back cut and slip counters, every version and how to teach it.