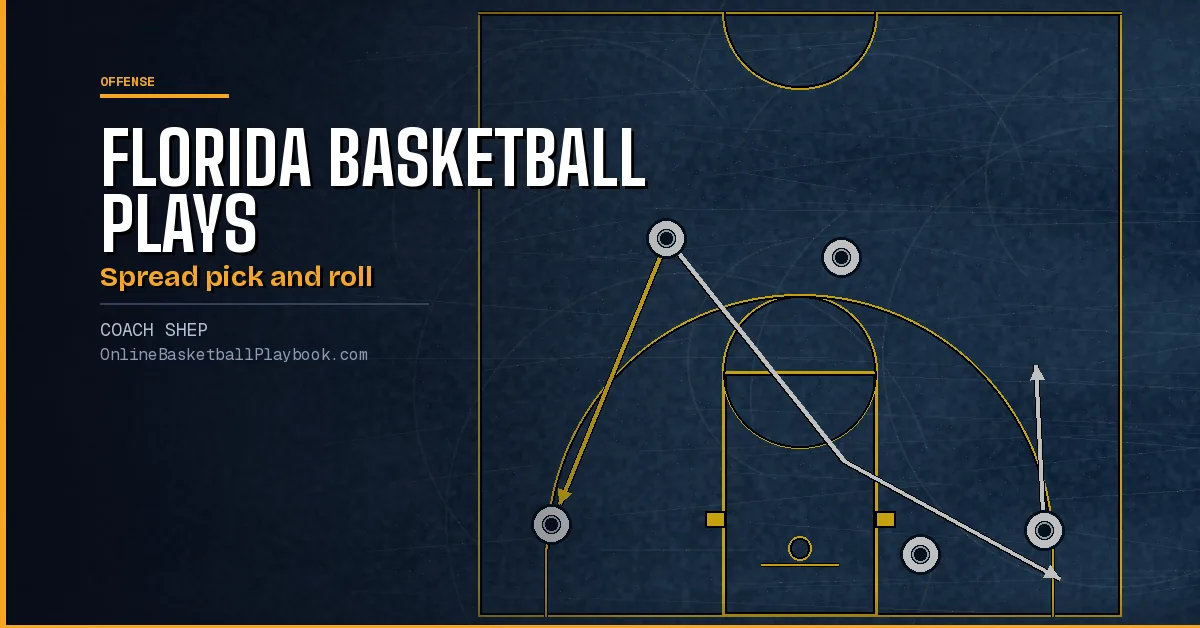
Florida basketball plays in this collection come from the spread pick and roll offense of the Billy Donovan era at Florida. The offense is built on spacing and the ball screen. Transition flows straight into a screen, the floor stays spread, and the next action depends on how the defense guards the screen. This page draws 15 plays across 47 frames: the spread pick and roll series, the flat screen and the 4 man's reads, three counters to ball screen coverages, five entries and three half-court sets. Every frame of each play shown here is redrawn, and the text under it names where every player on the floor goes.
Florida Basketball Plays at a Glance
The first four rows are the spread pick and roll rules, drawn as plays. The series in the original runs to frame 16 but has no frames 9 and 10, so the second side starts at frame 11. The counters and the entries come next, and three half-court sets close the page. Three flat screen frames show only the ball handler, the screener and their two defenders, and their steps say so.
| Play | Family | Frames | What it does |
|---|---|---|---|
| Spread PNR Basic: Entry and First Side | The Spread Pick and Roll Series | 8 | The base of the offense. 1 passes ahead and clears to the far corner, the ball comes back to 4 at the top of the key, and the first ball screen comes on the reversal, with three options for 4. |
| Spread PNR Basic: Second Side | The Spread Pick and Roll Series | 7 | The ball swings to the other wing for a second ball screen, this time from 4, with three reads for him, a duck-in by 5 and the guard rules that keep the floor spread. |
| Spread PNR: The Flat Screen | The Flat Screen and the 4 Man's Reads | 5 | Players start very spread out and 4 comes up as a flat screener. Where 1's defender stands tells 4 how high to come, and the aim is two defenders on the ball and a pitch back to 4. |
| Spread PNR: 4 Man Options | The Flat Screen and the 4 Man's Reads | 3 | When 4 catches it in the middle, he attacks the rim and passes where the help comes from, or passes to the ball side and screens again. |
| Spread PNR vs a Switch | Counters to Ball Screen Coverages | 2 | When the defense switches the ball screen, 4 posts up the smaller defender and 5 comes high so no one can help from the back side. |
| Spread PNR vs a Trap or Hard Show | Counters to Ball Screen Coverages | 2 | Against a trap or a hard show, 4 slips and 5 either screens 2's defender or comes up behind the slip for the reversal. |
| Spread PNR vs Aggressive Jump Outs | Counters to Ball Screen Coverages | 2 | Against a big who jumps out hard, put that big in a screening action first so 1 can get a lob, then run roll and replace. |
| Drag | Transition and Ball Screen Entries | 1 | A ball screen in transition, set before the defense can get organized. |
| Trail Man | Transition and Ball Screen Entries | 1 | 1 attacks early, and when nothing is there he passes back to 4, the trailer. If 4 has nothing either, the half-court pick and roll starts. |
| 4 Flat | Transition and Ball Screen Entries | 2 | 4 comes up for a flat ball screen and pops for a shot. In the second frame 5 is the flat screener, then he rolls and 4 fills the spot he left. |
| 1-4 High | Transition and Ball Screen Entries | 4 | From 1-4 high the wings cross over the top of the bigs, 5 sets a wing ball screen, and the reversal brings a second ball screen from 4 with three reads. |
| Double High Ballscreen | Transition and Ball Screen Entries | 2 | 4 screens 5's defender first, then both bigs set a double ball screen high for 1. After 1 clears it, 5 dives and 4 pops. |
| Twirl | Half-Court Sets | 4 | A high cut over both bigs, a UCLA cut, a screen by the cutter, a hand-off and then a ball screen and roll. |
| Flip PNR | Half-Court Sets | 2 | A down screen and a quick flip back to the guard, a back screen that clears the floor, then a ball screen and roll. |
| Horns STS | Half-Court Sets | 2 | From horns, 1 enters to the elbow and cuts to the wing, the corner man screens across, and then the screener gets a down screen of his own. |
How to Read These Diagrams
Every play is drawn frame by frame, one diagram for each frame of the original, and the text under each diagram says where every player starts and where he goes. The basket is at the bottom of each diagram. Sides are named as a player sees them facing the basket, so the left wing is on the right side of the picture. A solid arrow is a cut, a dashed arrow is a pass, a wavy line is a dribble and a line ending in a short bar is a screen. The diagram guide covers the symbols in full. No offensive player starts a frame standing in the lane. Where a source frame had someone there, he is drawn on the nearest lane line or block.
Get the next coaching guide in your inbox
One email when a new guide or diagram set goes up. Free.
The Spread Pick and Roll Series
Spread PNR Basic: Entry and First Side
The base of the offense. 1 passes ahead and clears to the far corner, the ball comes back to 4 at the top of the key, and the first ball screen comes on the reversal, with three options for 4.

Frame 1. 1 has the ball in the right slot. 4 trails at the top of the key, 2 is in the left corner, 3 in the right corner and 5 on the left block. 1 passes ahead to 3 in the right corner and clears across the floor to the left corner. 2 lifts out of the left corner to the left wing to make room for him. By the next frame the ball is with 4 at the top of the key. No pass to 4 is drawn, and the notes only say that transition is over once the ball reaches 4 and 1 has cleared.

Frame 2. The double side. 4 has the ball at the top of the key. 1 is in the left corner and 2 holds the sideline on the left wing, so the two players on the left side are split between the corner and the wing. 3 is in the right corner and 5 on the left block. No one moves in this frame.

Frame 3. 4 has the ball at the top of the key and looks to reverse it to 2 on the left wing. 1 is in the left corner, 3 in the right corner and 5 on the left block. 2's defender denies the pass, so 2 cuts backdoor to the left block and back out along the baseline to the left corner. 1 lifts from the left corner to the left wing to fill his spot.

Frame 4. The other answer: 2 is not denied. 4 reverses the ball from the top of the key to 2 on the left wing, with X2 guarding him on the baseline side. 1 is in the left corner, 3 in the right corner and 5 on the left block. On the pass, 5 sprints out from the left block and sets an angled ball screen for 2, almost a back screen on X2, so X2 has to go over the top.

Frame 5. The first option for 4. 2 has the ball on the left wing with X2 on him, 1 is in the left corner, 3 in the right corner and 5 is coming out from the left block to screen. 4 follows his pass from the top of the key and sets a second screen beside 5, so 2 has a double ball screen.

Frame 6. The second option. 4 passes from the top of the key to 2 on the left wing, and 5 comes out from the left block to set the angled ball screen on X2. 4 then dives down the lane to the right short corner. 1 stays in the left corner and 3 in the right corner.

Frame 7. The third option. 4 passes from the top of the key to 2 on the left wing, and 5 comes out from the left block to set the angled ball screen on X2. 4 spaces away to the right wing, which leaves 2 and 5 a spread two-man game on the left side. 1 stays in the left corner and 3 in the right corner.

Frame 8. 2 attacks off the ball screen. 2 has the ball on the left wing, 5 is just outside the left side of the lane, 1 in the left corner, 3 in the right corner and 4 on the right wing. 5 sets the screen just inside the arc below 2. 2 dribbles off it toward the left elbow, and 5 rolls hard down the left side of the lane to the rim, eyes on the ball the whole way. 1 lifts out of the left corner toward the left wing spot 2 has left, ready for a shot.
Spread PNR Basic: Second Side
The ball swings to the other wing for a second ball screen, this time from 4, with three reads for him, a duck-in by 5 and the guard rules that keep the floor spread.

Frame 1. Between the first side and this frame, the ball has been swung across to 4 and on to 3, passes that are not drawn. 3 has the ball low on the right side, just above the right corner. 4 is in the right slot, 1 on the left wing, 2 in the left corner and 5 on the left block. 4 comes down and sets a standard ball screen for 3 just inside the arc.

Frame 2. The second read for 4 is a slip. 3 has the ball low on the right side, just above the right corner. 4 is in the right slot, 1 on the left wing, 2 in the left corner and 5 on the left block. 4 starts down to screen for 3, and when his defender jumps high to hedge, 4 slips to the right block before the screen is set.

Frame 3. The third read is a shallow cut. 3 has the ball low on the right side, just above the right corner. 4 is in the right slot, 1 on the left wing, 2 in the left corner and 5 on the left block. 4 takes one step toward 3, then sprints down to the right short corner. 3 dribbles hard off his back and into the lane.

Frame 4. On a slip or a shallow cut, X5 usually comes across to help. Between frames 3 has dribbled back out to just above the right elbow, with no arrow drawn. 1 is on the left wing, 2 in the left corner, 4 in the right short corner and 5 on the left block, with X5 helping in the lane. 5 ducks hard into the lane, seals X5 under the rim and comes back up the left side of the lane for the ball. 3 reverses the ball to 1 on the left wing, and 1 passes inside to 5.

Frame 5. 1 never gets a ball screen on the wing. He shoots, drives or passes. Here nothing is open, so 1 passes from the left wing to 2 in the left corner and cuts through the lane to the right corner, passing above 5. 5 is drawn on the left block (in the original he is still in the lane after his roll). 4 is in the right short corner and 3 on the right wing.

Frame 6. 2 dribbles up out of the left corner toward the left elbow. 5 steps up from the left block, sets a ball screen for him on the left side and rolls back down to the left block. 4 replaces underneath, cutting from the right short corner along the baseline and out to the left wing. 1 is in the right corner after his cut and 3 on the right wing.

Frame 7. The same action with 4's defender drawn. 2 dribbles up out of the left corner off 5's screen, and 5 rolls back to the left block. X4 leaves 4 in the right short corner and slides across the lane to stop 5's roll, so 4 is free as he replaces underneath to the left wing. Most big defenders switch or trade men here, and that puts them in a tough spot. 1 is in the right corner and 3 on the right wing.
The Flat Screen and the 4 Man's Reads
Spread PNR: The Flat Screen
Players start very spread out and 4 comes up as a flat screener. Where 1's defender stands tells 4 how high to come, and the aim is two defenders on the ball and a pitch back to 4.

Frame 1. The spread start. 1 has the ball at the top of the key, a step left of the middle. 4 is in the right slot, 2 in the left corner, 3 in the right corner and 5 on the left block. No one moves in this frame.

Frame 2. The flat screen. 1 has the ball at the top of the key, 4 is at the high post, 2 in the left corner, 3 in the right corner and 5 on the left block. 4 comes straight up from the high post and sets a flat screen in front of 1, with room for 1 to take a step before he uses it. The screen is also a release for 1 when he is pressured.

Frame 3. Two on the ball. Only 1, 4 and their defenders are drawn. 1 has the ball at the top of the key with X1 on him, and 4 is at the high post with X4 beside him. 4 comes up and sets the flat screen. 1 dribbles off it toward the left elbow, X1 chases and X4 steps out, so both defenders are on the ball. 4 pops away to the right after the screen.

Frame 4. Switching the angle. Only 1, 4 and their defenders are drawn. 1 has the ball at the top of the key with X1 below him. 4 is just inside the arc in the middle of the floor with X4 beside him. 4 moves over and screens from the other side, toward the right slot, and 1 dribbles off it to the right wing. X4 follows over the top, and 4 pops back out to the left slot.

Frame 5. The pitch back. Only 1, 4 and their defenders are drawn. 1 is on the right wing with X1 and X4 both near him, two defenders on the ball. 4 is open at the top of the key and 1 passes back to him. 4 can shoot, attack the rim or pass, depending on who is popping and how the defense recovers.
Spread PNR: 4 Man Options
When 4 catches it in the middle, he attacks the rim and passes where the help comes from, or passes to the ball side and screens again.

Frame 1. 4 has the ball at the top of the key. 2 is in the left corner, 5 on the left block, 3 in the right corner and 1 in the right slot. 4 drives hard to the left elbow. Whoever helps on him leaves a man open, so he passes to 2 in the left corner, to 5 on the left block or across to 3 in the right corner, never to a corner man who is still guarded.

Frame 2. The second option: pass to the ball side and screen again. 4 has the ball at the top of the key, 2 is in the left corner, 5 on the left block, 3 in the right corner and 1 in the right slot. 2 lifts from the left corner to the left wing. 4 dribbles toward the left elbow and passes to 2.

Frame 3. 4 follows his pass with a ball screen. 2 has the ball on the left wing, 4 is just inside the arc on the left side, 5 on the left block, 3 in the right corner and 1 in the right slot. 4 screens for 2, then fades toward the baseline into the left short corner. 2 dribbles off the screen toward the middle of the floor, and 5 ducks into the lane for a post-up.
Counters to Ball Screen Coverages
Spread PNR vs a Switch
When the defense switches the ball screen, 4 posts up the smaller defender and 5 comes high so no one can help from the back side.

Frame 1. The same frame as the last 4 Man Options frame, and the start of the counter. 2 has the ball on the left wing, 4 is just inside the arc on the left side, 5 on the left block, 3 in the right corner and 1 in the right slot. 4 screens for 2 and fades to the left short corner, 2 dribbles toward the middle and 5 ducks into the lane.

Frame 2. The defense has switched, so X1 is on 4. 2 has the ball on the left wing with X2 on him. 4 posts up on the left block with X1 on his lane side. 1 is at the top of the key with X4 guarding him, 5 is in the right short corner and 3 is in the right corner. 2 passes in to 4. 5 cuts up across the lane to the left elbow for a high-low look, and X5 goes with him, so no one is left to help from the back side.
Spread PNR vs a Trap or Hard Show
Against a trap or a hard show, 4 slips and 5 either screens 2's defender or comes up behind the slip for the reversal.

Frame 1. 2 has the ball on the right wing. 4 is at the top of the key, 1 on the left wing, 3 in the left corner and 5 on the left block, with X5 in the lane. 4 starts out toward 2 as if to screen, then slips to the right block. 5 comes up behind him from the left block to the top of the key for the reversal pass.

Frame 2. 5's two options, drawn together. 2 has the ball on the right wing, 4 is inside the arc on the right side, 1 on the left wing, 3 in the left corner and 5 on the left block, with X5 in the lane. 4 slips to the right block. 5 either loops out around the lane and screens the defender inside 2, or comes up behind 4 to the top of the key for the reversal. The original labels both of these diagrams frame 1.
Spread PNR vs Aggressive Jump Outs
Against a big who jumps out hard, put that big in a screening action first so 1 can get a lob, then run roll and replace.

Frame 1. 1 has the ball in the right slot. 4 is on the right block, 2 on the left wing, 3 on the right wing and 5 in the left short corner. 2 comes up to the left slot and 1 passes to him. 4 steps up the right side of the lane to the right elbow and screens for 1, so 4's defender has to guard a screen. 1 cuts down past the screen to the rim, looking for a lob.

Frame 2. Roll and replace. 2 has the ball in the left slot, 4 is at the right elbow, 5 in the left short corner, 1 in the left corner and 3 on the right wing. 4 comes over and sets a ball screen for 2 just inside the arc, left of the middle, then rolls to the rim. 2 dribbles off it to the right side of the floor. 5 comes up from the left short corner to replace 4, just inside the arc on the left side.
Transition and Ball Screen Entries
Drag
A ball screen in transition, set before the defense can get organized.

Frame 1. 1 brings the ball up in the left slot. 4 trails in the right slot, 5 has run to the left block, 2 fills the left corner and 3 the right corner. 4 runs over to the left slot and sets a drag screen just outside the arc, and 1 dribbles off it toward the right elbow.
Trail Man
1 attacks early, and when nothing is there he passes back to 4, the trailer. If 4 has nothing either, the half-court pick and roll starts.

Frame 1. 1 brings the ball up in the left slot. 4 trails behind the play in the right slot, 5 is on the left block, 2 in the left corner and 3 in the right corner. 1 dribbles down toward the left elbow. 4 runs in to the top of the key and 1 passes back to him.
4 Flat
4 comes up for a flat ball screen and pops for a shot. In the second frame 5 is the flat screener, then he rolls and 4 fills the spot he left.

Frame 1. 1 has the ball at the top of the key, well out. 4 is at the high post, 5 on the left block, 2 in the left corner and 3 in the right corner. 4 comes up to screen flat for 1. 1 dribbles off it to the right, just inside the arc. 4 pops out to the left slot and 1 passes back to him for a shot.

Frame 2. The same start with 5 as the screener. 1 has the ball at the top of the key, 5 is at the high post, 4 on the left block, 2 in the left corner and 3 in the right corner. 5 comes up to screen flat for 1, and 1 dribbles off it toward the right elbow. 5 rolls down the lane to the rim and 4 replaces him, coming up from the left block to the left slot.
1-4 High
From 1-4 high the wings cross over the top of the bigs, 5 sets a wing ball screen, and the reversal brings a second ball screen from 4 with three reads.

Frame 1. 1 has the ball at the top of the key. 4 is at the left elbow and 5 at the right elbow. 2 starts low in the left short corner and 3 low in the right short corner. 2 and 3 cross and sprint over the top of the bigs: 2 runs out to the right wing and 3 to the left wing. 1 picks a side, and here he passes to 2, who has run to the right wing.

Frame 2. Between frames 3 has drifted from the left wing to the left corner, with no arrow drawn. 2 has the ball on the right wing, 1 is at the top of the key, 5 at the right elbow and 4 at the left elbow. 5 sets a ball screen for 2, 2 dribbles off it toward the middle and 5 rolls to the right block. The original draws the screen but not the roll, which comes from its notes and from 5's spot in frame 3. 4 pops out to the middle, just inside the arc, and 2 passes to him. 1 cuts to the left wing.

Frame 3. 4 has the ball at the top of the key. 1 is on the left wing, 3 in the left corner, 2 on the right wing and 5 on the right block after his roll. 4 passes to 1, and 1 swings it on to 3 in the left corner. On that pass 1 cuts through under the basket to the right corner. The original says 3 then dribbles up out of the corner, which is not drawn.

Frame 4. Between frames 3 has dribbled up to the left wing and 1 is in the right corner, with no arrows drawn. 4 is at the top of the key, 2 on the right wing and 5 on the right block. 4 comes down to set a ball screen for 3 and has three reads: set the screen, slip to the baseline, or make a shallow cut, one step toward 3 and then a sprint to the corner while 3 dribbles off his back. The arrow shows 4 going to 3 and then cutting to the left short corner.
Double High Ballscreen
4 screens 5's defender first, then both bigs set a double ball screen high for 1. After 1 clears it, 5 dives and 4 pops.

Frame 1. 1 has the ball high on the left wing. 4 is at the left elbow, 5 at the right elbow, 2 in the right corner and 3 in the left corner. 4 screens across for 5. 5 comes off it and up toward the left slot, and 4 turns and steps up beside him, so the two set a double ball screen. 1 dribbles across under both screens to the right wing.

Frame 2. 1 has come off the double screen to the right wing. 5 is just outside the left elbow, 4 in the left slot, 2 in the right corner and 3 in the left corner. 5 dives down the lane to the rim and 4 pops out to the top of the key.
Half-Court Sets
Twirl
A high cut over both bigs, a UCLA cut, a screen by the cutter, a hand-off and then a ball screen and roll.

Frame 1. 1 has the ball at the top of the key. 4 is at the left elbow and 5 at the right elbow. 2 is in the right corner and 3 in the left short corner. 3 clears along the baseline to the right corner. 2 makes a high cut across the floor, over the top of 5 and 4, to the left wing, and 1 passes to him.

Frame 2. 2 has the ball on the left wing. 1 is at the top of the key, 4 at the left elbow, 5 at the right elbow and 3 in the right corner. 4 sets the screen and 1 makes a UCLA cut off him, down the lane to the rim. 4 then pops up to the left slot and 2 passes to him.

Frame 3. 4 has the ball in the left slot. 1 is drawn on the left side of the lane, just above the block (in the original he is still in the lane after his cut). 5 is at the right elbow, 2 on the left wing and 3 in the right corner. 1 screens across the lane for 5, and 5 cuts down off it to the left block. 1 then comes back up the middle and 4 dribbles at him for a hand-off just above the free-throw line.

Frame 4. 1 has the ball at the top of the key after the hand-off. 2 is on the left wing, 5 on the left block, 4 in the right slot and 3 in the right corner. While that happens, 2 screens down on the left side to free 5, then pops out to the left corner to space the floor. 5 comes up off the screen, sets a ball screen for 1 just inside the arc on the left side and rolls to the rim. 1 dribbles off the screen down the left side.
Flip PNR
A down screen and a quick flip back to the guard, a back screen that clears the floor, then a ball screen and roll.

Frame 1. 1 has the ball at the top of the key. 2 is in the left corner, 4 just inside the arc on the left side, 5 at the right elbow and 3 in the right corner. 3 runs the baseline to the left corner. 4 screens down for 2, and 2 comes up off it to the left slot. 1 passes to 2 and follows the pass, and 2 flips the ball right back to him on the left wing.

Frame 2. 1 has the ball on the left wing. Between frames 2 has moved to the top of the key, with no arrow drawn. 4 is just inside the arc on the left side, 5 at the right elbow and 3 in the left corner. 5 sets a back screen for 2, and 2 cuts off it down the right side of the lane and out to the right corner. 5 then steps over, sets a ball screen for 1 on the left side and rolls to the rim. 1 dribbles off the screen toward the free-throw line, and 4 spaces out to the left wing.
Horns STS
From horns, 1 enters to the elbow and cuts to the wing, the corner man screens across, and then the screener gets a down screen of his own.

Frame 1. 1 has the ball at the top of the key. 4 is at the left elbow, 5 at the right elbow, 2 in the left corner and 3 in the right corner. 1 passes to 4, cuts to the left wing on the ball side, and 4 passes back to him there. 2 runs in along the baseline and screens across for 5, and 5 cuts down off the screen to the left block.

Frame 2. 1 has the ball on the left wing. 5 is on the left block after his cut. 2 is drawn on the right block (in the original he is still in the lane after his screen). 4 is at the left elbow and 3 in the right corner. 4 screens down for 2, the screener, and 2 comes up off it to the top of the key. 1 picks the best option: the pass inside to 5 or the pass out to 2.
Ideas That Repeat
- The point guard who passes ahead clears to the far corner, and the ball screen comes on the reversal.
- When two players share a side, one sits in the corner and the higher one holds the sideline.
- The screener has choices every time: roll, slip, shallow cut, pop or fade.
- On a wing ball screen, the guard in the corner lifts into the spot the dribbler left.
- 5 ducks into the lane when his defender helps on a slip or a shallow cut.
- The flat screen tries to put two defenders on the ball, then the ball goes back to the screener.
The two-man game itself is covered in pick and roll, reading ball screens and the spread pick and roll offense, and the trap counter ties into blitz and trap ball screens. The floor balance behind it is in what is spacing in basketball. For other spread systems, compare the dribble drive motion offense and the motion offense. The entries connect to early offense, 1-4 high basketball plays and the UCLA offense. Florida is one of the programs on the college basketball plays page under the Offense hub. Teach the spacing rules first, then add one counter at a time.
Questions Coaches Ask About Florida Basketball Plays
What offense did Florida run under Billy Donovan?
The material here is a spread pick and roll offense. The ball is pushed in transition, the floor is spread, and the ball screen comes on the reversal, with reads for the screener and the guard.
What is the double side rule?
When two players are on the same side, one stays in the corner and the higher one holds the sideline, so the ball screen still has room.
What is a flat screen?
4 comes straight up and sets a ball screen in front of the ball handler, flat to the baseline. The aim is to pull two defenders onto the ball and then pitch it back to 4.
What are the screener's options on the wing ball screen?
Set the screen and roll, slip to the rim when his defender jumps high to hedge, or make a shallow cut to the short corner while the guard dribbles hard off his back.
How does this offense answer a switch?
4 posts up the smaller defender who switched onto him, and 5 comes up to the high post so no one can help from the back side.
School profile: Florida Gators on College Basketball Recruit.
Want the printable playbook packs?
Playbook packs: zone attack, press break, press defense, out of bounds, quick hitters, practice plans and the youth turnover cure, each a printable PDF. Or draw your own version free in PlayDraw.
See the playbook packsMore College Basketball Plays
- College Basketball Plays: Sets and Systems by Program
- Butler Basketball Plays: Brad Stevens Ball Screen Sets
- Gonzaga Basketball Plays: Flex Quick Hitters
- Kansas Basketball Plays: Bill Self 2-3 Zone Offense
- Michigan State Basketball Plays: Tom Izzo Sets
- Xavier Basketball Plays: Chris Mack Man Offense Sets
- Northern Kentucky Basketball Plays: AI, Delay and Strong Sets
- Pitt Basketball Plays: 1-4 High Sets and Ball Screens
- Davidson Basketball Plays: Motion Offense Rules and Actions
- Belmont Basketball Plays: Backdoor, Chicago, Chin and Nail Sets
- UConn Basketball Plays: 2023 Half-Court Sets Frame by Frame
- Duke Basketball Plays: Motion, Early Offense and Zone Ideas
- Michigan Basketball Plays: Beilein Chin and Shuffle Sets
- Wisconsin Basketball Plays: Bo Ryan Swing Offense Sets
- UCLA Basketball Plays: John Wooden High Post Options
- Memphis Basketball Plays: 2006 Dribble Drive Motion Sets
- West Virginia Basketball Plays: George King's Zone Press
- Villanova Basketball Plays: Jay Wright 4-Out, Perretta Motion
- Seattle U Basketball Plays: The Chin Offense, Read by Read
- UConn Women's Basketball Plays: Auriemma's Strong and Elbow Sets
- BYU Basketball Plays: Mark Pope Pistol, Ricky and STS Sets
- Wichita State Basketball Plays: Shocker, 57 WU, 1-3-1 Special
- Virginia Basketball Plays: Blocker-Mover Sets, Frame by Frame
Back to College Basketball Plays and every Offense page.
Keep Building
Related breakdowns
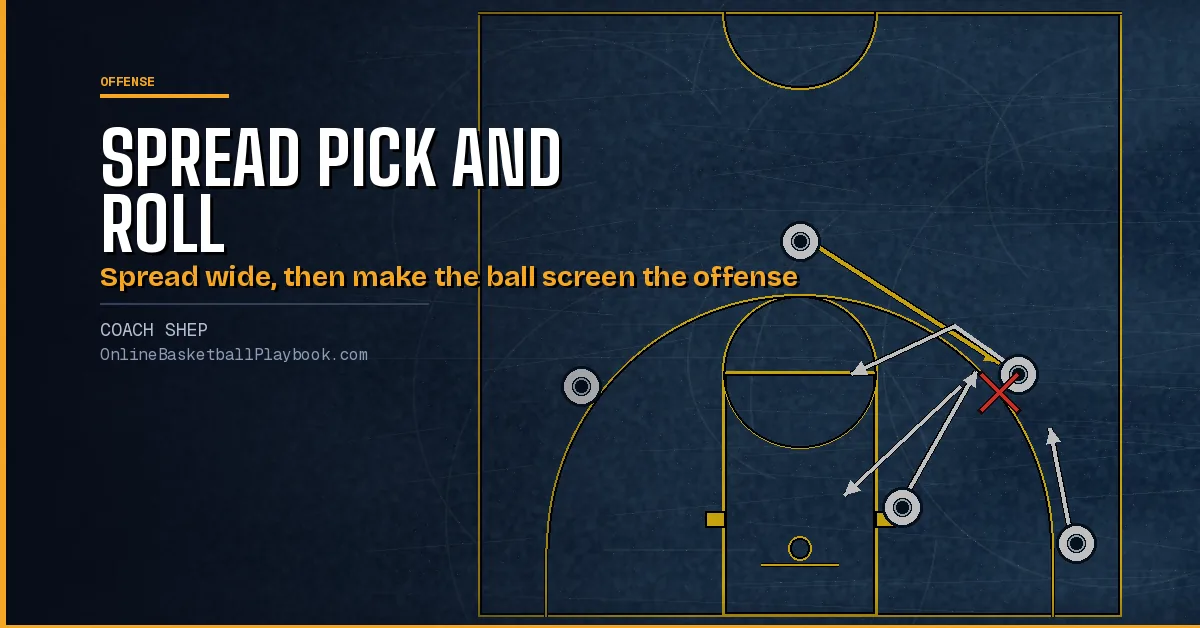
Spread Pick and Roll Offense: Flat Screens, Reads and Counters
Billy Donovan's spread pick and roll offense step by step: the trail pass, the angled wing screen, the second side, the flat screen and the counters.
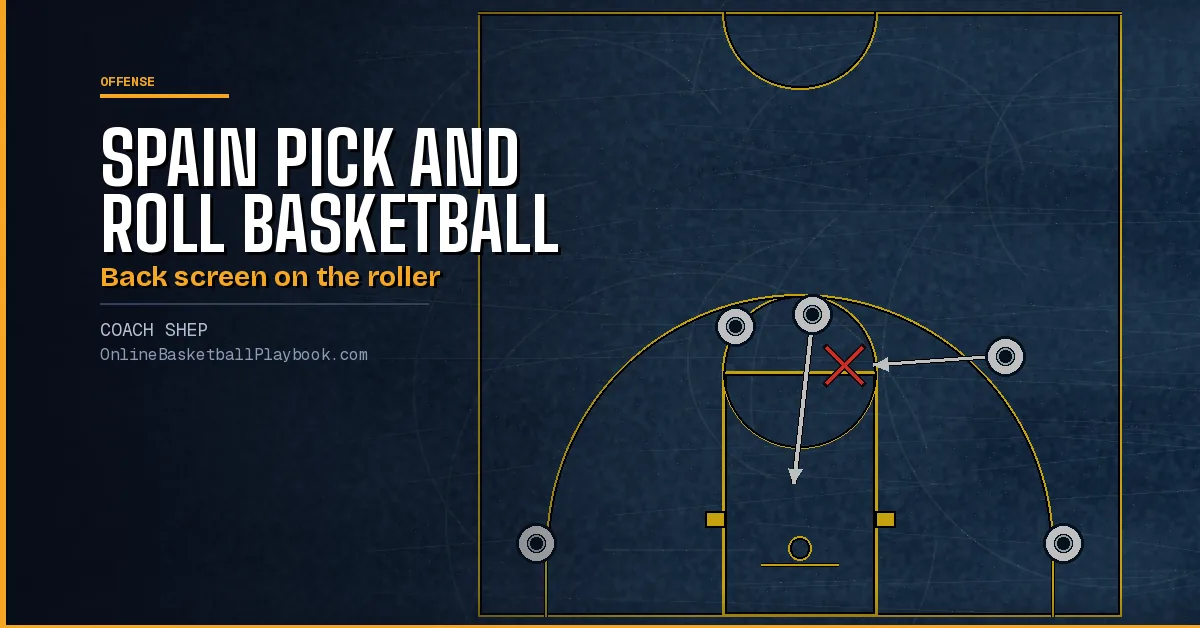
Spain Pick and Roll Basketball: Screen the Screener
The Spain pick and roll explained: a ball screen plus a back screen on the roller's defender, the pop, the hedge counter, the versions and the coverages.
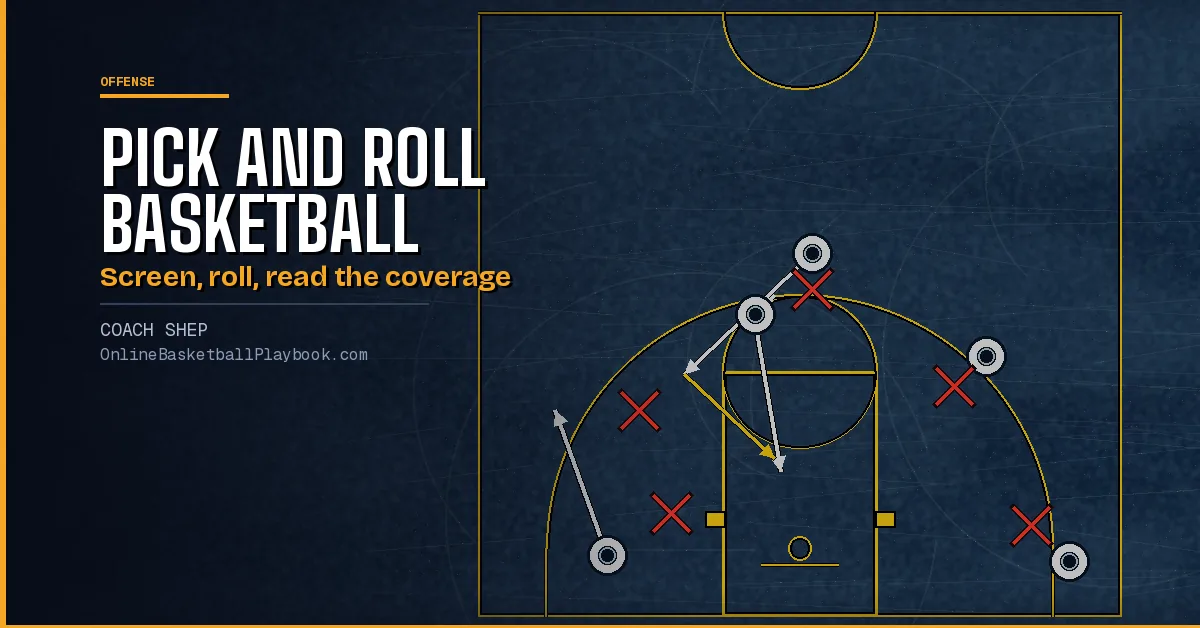
Pick and Roll Basketball: How to Run It and Read It
How to run the pick and roll in basketball: the screen and its angle, the handler's reads, roll, pop, slip and short roll, spacing, and a youth teaching order.