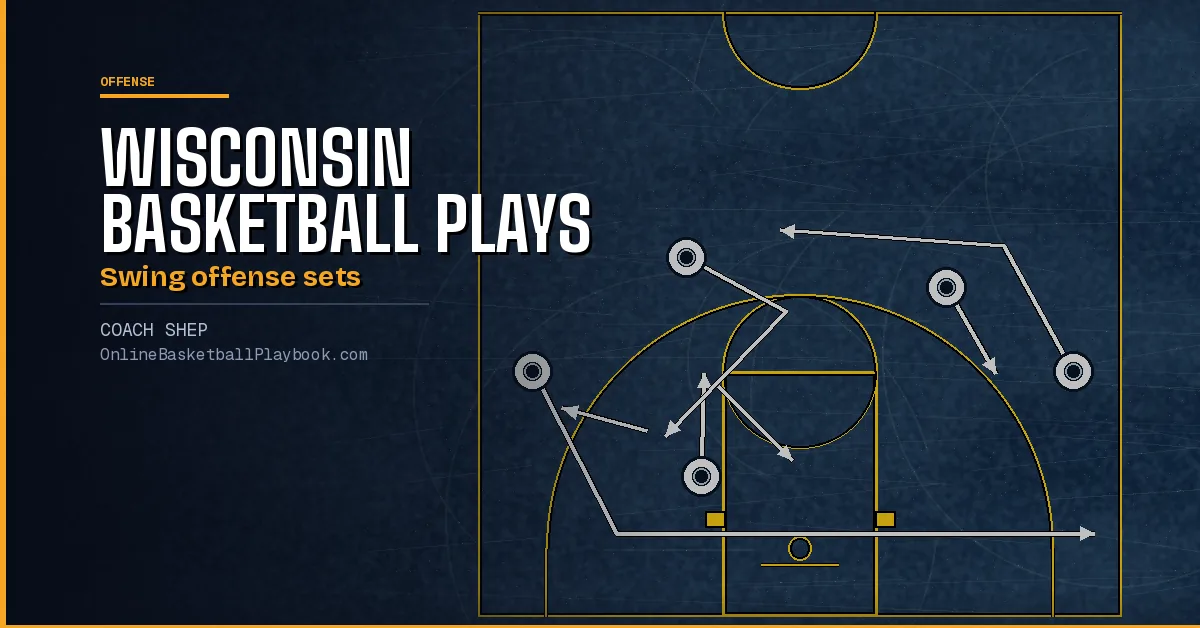
Wisconsin basketball plays in this collection come from the swing offense Bo Ryan ran at Wisconsin. The swing is a 4-out, 1-in continuity: two guards in the slots, two wings and one post, and every player learns to post up and to play on the perimeter. These are the called plays that sit on top of it. Each one runs a single action, a ball screen, a back screen, a post isolation or a high post flash, and then falls back into the swing if nothing comes. This page draws 10 plays across 19 frames. Every frame of the original that could be read with confidence is redrawn, and the text under it names where all five players go. The base pattern itself is drawn on the swing offense page.
Wisconsin Basketball Plays at a Glance
Two plays are pick and rolls, two start with a back screen or a shallow cut, three go to the post or finish with a down screen, and three are Up releases, where the post flashes to the high post when the guards are pressured. The plays keep their original names, which is why the Up series jumps from Up 2 to Up 5.
| Play | Family | Frames | What it does |
|---|---|---|---|
| Play 1 | Ball Screen Plays | 2 | A pick and roll for 1 out of the swing set. 3 clears the side, 5 screens for 1, and the guards refill the spots so the team can fall straight into the swing with a UCLA cut. |
| Play 2 | Ball Screen Plays | 1 | The same idea as Play 1, but 2 runs the pick and roll after a hand-off from 1. |
| Play 3 | Back Screen and Shallow Cut Plays | 2 | A back screen for 4 to start the possession, then a screen across for 3 and a pop by 5 that leaves three options on one pass. |
| Play 4 | Back Screen and Shallow Cut Plays | 2 | 2 shallow-cuts to the left slot for the ball, then 4 cuts under a screen from 5 and 5 shapes up for a quick inside pass. |
| Play 5 | Post Isolation and Down Screen Plays | 1 | A post isolation for 5, for a big who is better than his defender or one guarded by a man in foul trouble. |
| Play 6 | Post Isolation and Down Screen Plays | 3 | Both bigs start high and both wings in the corners. 1 dribbles off a screen from 5, the ball comes back to 5, and 4 screens down for 2. |
| Play 7 | Post Isolation and Down Screen Plays | 3 | For a post who is well defended inside. 5 pops to the corner for the catch, 3 cuts through and back-screens, and 4 screens down for 3 to finish. |
| Up 1 | The Up Series Releases | 1 | The post flashes high to release pressure, 4 dives to post up and 1 cuts to the elbow and flares out for a kick-out three. |
| Up 2 | The Up Series Releases | 3 | The same flash release, then a flex screen from 4 for 2, with an option that sends 4 out to the wing and 3 through for a cross screen. |
| Up 5 | The Up Series Releases | 1 | 5 catches the flash at the elbow, seals with a reverse pivot and drives the lane that 3 clears for him. |
How to Read These Diagrams
Every play is drawn frame by frame, one diagram for each frame of the original, and the text under each diagram says where every player starts and where he goes. The basket is at the bottom of each diagram. Sides are named as a player sees them facing the basket, so the left wing is on the right side of the picture. A solid arrow is a cut, a dashed arrow is a pass, a wavy line is a dribble and a line ending in a short bar is a screen. The diagram guide covers the symbols in full. No offensive player starts a frame standing in the lane. Where a source frame had someone there, he is drawn on the nearest lane line or block.
Get the next coaching guide in your inbox
One email when a new guide or diagram set goes up. Free.
Ball Screen Plays
Play 1
A pick and roll for 1 out of the swing set. 3 clears the side, 5 screens for 1, and the guards refill the spots so the team can fall straight into the swing with a UCLA cut.

Frame 1. 1 has the ball in the right slot, 4 is in the left slot, 3 on the right wing, 2 on the left wing and 5 just above the right block. 3 cuts along the baseline and clears to the left corner. 5 steps up to the right elbow and screens for 1, then rolls to the rim. 1 sets his man up with a step to the left, then dribbles off the screen toward the right baseline. If he cannot turn the corner he keeps dribbling out to the right wing. 4 screens for 2, and 2 comes off it to the top of the key, the spot 1 left.

Frame 2. 1 has the ball on the right wing after his dribble out. 2 is in the right slot, 4 on the left wing, 3 in the left corner and 5 just above the right block. 4 stays on the left wing and screens up for 3, and 3 comes up off the screen to the left slot. 5 steps up to the right elbow and back-screens for 2, and 2 makes the UCLA cut past him to the right block. The team is back in the swing set and runs the pattern from here.
Play 2
The same idea as Play 1, but 2 runs the pick and roll after a hand-off from 1.

Frame 1. 1 has the ball at the top of the key, a step to the right, 4 is in the left slot, 3 on the right wing, 2 on the left wing and 5 just above the right block. 3 cuts along the baseline and clears to the left corner. 4 screens for 2, and 2 comes off it toward 1. 1 dribbles toward 2 and hands him the ball. 5 steps up to the right elbow and screens for 2, 2 keeps his dribble going off the screen toward the right baseline, and 5 rolls to the rim. If the pick and roll is stopped, 2 dribbles out to the right wing, 1 goes back to the right slot, 3 fills the left slot and 4 the left wing, and the team runs the swing from there.
Back Screen and Shallow Cut Plays
Play 3
A back screen for 4 to start the possession, then a screen across for 3 and a pop by 5 that leaves three options on one pass.

Frame 1. 1 has the ball in the right slot, 4 is in the left slot, 3 on the right wing, 2 on the left wing and 5 just above the right block. 5 moves up and back-screens for 4 near the top of the key. 4 basket-cuts inside, and 1 can hit him for a lay-up. If the pass is not there, 4 sets a screen across the lane, and 3 cuts from the right wing along the baseline under it to the left block.

Frame 2. Between frames, 5 pops out from his back screen to the left slot with no arrow drawn. 1 has the ball in the right slot, 5 is in the left slot, 3 on the left block after his cut, 4 on the right block after his screen and 2 on the left wing. 1 passes to 5. 4 opens up to the ball and steps up toward the right elbow. 5 can pass to 3 on the left block or to 4 for a shot.
Play 4
2 shallow-cuts to the left slot for the ball, then 4 cuts under a screen from 5 and 5 shapes up for a quick inside pass.

Frame 1. 1 has the ball in the right slot, 4 is deep in the left slot, 3 on the right wing, 2 on the left wing and 5 just above the right block. 4 screens up for 2, and 2 shallow-cuts around the screen from the left wing to the left slot, where 1 passes to him. 5 slides across the lane to the left side and sets a screen there. After his screen, 4 drops down the left side toward the baseline.

Frame 2. 2 has the ball in the left slot, 1 is in the right slot, 4 low on the left wing after his drop, 5 just above the left block and 3 on the right wing. 4 cuts under 5's screen to the right block, and 2 can pass to him there. After the screen 5 shapes up to the ball, stepping up toward the left elbow, and he is often open for a quick pass from 2 and a shot inside.
Post Isolation and Down Screen Plays
Play 5
A post isolation for 5, for a big who is better than his defender or one guarded by a man in foul trouble.

Frame 1. 1 has the ball in the right slot, 4 is in the left slot, 3 on the right wing, 2 on the left wing and 5 just above the right block. 1 passes to 4 and fades a few steps toward the right wing. 3 cuts past 5 and along the baseline to clear to the left corner. 4 passes back to 1. 5 fakes a cut across the lane, stops, drop-steps to seal his defender and takes the pass from 1 for a post move.
Play 6
Both bigs start high and both wings in the corners. 1 dribbles off a screen from 5, the ball comes back to 5, and 4 screens down for 2.

Frame 1. 1 has the ball high in the right slot, well beyond the arc. 5 is in the right slot, 4 in the left slot, 3 in the right corner and 2 in the left corner. 1 dribbles around 5's screen to the right wing. 4 moves in along the left lane line to the left elbow, and 3 moves in from the right corner to the right block. The play can be run to either side.

Frame 2. 1 has the ball on the right wing, 5 is in the right slot, 4 at the left elbow, 3 on the right block and 2 in the left corner. 5 steps out and 1 passes to him. 4 screens down for 2, and 2 cuts hard up off the screen to the left slot for the pass from 5 and a three.

Frame 3. The same start: 1 on the right wing passes to 5 in the right slot, 3 is on the right block and 2 in the left corner, with 4 inside the arc on the left side, closer to 2. If 2's defender chases him over the down screen, 2 curls tight around 4 instead and cuts to the left elbow, and 5 passes to him there for a short jump shot.
Play 7
For a post who is well defended inside. 5 pops to the corner for the catch, 3 cuts through and back-screens, and 4 screens down for 3 to finish.

Frame 1. 1 has the ball in the right slot, 4 is in the left slot, 3 on the right wing, 2 on the left wing and 5 on the right block. 1 passes to 3. 5 cuts out from the right block to the right corner and 3 passes to him. 3 basket-cuts right away, and 5 can hand the ball straight back to him for a lay-up.

Frame 2. 5 has the ball in the right corner. 3 is just above the left block after his cut, 1 in the right slot, 4 in the left slot, and 2 on the left wing. 3 back-screens for 2, and 2 makes the flex cut to the right block, where 5 can hit him. If 2 is not open, 5 dribbles up to the right wing and passes to 1. At the same time 4 screens down for 3, and 3 comes up off it.

Frame 3. 1 has the ball in the right slot, 5 is on the right wing, 2 on the right block, and 3 and 4 inside the arc on the left side, 3 low and 4 just above him after the down screen. 3 cuts hard up to the left slot for the pass from 1 and a three. After screening, 4 flashes into the lane at the free-throw line for a quick pass from 1 and a short jump shot.
The Up Series Releases
Up 1
The post flashes high to release pressure, 4 dives to post up and 1 cuts to the elbow and flares out for a kick-out three.

Frame 1. 1 has the ball at the top of the key, 4 is in the left slot, 3 on the right wing, 2 in the left corner and 5 on the right block. 5 flashes up to the right elbow and 1 passes to him. 4 dives to the right block to post up. 2 clears through along the baseline to the right corner. 1 cuts hard toward the left elbow, then flares back out to the left slot, and 5 kicks the ball out to him for a three.
Up 2
The same flash release, then a flex screen from 4 for 2, with an option that sends 4 out to the wing and 3 through for a cross screen.

Frame 1. 1 has the ball high in the right slot, 4 is in the left slot, 3 on the right wing, 2 in the left corner and 5 on the right block. 5 flashes up to the right elbow to release pressure and 1 passes to him. 4 dives to the right block to post up, and 3 makes a V-cut on the right wing.

Frame 2. Between frames 1 clears out to the left slot for floor balance, a move with no arrow drawn. 5 has the ball at the right elbow, 3 is on the right wing, 4 on the right block, 2 in the left corner and 1 in the left slot. 5 passes out to 3. 4 sets a flex screen across the lane for 2, and 2 cuts off it along the baseline to the right side of the rim, where 3 looks to feed him.

Frame 3. The option instead of the post-up. 5 has the ball at the right elbow, 4 is on the right block after his dive, 3 on the right wing, 2 in the left corner, and 1 at the top of the key. 4 does not post up but cuts out to the right wing, and 5 kicks the ball out to him. 3 cuts through the lane and sets a cross screen near the left block for 2, and 2 comes off it along the baseline to the right side of the rim for a pass from 4. 1 slides over toward the left slot for balance.
Up 5
5 catches the flash at the elbow, seals with a reverse pivot and drives the lane that 3 clears for him.

Frame 1. 5 has flashed up to the right elbow. 1 has the ball in the right slot, 4 is in the left slot, 3 on the right wing and 2 in the left corner. 1 passes to 5, and 5 reverse-pivots to seal his defender. 3 clears across the baseline to the left block, which opens a driving lane, and 5 dribbles to the rim. If the defense denies 5's flash, the option is a lob over the top.
Ideas That Repeat
- A cutter clears the side first. In Play 1, Play 2 and Play 5, 3 cuts along the baseline to the far corner before the action starts, and in Up 1 it is 2.
- The post leaves the block to screen or to catch. 5 screens at the right elbow in Play 1 and Play 2 and flashes to it in all three Up plays.
- Back screens set up the cutters: a UCLA screen in Play 1, a back screen for 4 in Play 3 and the flex back screen in Play 7.
- The screener is often the open man. 4 opens up to the ball in Play 3, 5 shapes up in Play 4 and 4 flashes in Play 7.
- Play 6, Play 7 and Up 1 finish with a three from a down screen or a kick-out.
- When nothing comes, the guards refill the slots and the team runs the swing.
The base pattern these plays fall back into is drawn step by step on the swing offense page, and the flex cut it borrows is in how to coach the flex offense. The screens are covered in back screen basketball, down screen basketball, flare screen basketball and pick and roll, and the UCLA cut in the UCLA offense. The high post flash ties into the high low offense and the post finishes into basketball post moves. For calling sets from the bench, see how to run quick hitters. Wisconsin is one of the programs on the college basketball plays page under the Offense hub. Install the swing first, then add one play at a time.
Questions Coaches Ask About Wisconsin Basketball Plays
How many Wisconsin plays are in this collection?
Ten: Play 1, Play 2, Play 3, Play 4, Play 5, Play 6, Play 7, Up 1, Up 2 and Up 5. All of them come from Bo Ryan's swing offense.
What set do these plays start from?
The swing set: two guards in the slots, two wings and one post just above the block. Play 6 is the exception, with both bigs high and both wings in the corners.
What is the Up series?
A pressure release. When the guards are denied, the post flashes up to the elbow for the catch, and the play runs off him: a dive by 4, a flare by 1, a flex screen or a drive by 5 after a reverse pivot.
When is Play 5 called?
When the post is better than his defender, or the defender is in foul trouble. The side is cleared and 5 seals for a direct pass and a post move.
What happens if a play does not get a shot?
The team goes straight into the swing. The plays are built so the five players end up in, or one step from, the swing spots.
School profile: Wisconsin Badgers on College Basketball Recruit.
Want the printable playbook packs?
Playbook packs: zone attack, press break, press defense, out of bounds, quick hitters, practice plans and the youth turnover cure, each a printable PDF. Or draw your own version free in PlayDraw.
See the playbook packsMore College Basketball Plays
- College Basketball Plays: Sets and Systems by Program
- Butler Basketball Plays: Brad Stevens Ball Screen Sets
- Gonzaga Basketball Plays: Flex Quick Hitters
- Kansas Basketball Plays: Bill Self 2-3 Zone Offense
- Michigan State Basketball Plays: Tom Izzo Sets
- Xavier Basketball Plays: Chris Mack Man Offense Sets
- Northern Kentucky Basketball Plays: AI, Delay and Strong Sets
- Pitt Basketball Plays: 1-4 High Sets and Ball Screens
- Davidson Basketball Plays: Motion Offense Rules and Actions
- Belmont Basketball Plays: Backdoor, Chicago, Chin and Nail Sets
- UConn Basketball Plays: 2023 Half-Court Sets Frame by Frame
- Duke Basketball Plays: Motion, Early Offense and Zone Ideas
- Michigan Basketball Plays: Beilein Chin and Shuffle Sets
- Florida Basketball Plays: Billy Donovan Spread Pick and Roll
- UCLA Basketball Plays: John Wooden High Post Options
- Memphis Basketball Plays: 2006 Dribble Drive Motion Sets
- West Virginia Basketball Plays: George King's Zone Press
- Villanova Basketball Plays: Jay Wright 4-Out, Perretta Motion
- Seattle U Basketball Plays: The Chin Offense, Read by Read
- UConn Women's Basketball Plays: Auriemma's Strong and Elbow Sets
- BYU Basketball Plays: Mark Pope Pistol, Ricky and STS Sets
- Wichita State Basketball Plays: Shocker, 57 WU, 1-3-1 Special
- Virginia Basketball Plays: Blocker-Mover Sets, Frame by Frame
Back to College Basketball Plays and every Offense page.
Keep Building
Related breakdowns
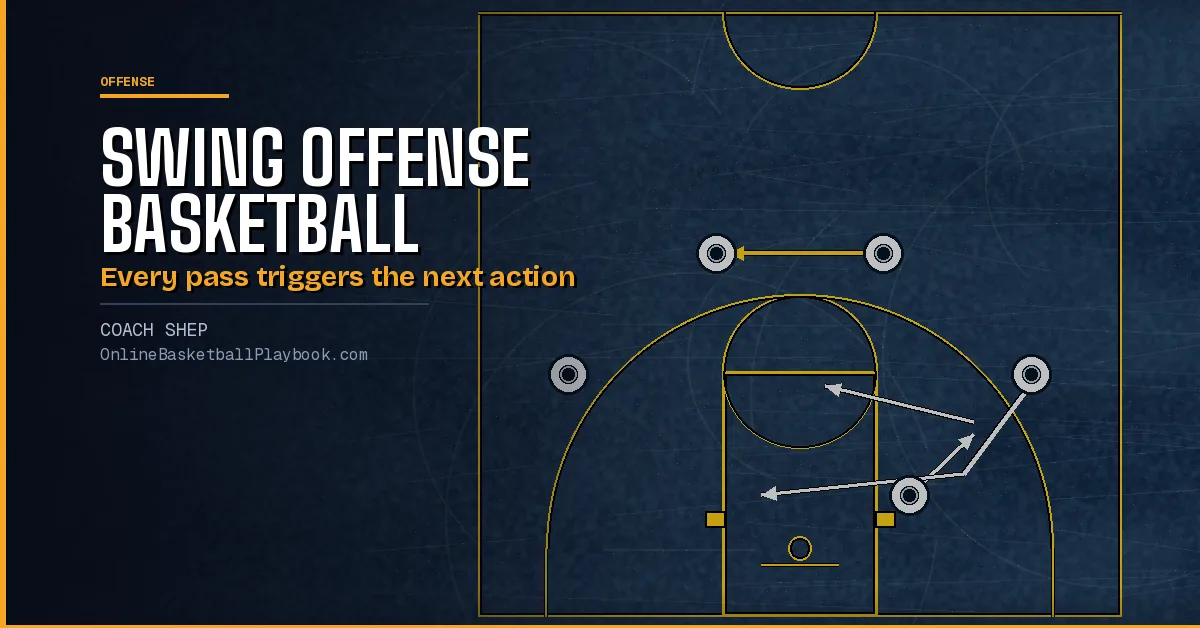
Swing Offense Basketball: Rules, Cuts and Counters
Swing offense basketball explained: the 4-out 1-in set, the pass triggers for the UCLA, flare and flex screens, post entries, pressure releases and drive rules.
Virginia Basketball Plays: Blocker-Mover Sets, Frame by Frame
Virginia basketball plays: the blocker-mover setup, its actions, four half-court sets, one full possession and two inbounds plays, drawn frame by frame.
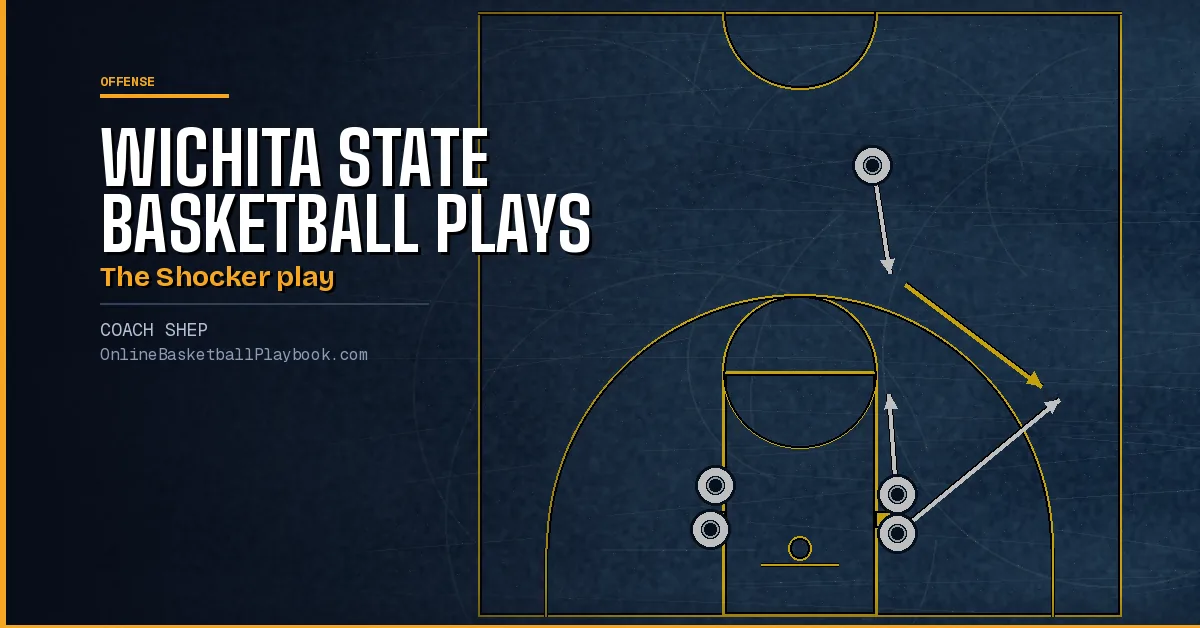
Wichita State Basketball Plays: Shocker, 57 WU, 1-3-1 Special
Wichita State basketball plays drawn frame by frame: the Shocker quick hitter, the 57 WU man set, Fist and Fire inbounds plays and a 1-3-1 zone motion.